You can delete and/or block cookies by modifying the settings on your browser. Learn more
Techniques - TieDye

Who knew tie-dyeing could be this easy?
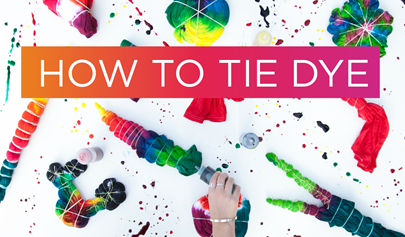
How To Tie Dye
Get the basics on how to tie dye like a pro with these tips for tie-dye success on almost any fabric item!
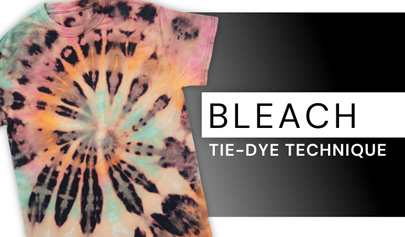
How to Bleach Tie-Dye
Bleach tie-dye is a unique way to create bold looks with your favorite tie-dye patterns
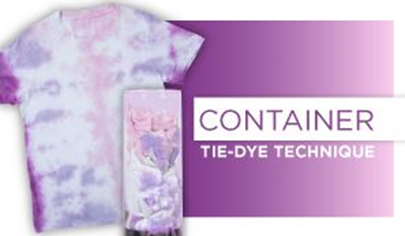
Container Technique
What is container tie dye? The container tie-dye technique is an easy tie-dye method that offers a mess-free and convenient approach to creating unique tie-dye designs. It involves using a transparent vessel to contain the dye and fabric, which makes cleanup a cinch! With the container tie-dye technique, you can see how colors interact and flow together to create unique tie-dye patterns.
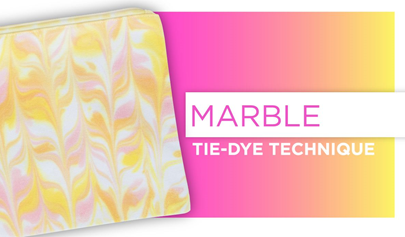
Marbling Tie-Dye Technique
Get ready to elevate your tie-dye game with the marble tie-dye technique! This mesmerizing method offers a unique twist to your tie-dye designs. Use your favorite Tulip One-Step Tie-Dye Kit to make marbled patterns on shirts, shoes, tote bags, and more! Whether you're revamping your wardrobe or adding a personal touch to accessories, marble tie dye is the perfect way to express your creativity with color. Check out our step-by-step tutorial and explore the magic of marbling!
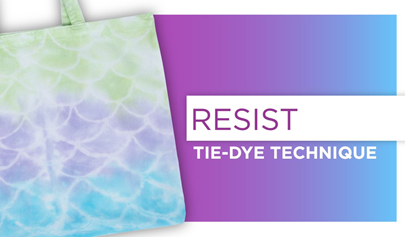
Resist Tie-Dye Technique
Here’s another fun way to tie dye with Tulip! Check out our step-by-step tutorial and learn how to use Tulip Tie-Dye Resist to create unique resist dye designs. Tie-Dye Resist blocks dye where applied to fabric with no heat required— just apply dye, rinse, and dry! Grab your favorite Tulip One-Step Tie-Dye Kit and get ready to experiment with this irresistible technique!
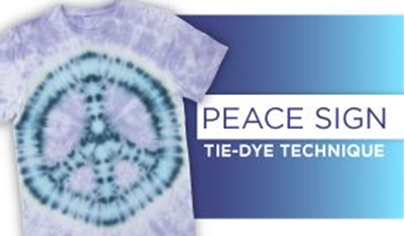
Peace Sign Tie-Dye Technique
This technique allows you to express your commitment to peace, love, and harmony with bold tie-dye style.
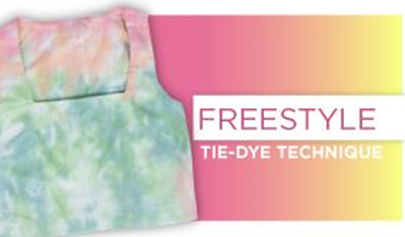
Freestyle Tie-Dye Technique
Freestyle tie-dye refers to a more improvisational and spontaneous approach to tie-dyeing fabric.
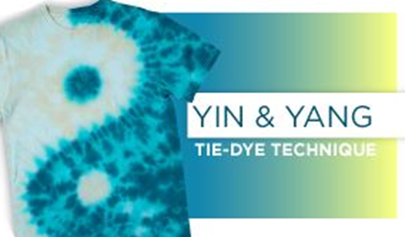
Yin Yang Tie-Dye Technique
Inspired by the ancient symbol representing the interconnectedness of opposites, this yin yang tie-dye technique allows you to infuse your tie-dye designs with a sense of balance and unity.
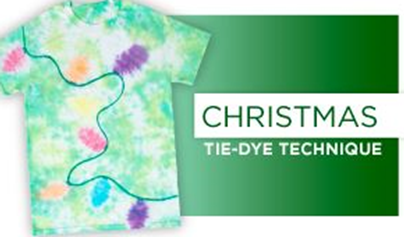
Christmas Tie-Dye Technique
Bring Christmas cheer to your winter wardrobe with tie dye! This tutorial will show you how to make a Christmas tie-dye T-shirt with festive holiday lights.
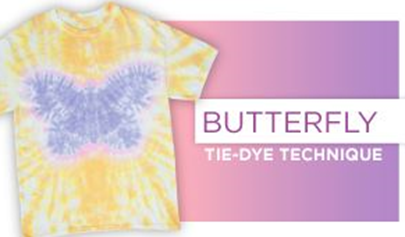
Butterfly Technique
Learn how to use your favorite Tulip One-Step Tie-Dye Kit to create a colorful butterfly tie-dye design that’s perfect for the any season.
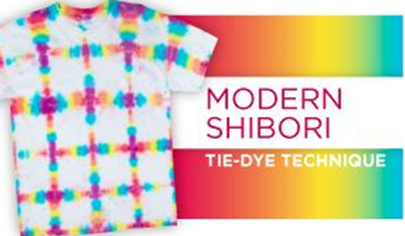
Modern Shibori Technique
This timeless technique typically uses indigo dyes, but we’re giving it a modern makeover with Tulip One-Step Tie Dye! Learn how to elevate the classic itajime-style shibori technique with our step-by-step tutorial. Our One-Step Dyes are great for adding bold, vibrant color to this modern shibori tie-dye technique!
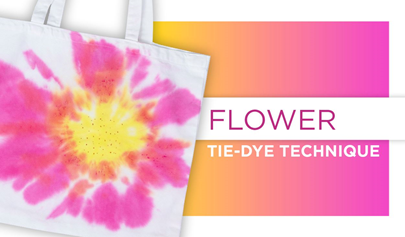
Flower Technique
If you’re a fan of flowers, this tie-dye technique is perfect for you! Check out our step-by-step tutorial and learn how to use Tulip One-Step Tie Dye to create a tote bag with a vibrant flower tie-dye design.
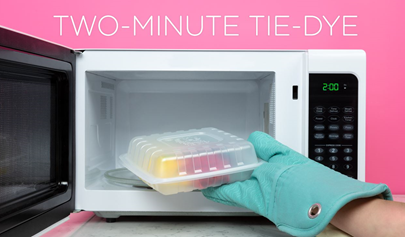
Two-Minute Tie-Dye Technique
Speed up the dye process to 2 minutes with the same vibrant results with Tulip One-Step Dye!
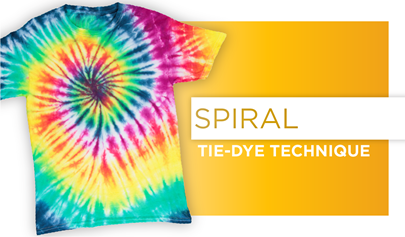
Spiral Tie-Dye Technique
Put a twist on tie dye with the spiral tie-dye technique! Whether you use one color or four, you'll love the winding effects!
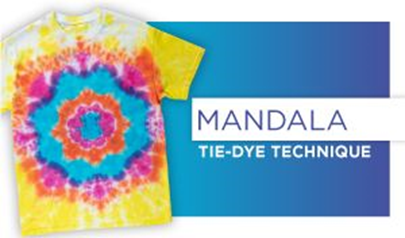
Mandala Tie-Dye Technique
Learn two ways to do this super fun technique!
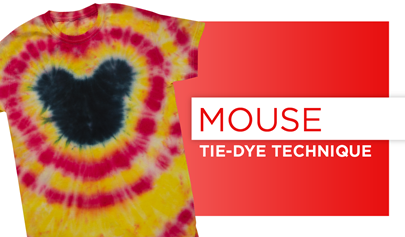
Mickey Mouse Tie-Dye Technique
Add some Disney magic to your wardrobe with the Mickey Mouse inspired Tie-Dye technique! You’ll definitely stand out at your next trip to the parks with this colorful tie dye look!
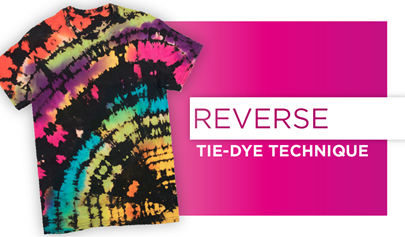
Reverse Tie-Dye Technique
Yes, tie dyeing in reverse is real & results in amazing designs!
-4_405.jpeg)
Accordion Tie-Dye Technique
Accordion Tie-Dye Technique - Easy and fun! You will love this tie-dye technique!
Diamond Tie-Dye Technique
This one’s a real gem! See how easy it is to create 3 different diamond patterns that’ll have you feeling fancy every time you wear tie dye.
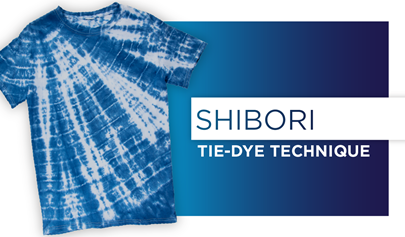
Shibori Tie-Dye Technique
More intricate and detailed than modern tie dye, Shibori is a Japanese technique you'll want to try.
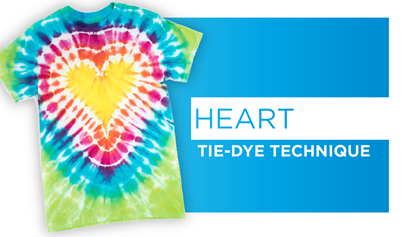
Heart Tie-Dye Technique
If you LOVE tie dye, then this is the pattern for you (and it’s easier than you think)!
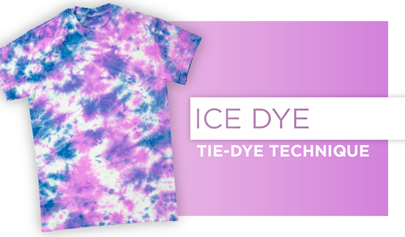
Ice Dye Technique
No need to mix up your dyes for the ultra-cool ice tie-dye technique! Let the ice do the work to produce one-of-a-kind watercolor tie-dye effects.
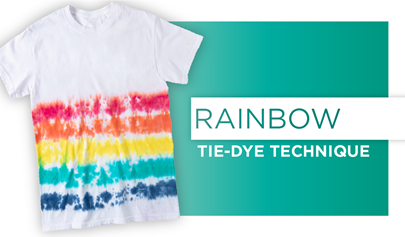
Rainbow Tie-Dye
Boost your mood and your wardrobe with rainbow tie dye! Brighten things up with bold color.
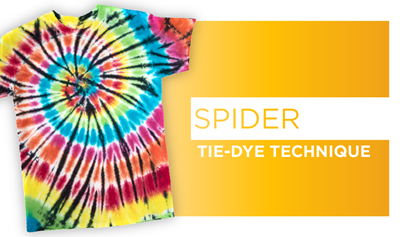
Spider Tie-Dye Technique
The secret to this technique is the addition of black dye on one side of your spiral. You’ll love the reveal!
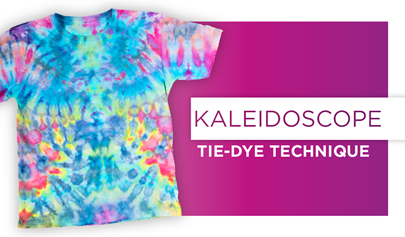
Kaleidoscope Ice Tie-Dye Technique
Remember your fun childhood kaleidoscope? You can make the same shapes with powdered dye and ice!
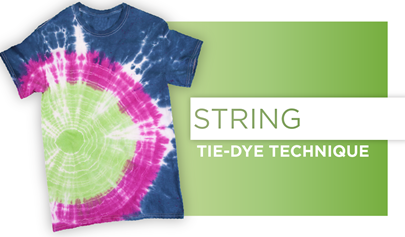
String Tie-Dye Technique
When you’re looking for a similar but slightly different tie-dye effect, use string instead of rubber bands.
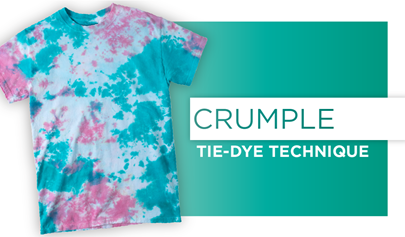
Crumple Tie-Dye Technique
No twisting, folding or pleating needed for this super easy tie-dye technique; just straight up scrunching!
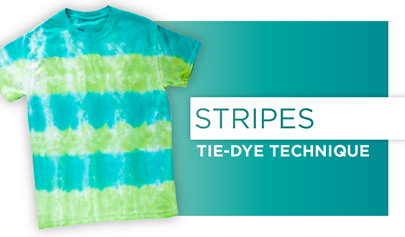
Stripes Tie-Dye Technique
Whether you want horizontal or vertical stripes, this simple tie-dye technique can be used with two or more dye colors!
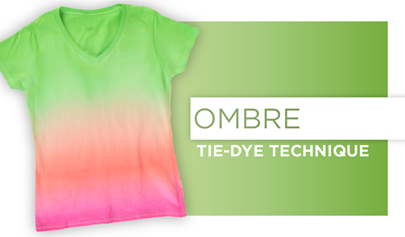
Ombre Tie-Dye Technique
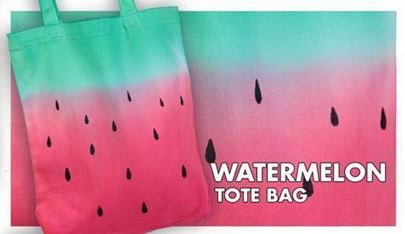
Create a smooth gradation of color using dye, water and a paintbrush.
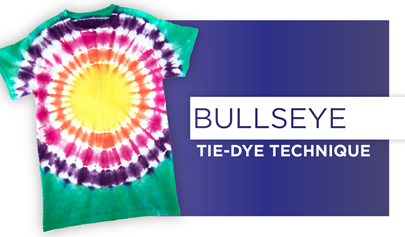
Bullseye Tie-Dye Technique
The most recognized tie-dye technique and the easiest! Just add rubber band rings to your heart’s content.
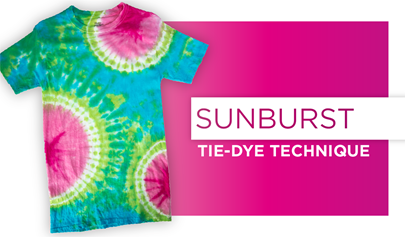
Sunburst Tie-Dye Technique
Create bursts of color all over your shirt by just gathering your fabric into balls or add items under to support.
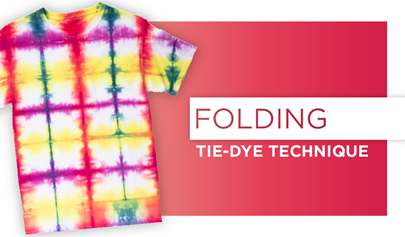
Folding Tie-Dye Technique
Easy and fun! Fold your fabric into squares, apply dye around corners for a grid-like result.
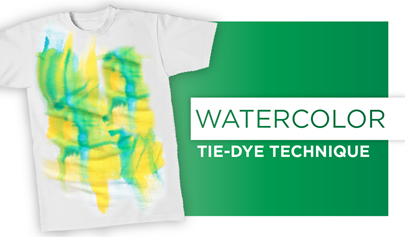
Watercolor Tie-Dye Technique
Explore the best of both worlds… tie dye and painting with muted brushstrokes of color.
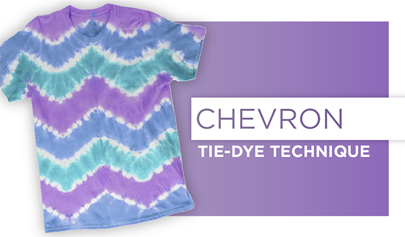
Chevron Tie-Dye Technique
Follow these simple steps on how to fold your shirt into a perfect tie-dye chevron pattern. You won’t believe how easy it is!
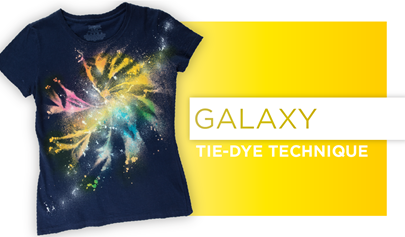
Galaxy Tie-Dye Technique
Combine bleach and color applications on a spiral twist for a tie-dye look that’s out of this world! Learn how here!
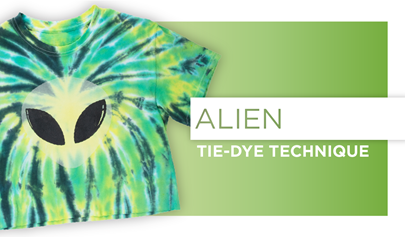
Alien Glow Tie-Dye Technique
You don’t need to be from another planet to make this fun shirt. Just add a glow paint head & black eyes to a spiral.
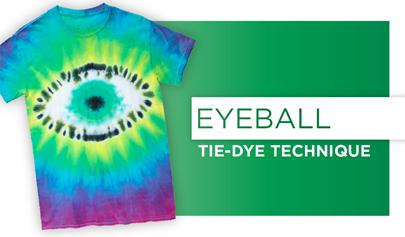
Eyeball Tie-Dye Technique
Feast your eyes on this super fun technique with a way cool result!
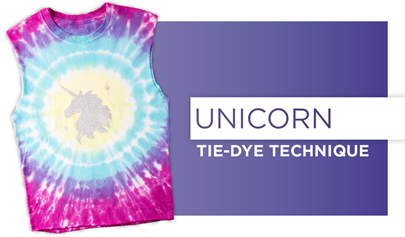
Unicorn Tie-Dye Technique
Do you believe? Whether you do or don’t it’s no myth that unicorns can be found everywhere… any why not on tie dye?
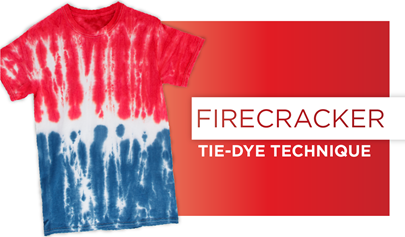
Firecracker Technique
Make a cool firecracker Popsicle-inspired shirt that’s bursting with patriotic color perfect for summer and the 4th of July.
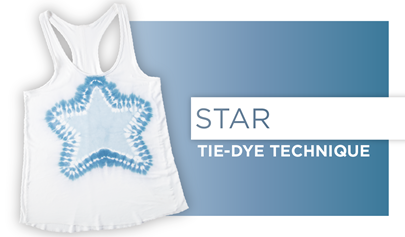
Star Tie-Dye Technique
Want to know how to tie dye a star onto your shirt? Check out our step-by-step tutorial that makes it super easy!
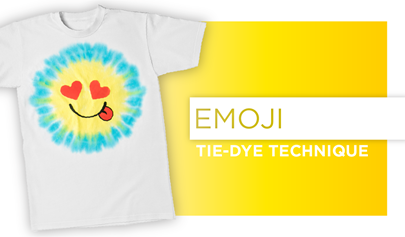
Emoji Tie-Dye Technique
Wear your heart on your sleeve (or wherever) with this fun kit that turns a bullseye look into your fave emoji.
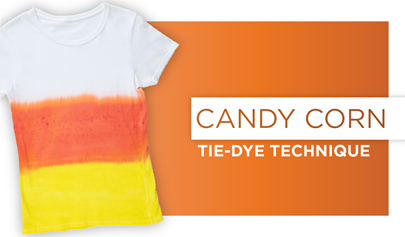
Candy Corn Tie-Dye Technique
Here’s a sweet twist on the ombré technique using all the colors from our favorite autumn treat… candy corn!
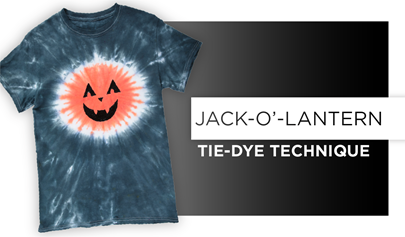
Jack-O-Lantern Tie-Dye Technique
Turn a simple bullseye tie-dye into a friendly Jack o’ Lantern by using orange and black dye and accenting with 3D paint!
