You can delete and/or block cookies by modifying the settings on your browser. Learn more
Freestyle Tie-Dye Technique
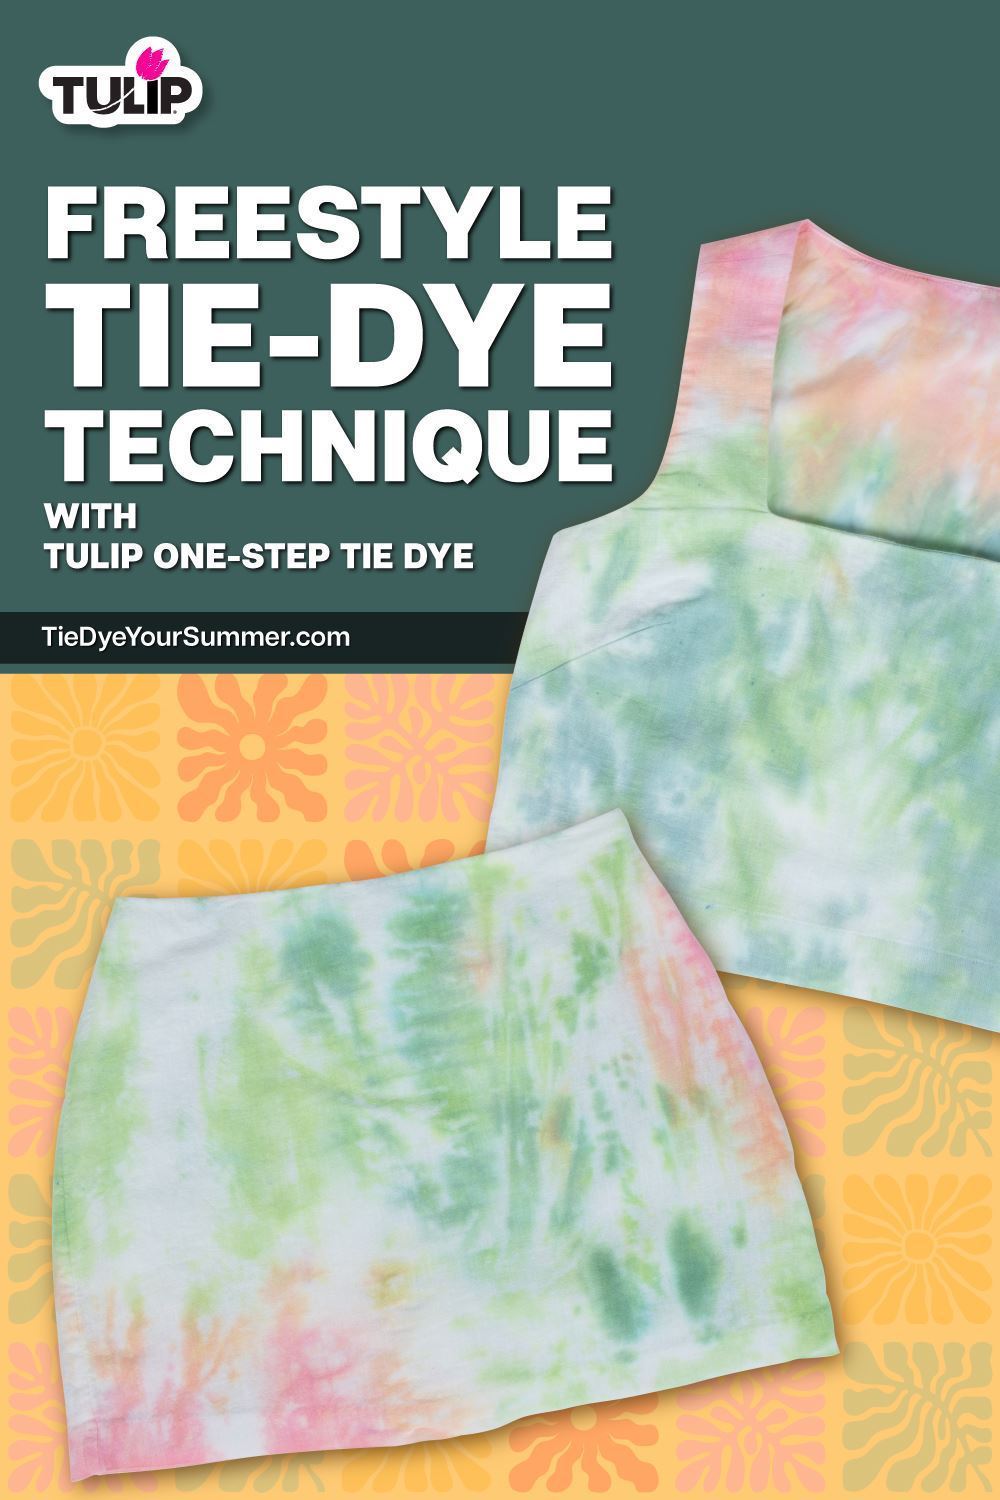
Create one-of-a-kind tie-dye designs with Tulip! The freestyle tie-dye technique allows you to create unique abstract designs on fabric using your favorite Tulip One-Step Tie Dye colors. Unlike traditional tie-dye techniques that involve specific folding and binding, freestyle tie dye gives you the freedom to create vibrant designs right from the bottle. Check out our guide and get inspired to freestyle for yourself!
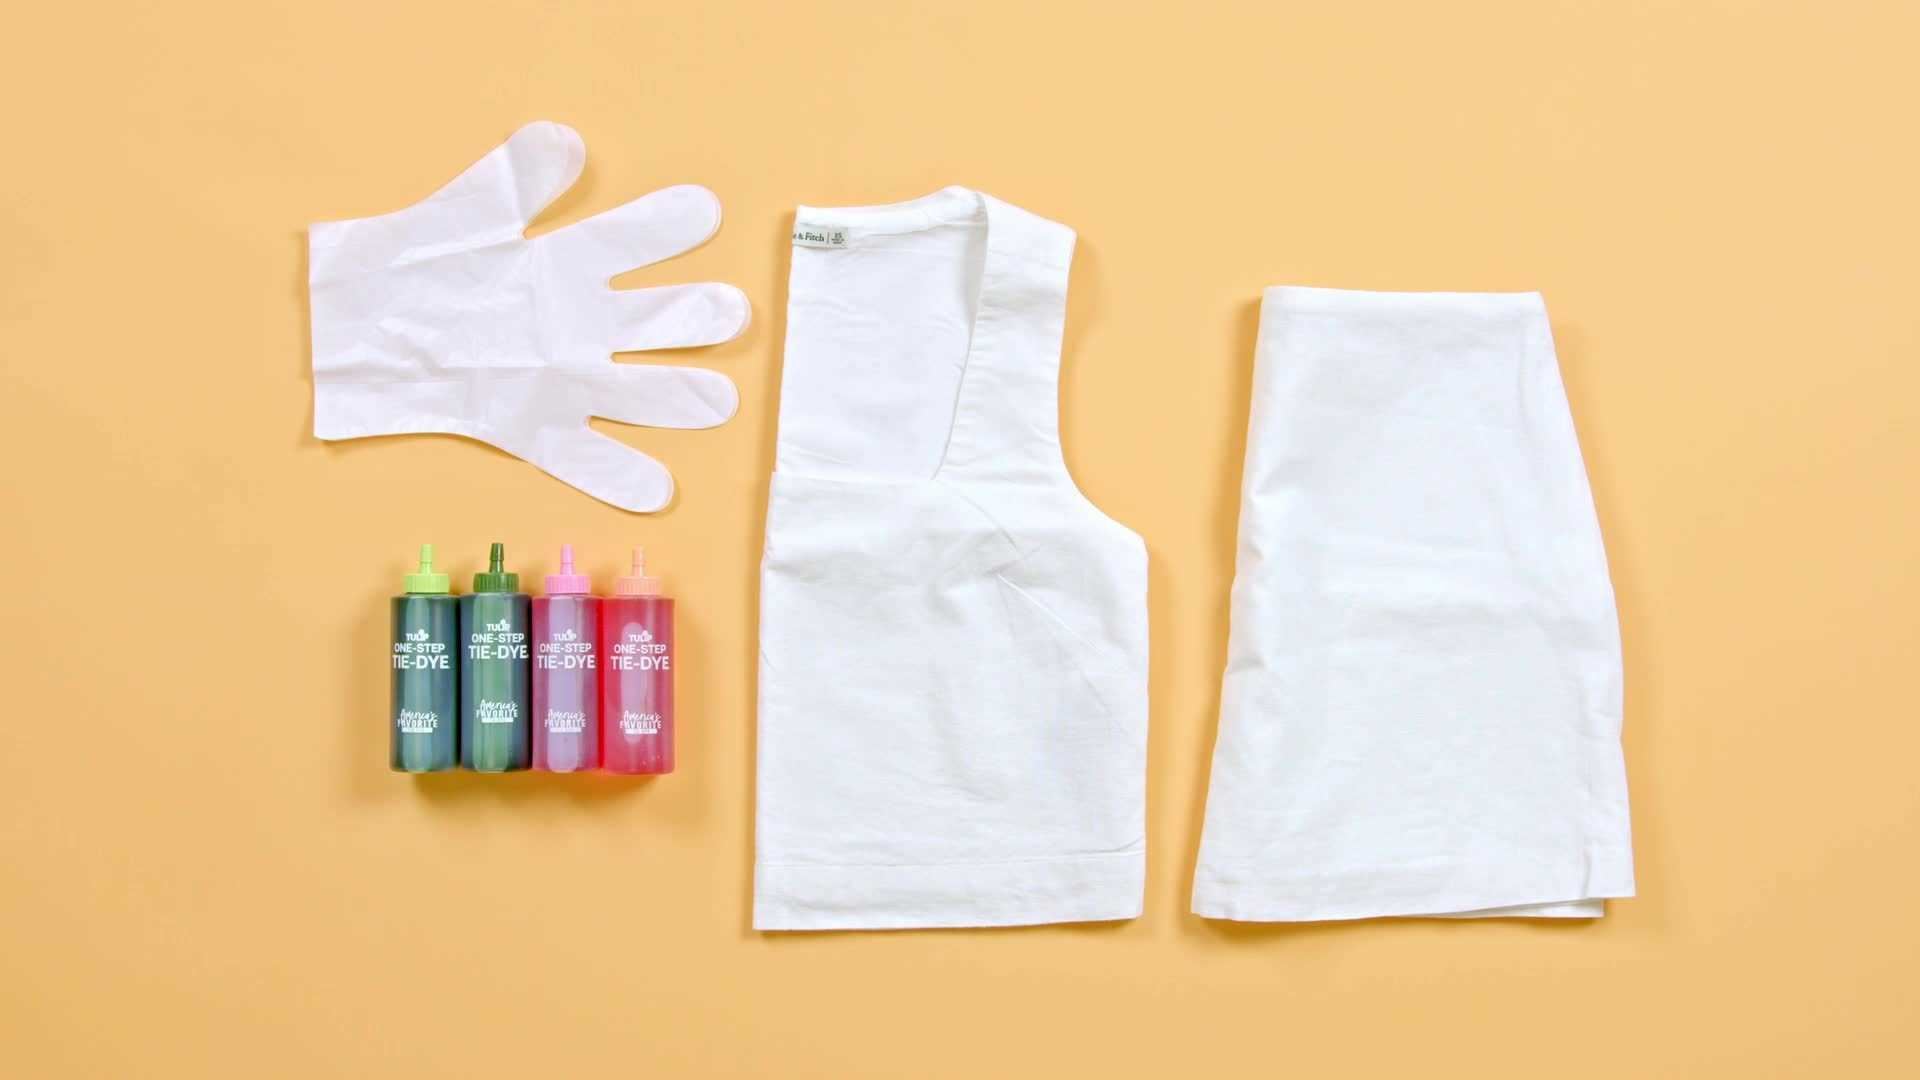
Step 1 Gather supplies
Gather your supplies.
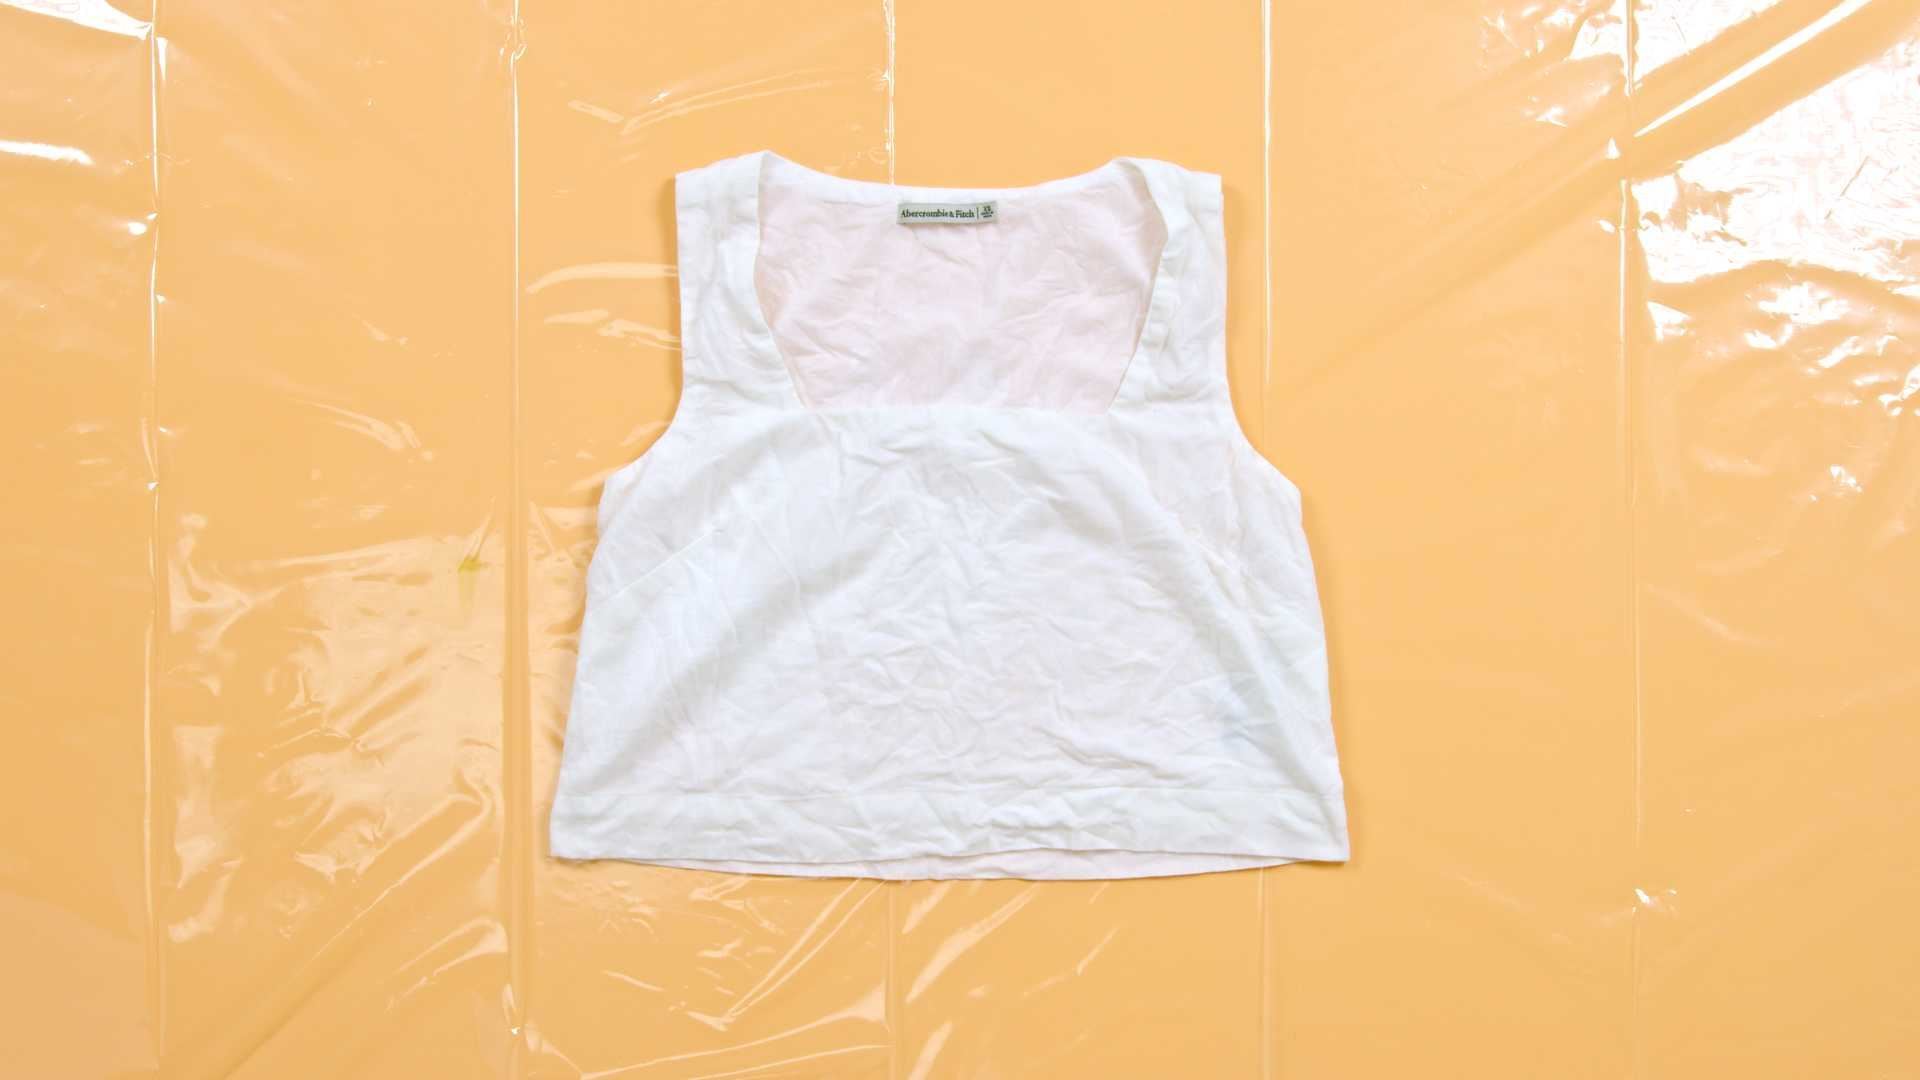
Step 2: Prepare project
Before you get started on your project, prewash the substrate that you’ll be dyeing. Leave your fabric damp for the freestyle tie-dye technique so that colors can flow and blend. Lay the fabric flat on a protected work surface.
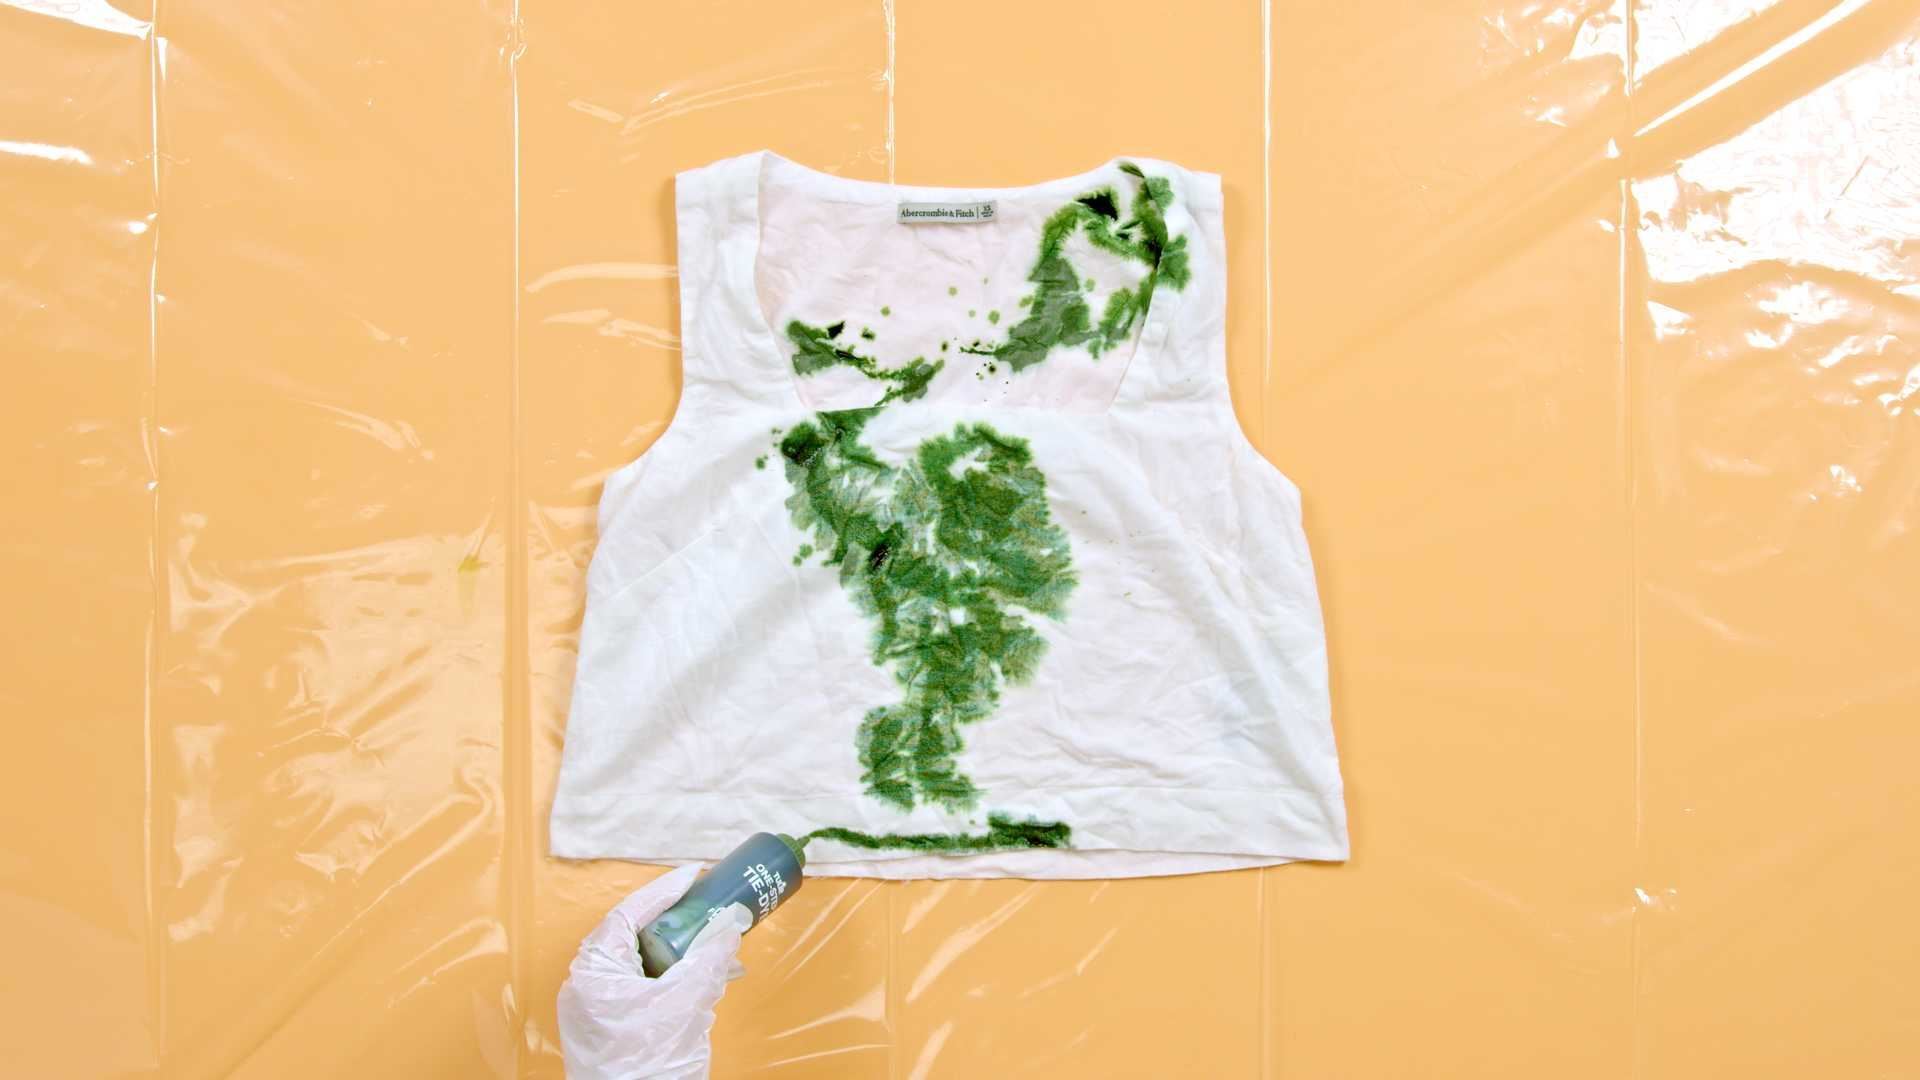
Step 3: Add first color
Prepare your tie-dye solutions by adding water to the dye bottles, filling to the neck. Replace the cap tightly and shake well until dye powder is fully dissolved. Start your freestyle tie-dye project by applying one color of dye directly to the fabric. We’re using pastel dyes for this project— colors appear darker during application but wash to a soft pastel palette when finished!
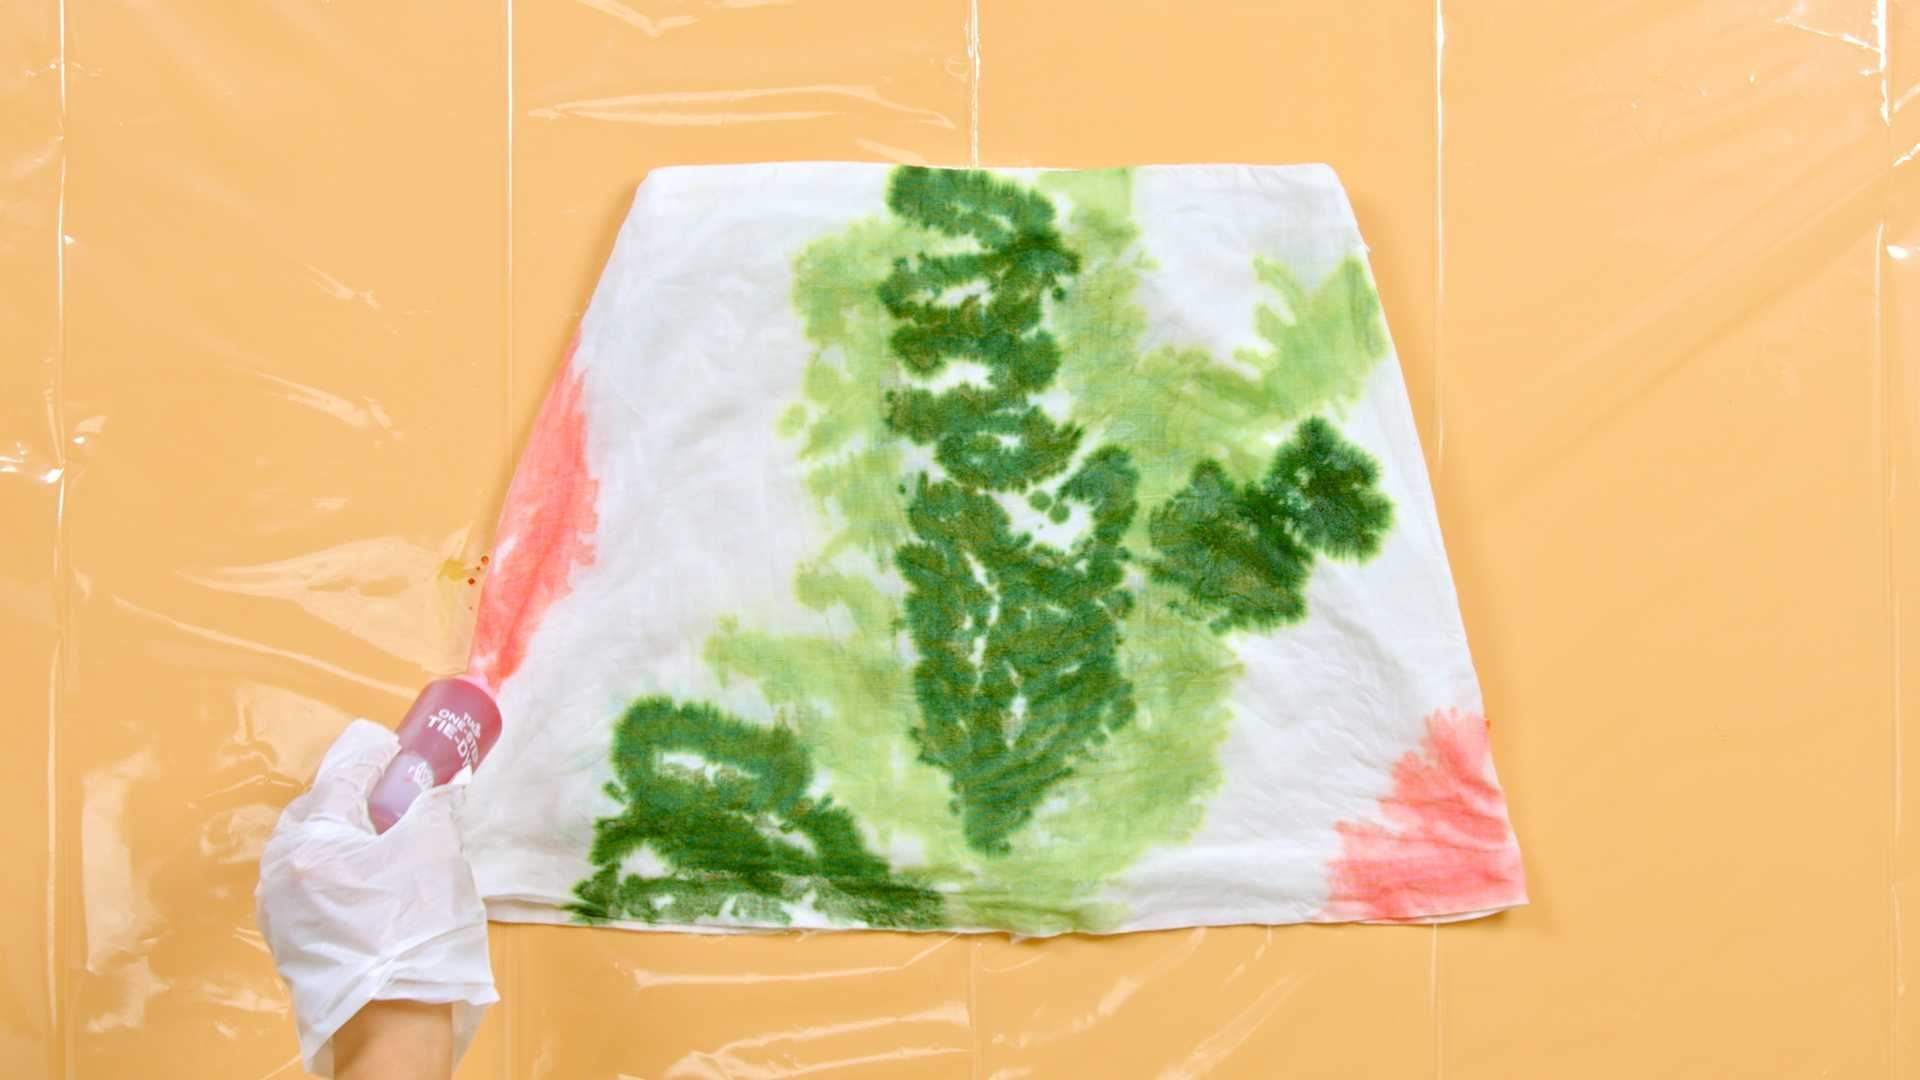
Step 4: Add second color
Freestyle tie-dye doesn’t follow a specific pattern, so you can apply the dyes to the fabric however you’d like! Keep the color wheel in mind when applying adjacent dyes so that your freestyle tie-dye colors don’t muddy.
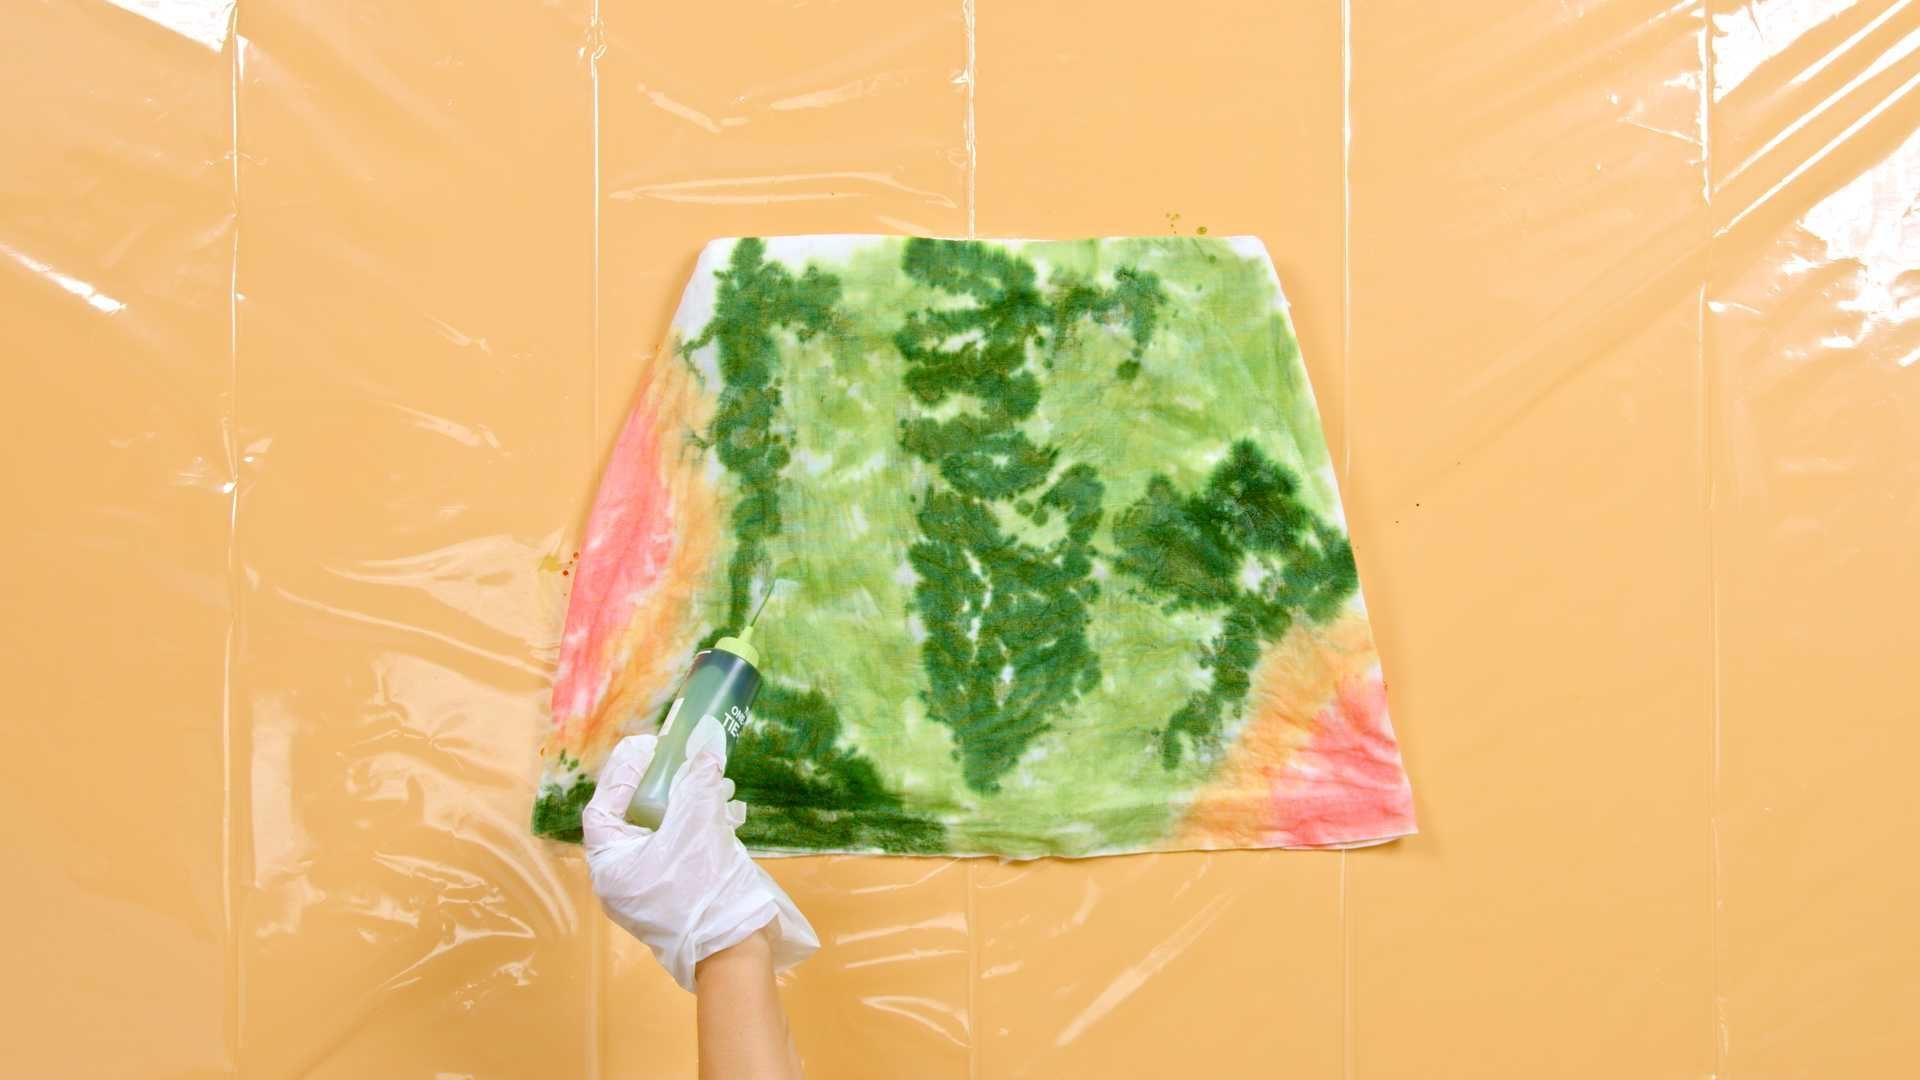
Step 5: Slowly add more dye
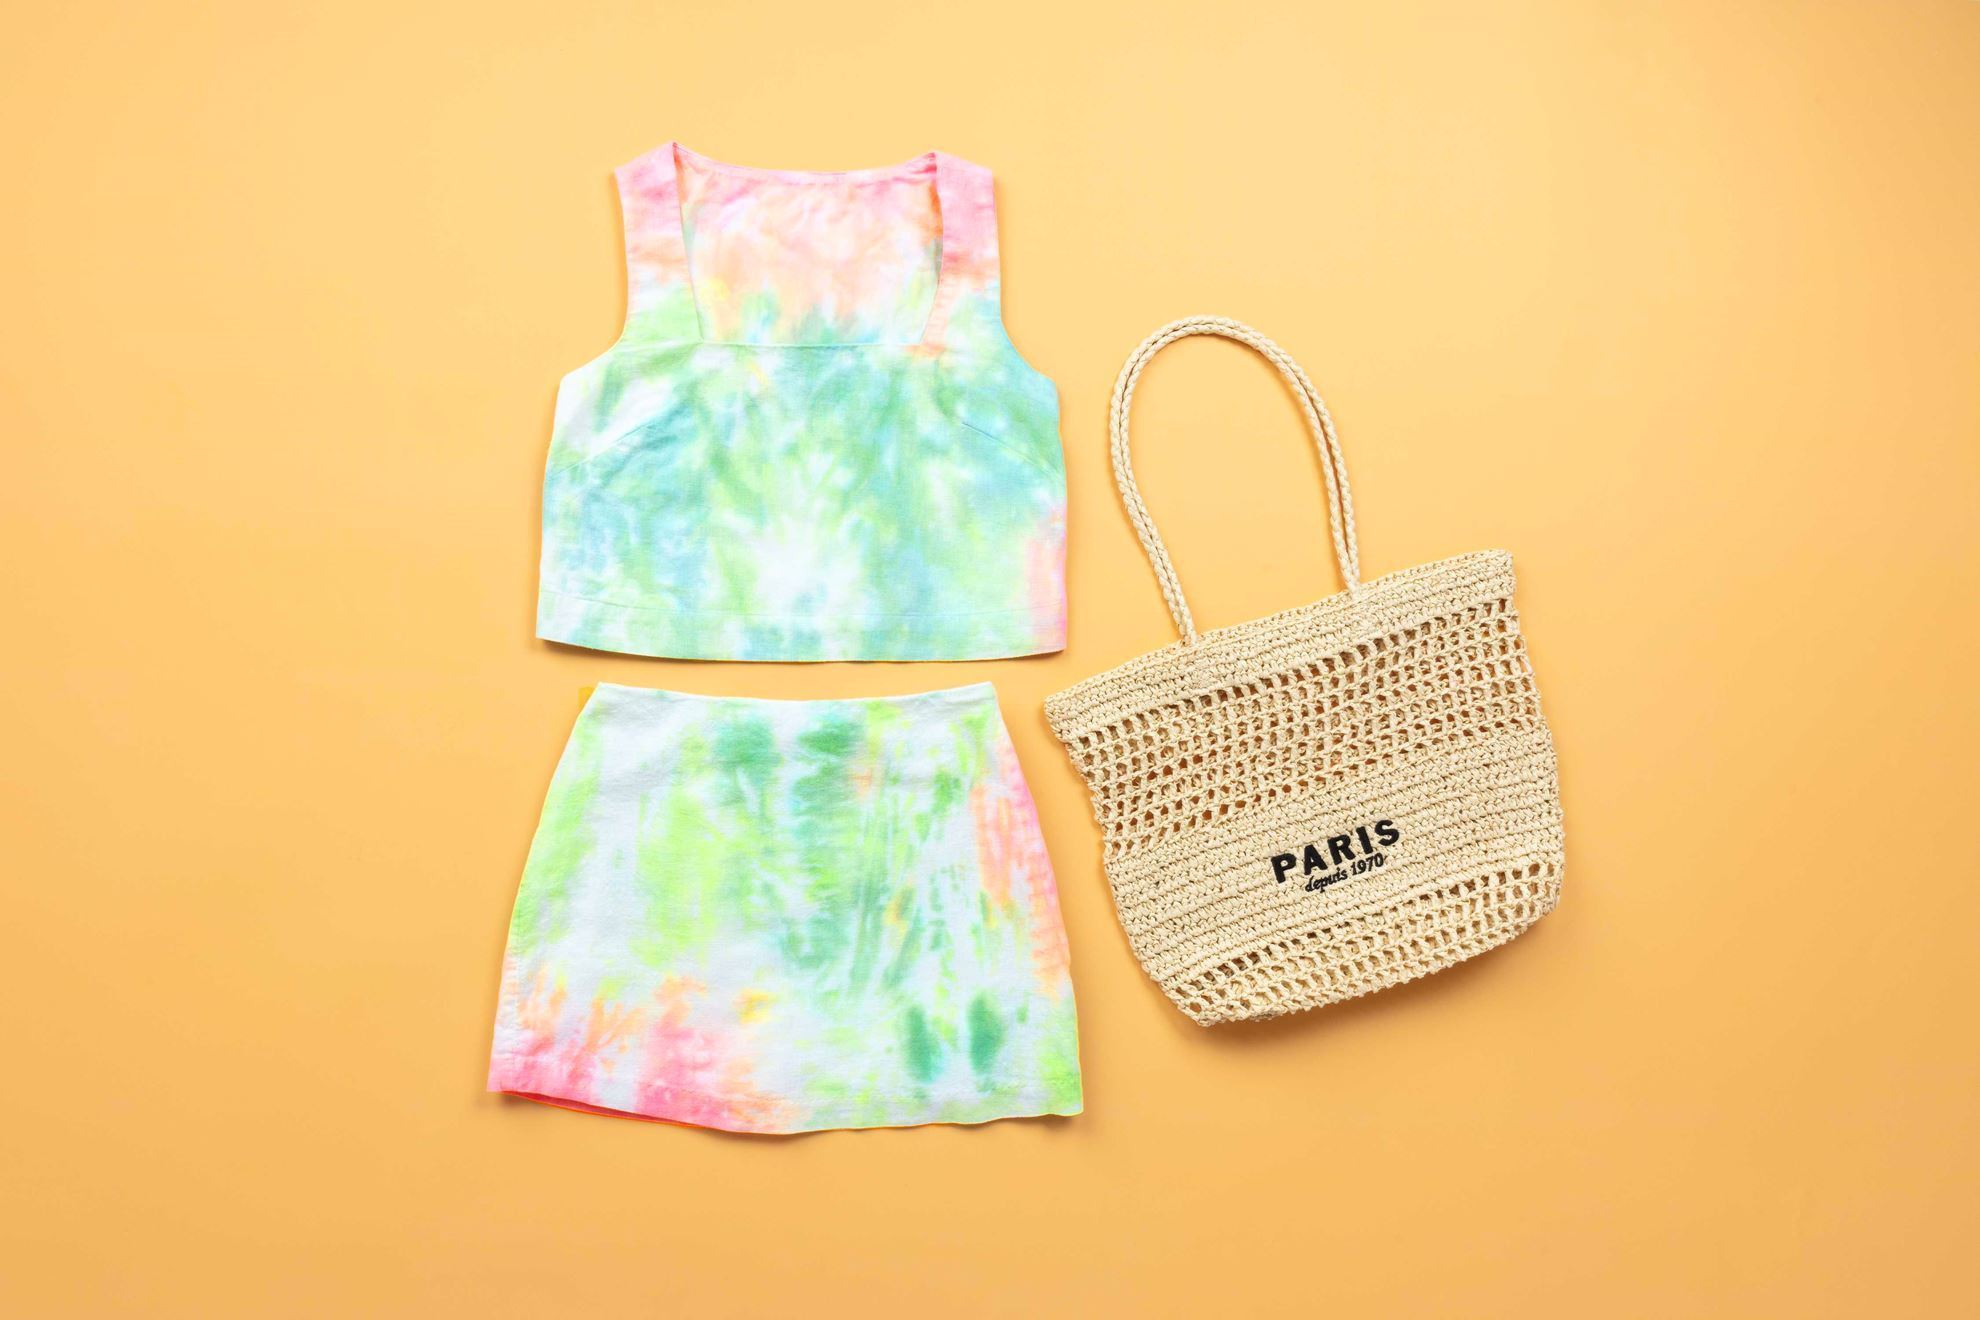
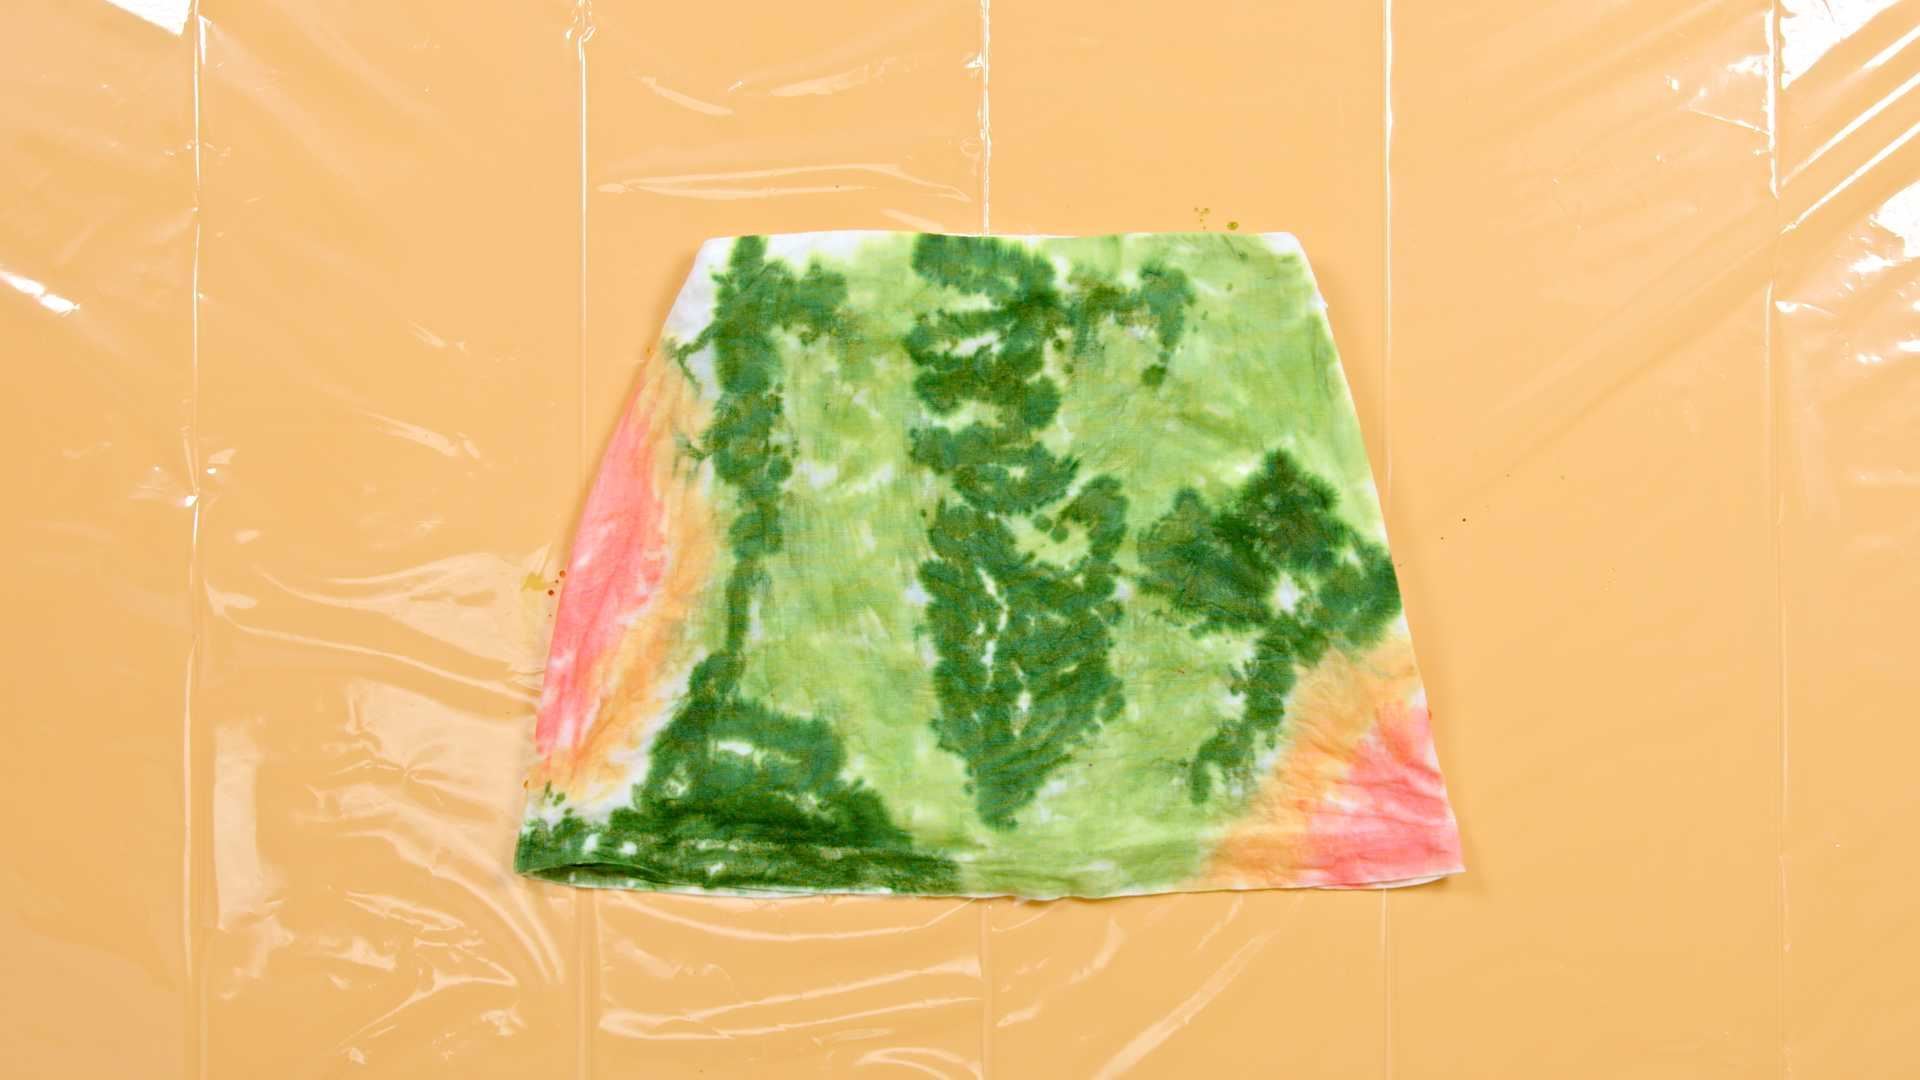
We’re creating a matching set for this freestyle tie-dye project! When applying dyes to fabric with the freestyle tie-dye technique, keep the tip of the bottle close to the fabric and squeeze slowly. This will give you more control and ensures the fabric is properly saturated with dye.
Step 6: Wrap & let set
Once you’ve finished applying dyes to your freestyle tie-dye project, cover with plastic wrap or place your project into a sealable plastic bag. Allow the dyes to set for 6-8 hours or overnight for more vibrant results.
Step 7: Wash & reveal!
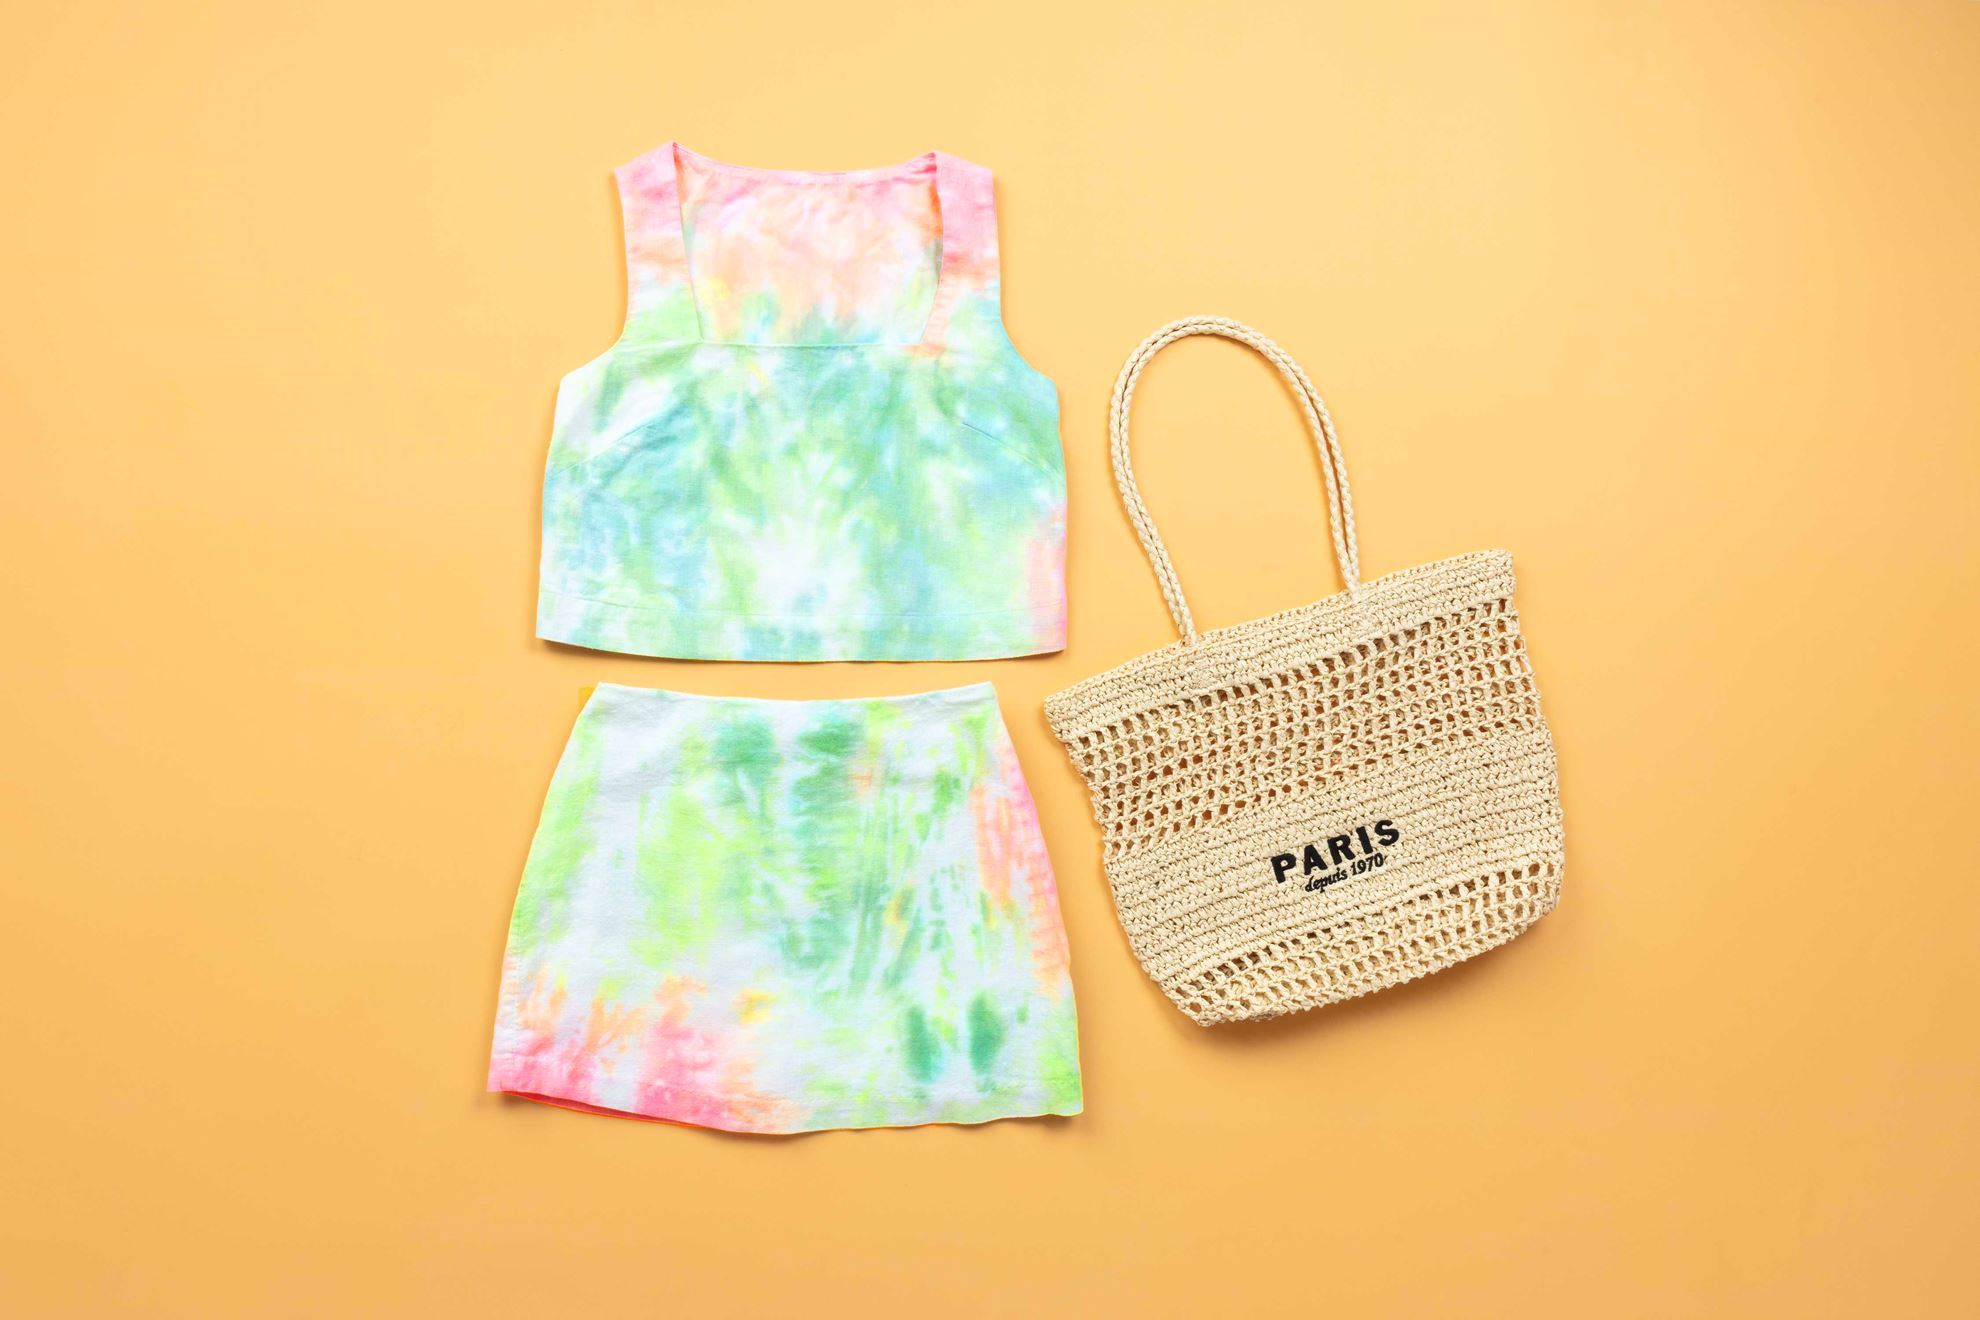
After the dye processes, rinse and launder according to package instructions. Your one-of-a-kind freestyle tie-dye is ready to wear! This freestyle tie-dye two-piece is the perfect pastel outfit for any occasion.
What unique patterns and designs will you create with the freestyle tie-dye technique? Show your colorful creations and tag us on social media @TulipColorCrafts!
Pin This Project

