You can delete and/or block cookies by modifying the settings on your browser. Learn more
Marbling Tie-Dye Technique
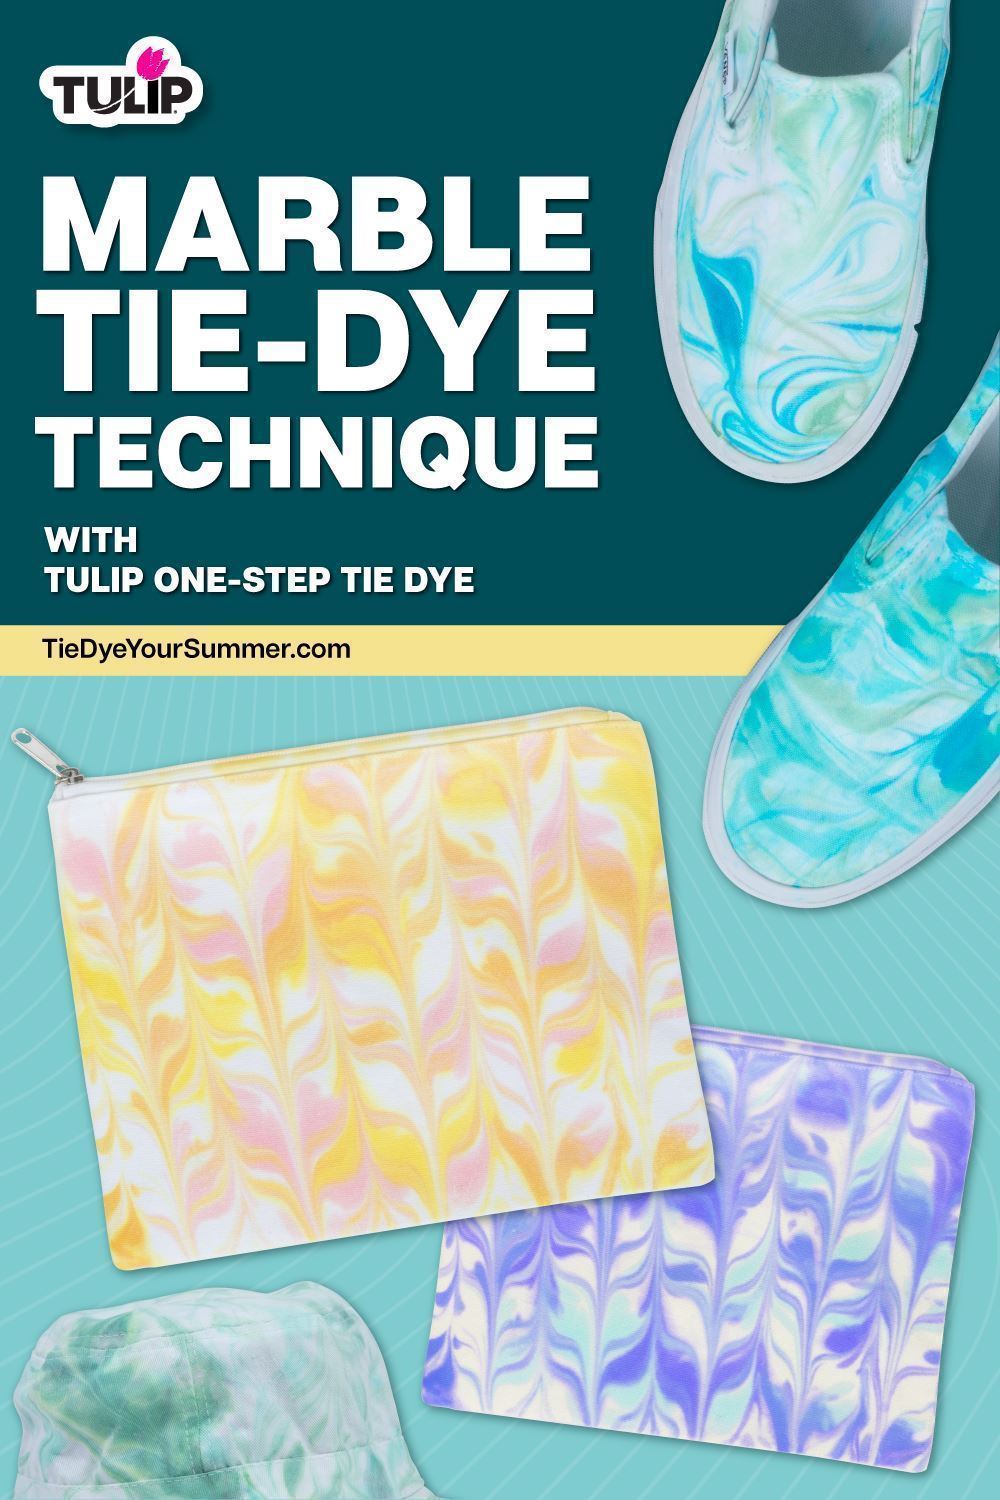
Marble tie dye, also known as marble dyeing or marbling, is a fun technique that combines the art of tie-dyeing with swirling marbled patterns. It creates unique and abstract designs on fabric that resemble the natural patterns found in marble stone. This easy technique uses Tulip One-Step Tie-Dye with shaving cream to create colorful marbled designs!
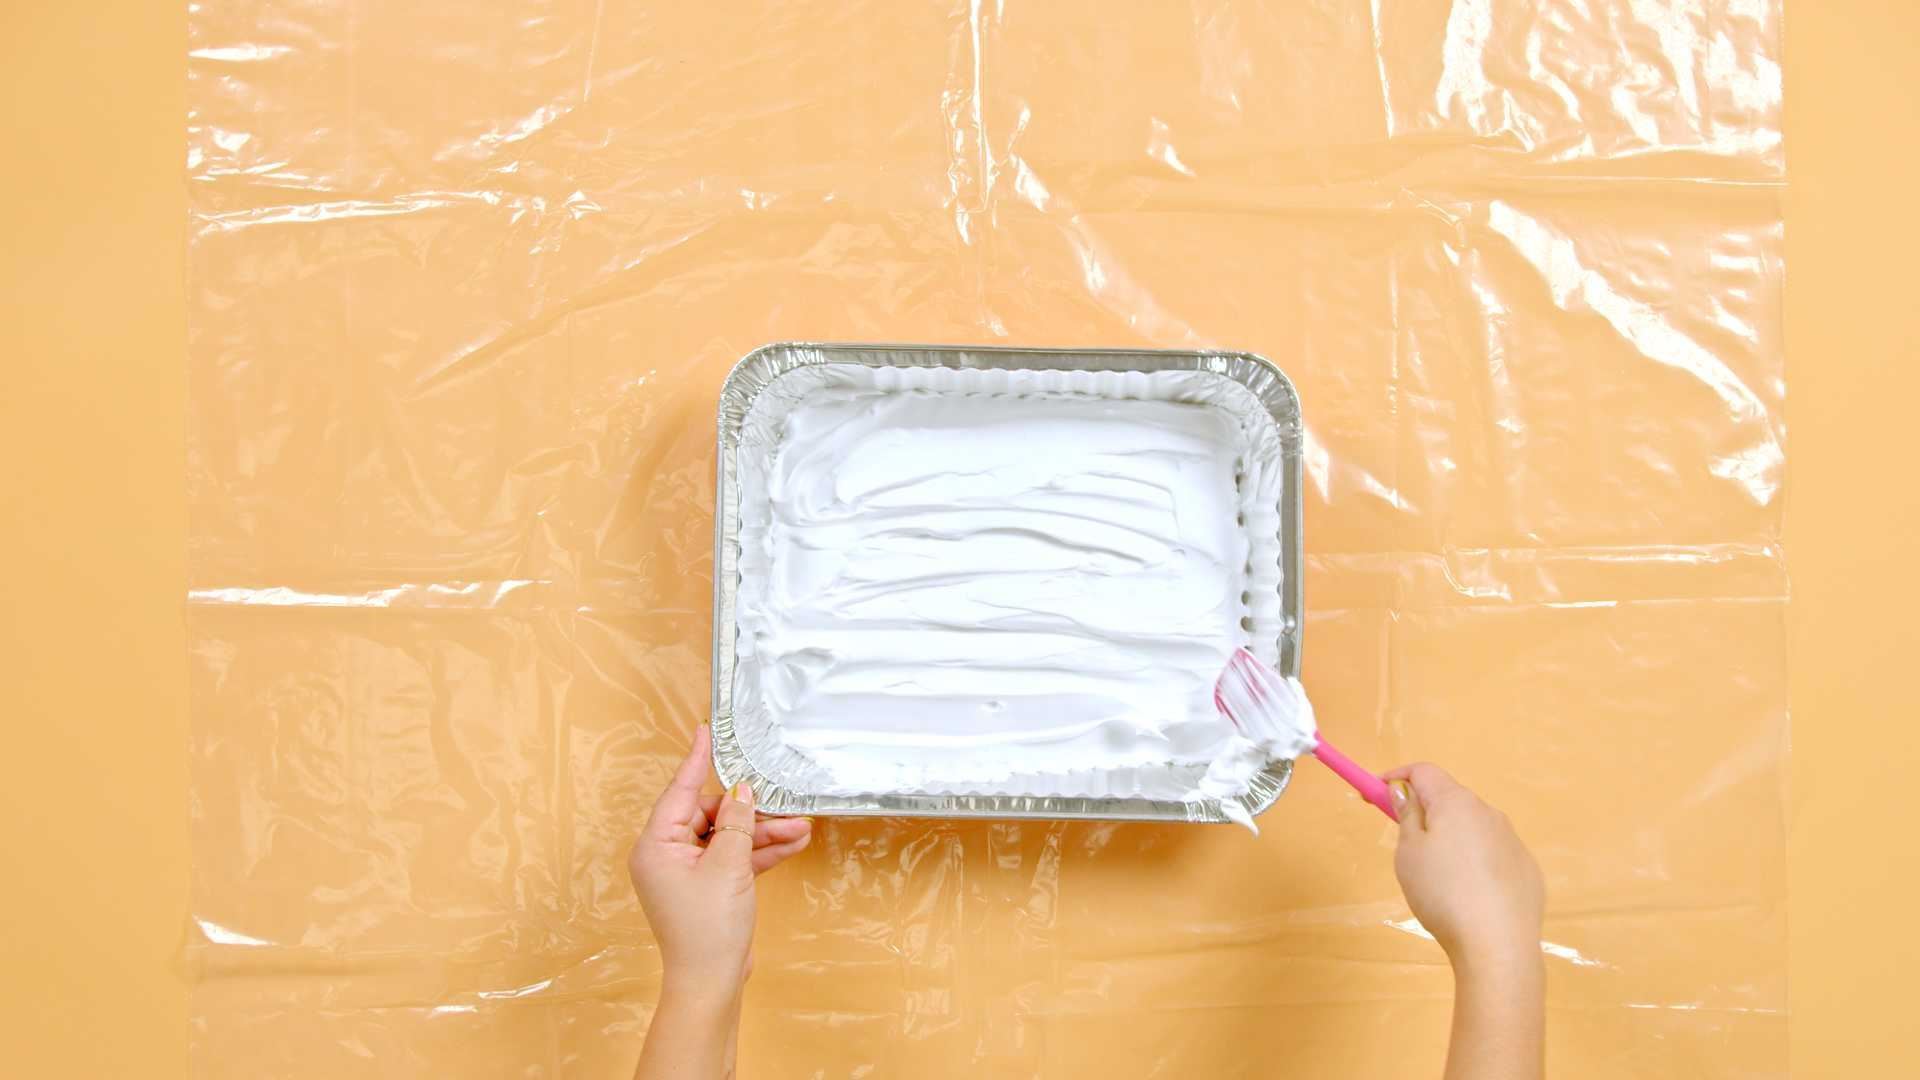
Step 1:
Before you get started on your marble tie-dye project, prewash and dry the substrate that you’ll be dyeing. Cover your work area with a protective surface and prepare your marble tie-dye station by filling a disposable tray with shaving cream. Use a spatula to spread the shaving cream evenly across the tray.
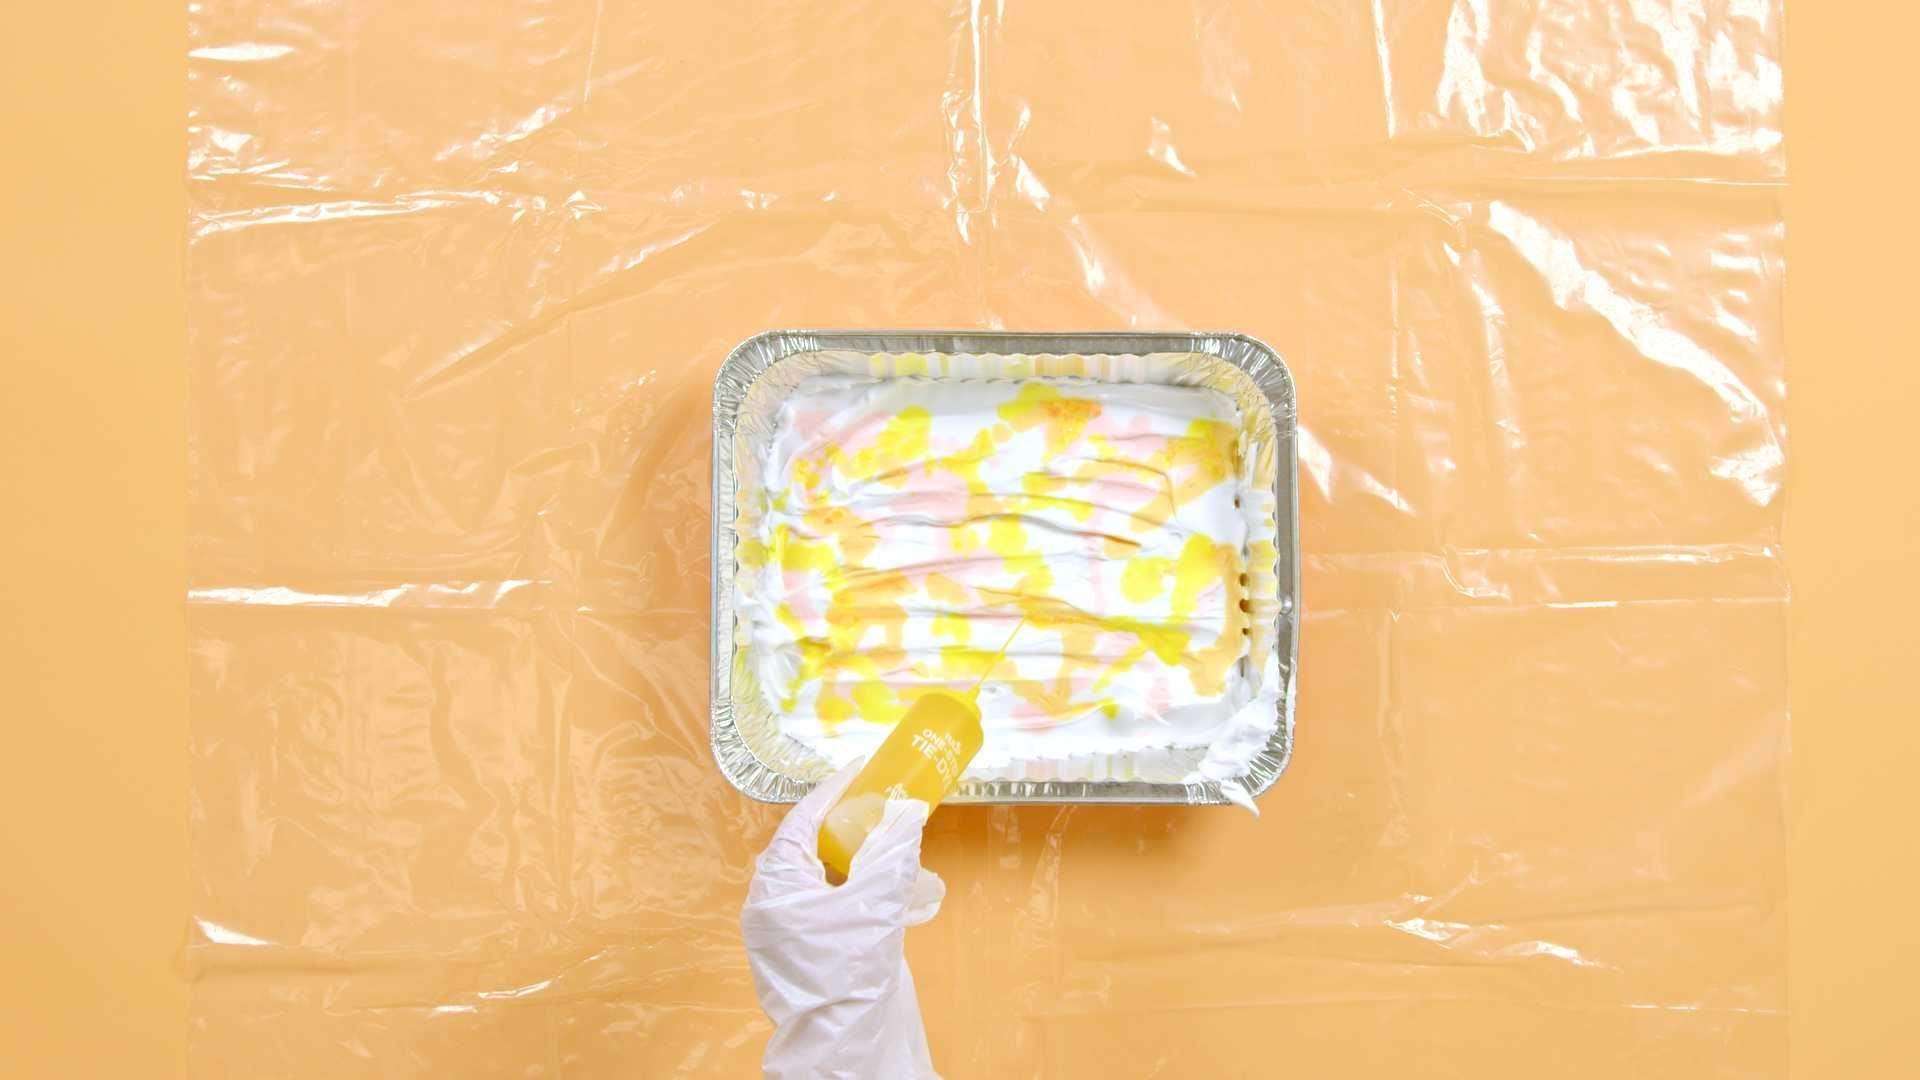
Step 2:
Remember to wear protective gloves when working with tie dye! Prepare your tie-dye solutions by adding water to the dye bottles, filling to the neck. Replace the cap tightly and shake well until dye powder is fully dissolved. You can use as many or as few colors as you’d like for marble tie-dye, but keep in mind how the colors mix to avoid muddied results. Drizzle a small amount of each color dye directly onto the shaving cream.
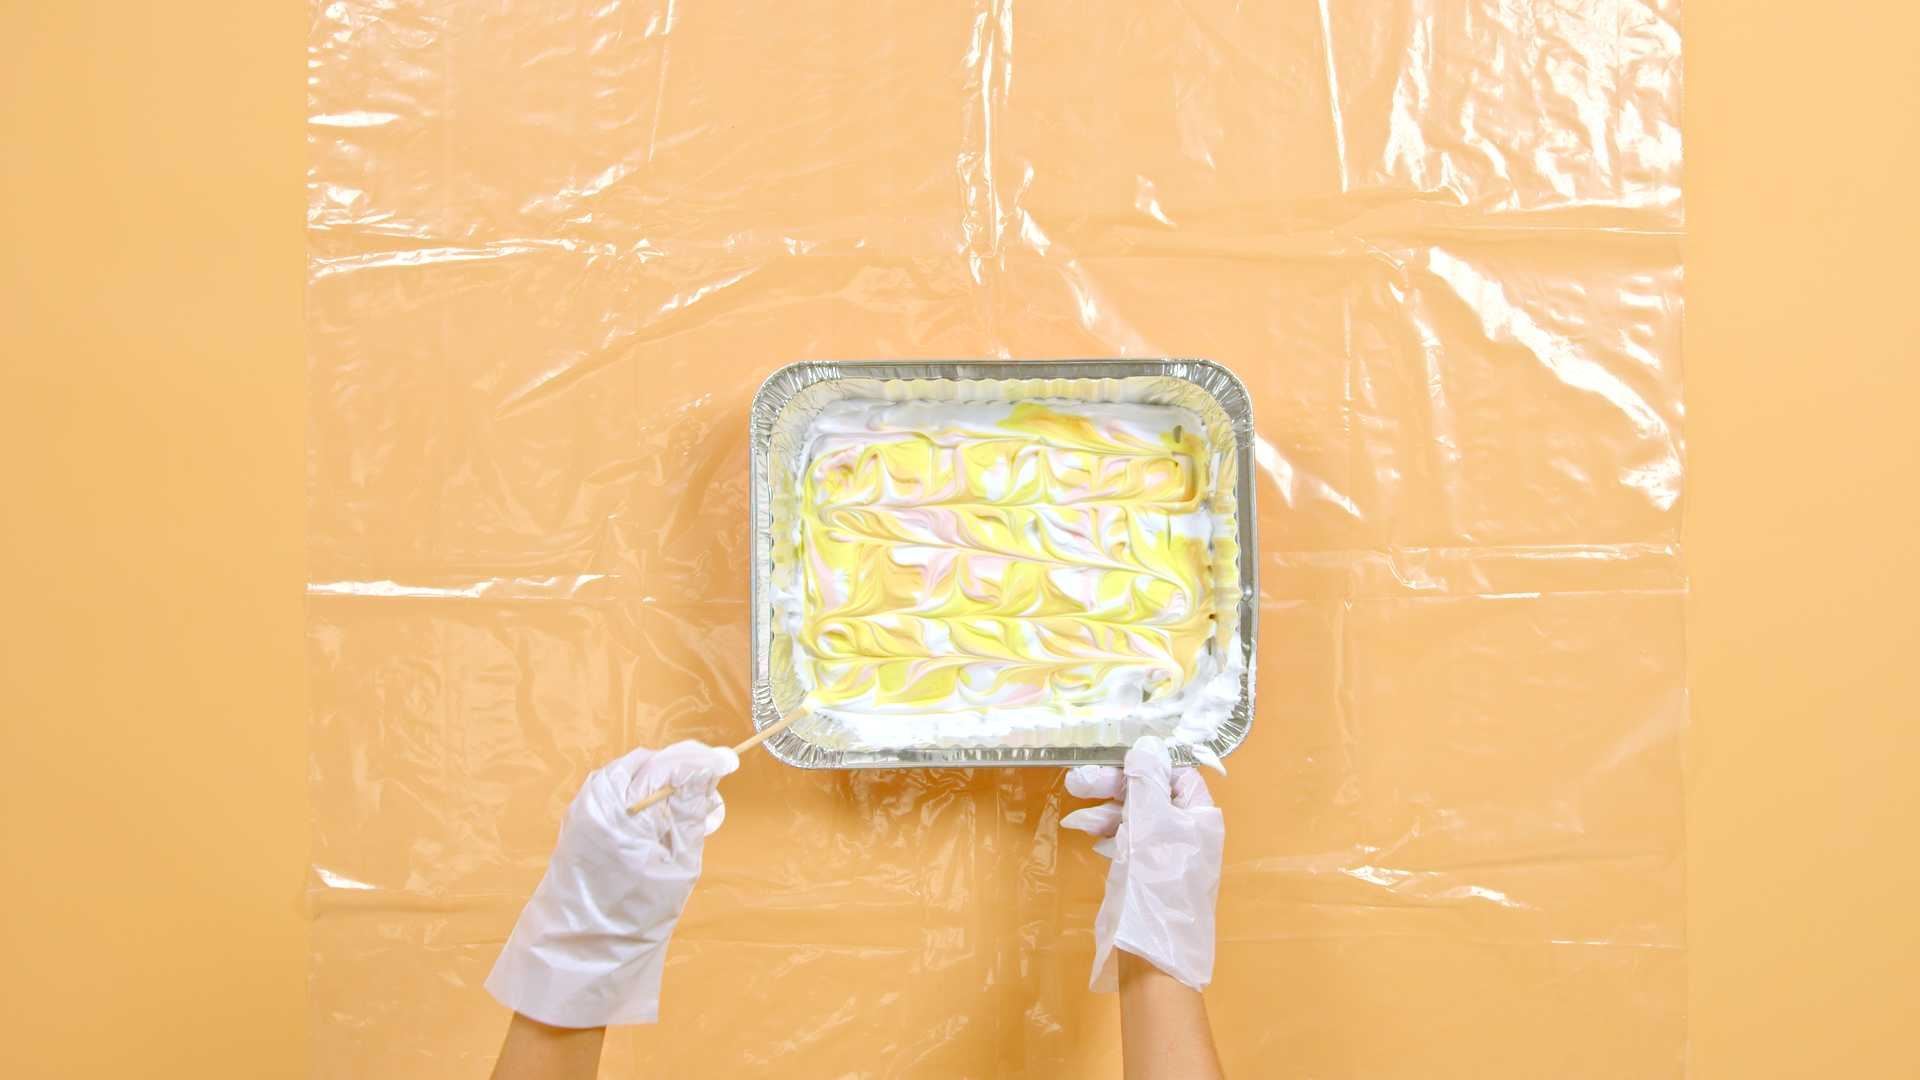
Step 3:
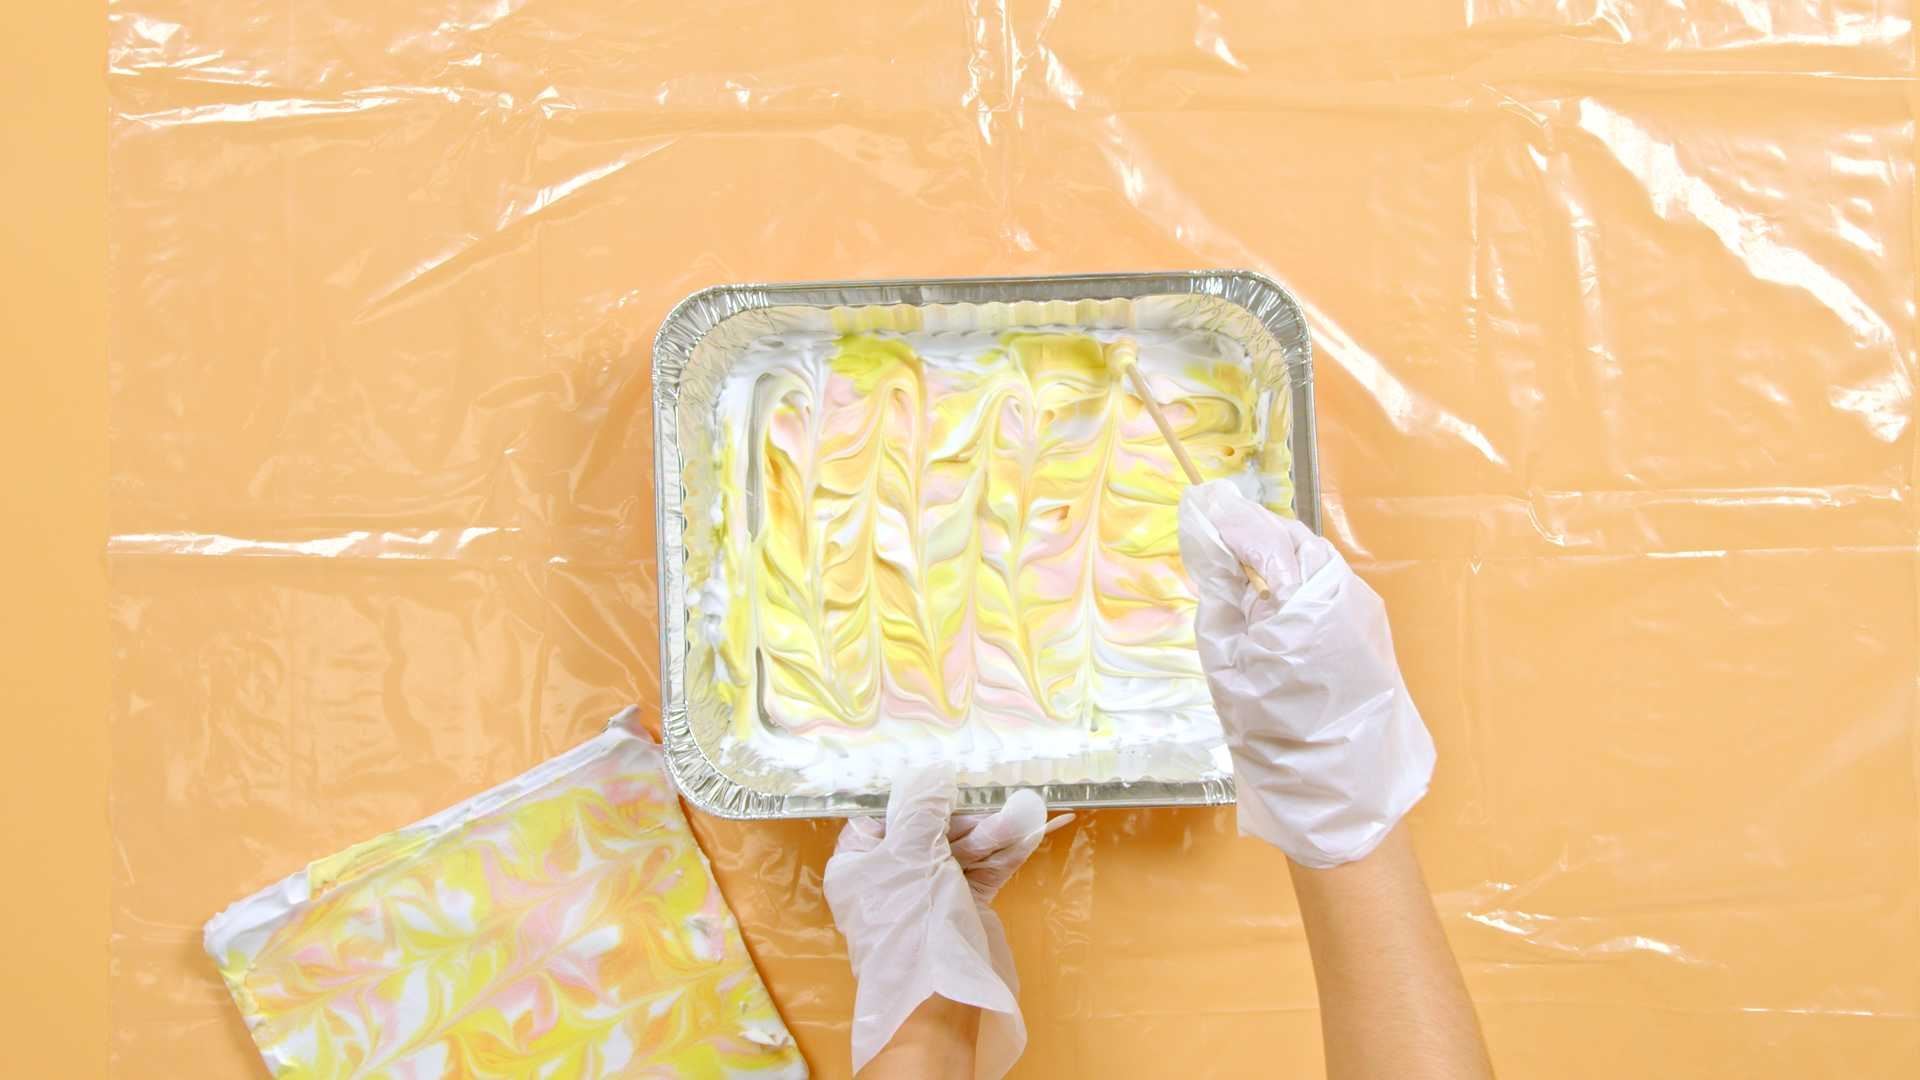
Use a wooden dowel or skewer to swirl and manipulate the colors on the shaving cream's surface. Create unique marbled patterns by dragging or combing through the dyes to achieve the desired effect. Each marble tie-dye project will have one-of-a-kind designs!
Step 4:
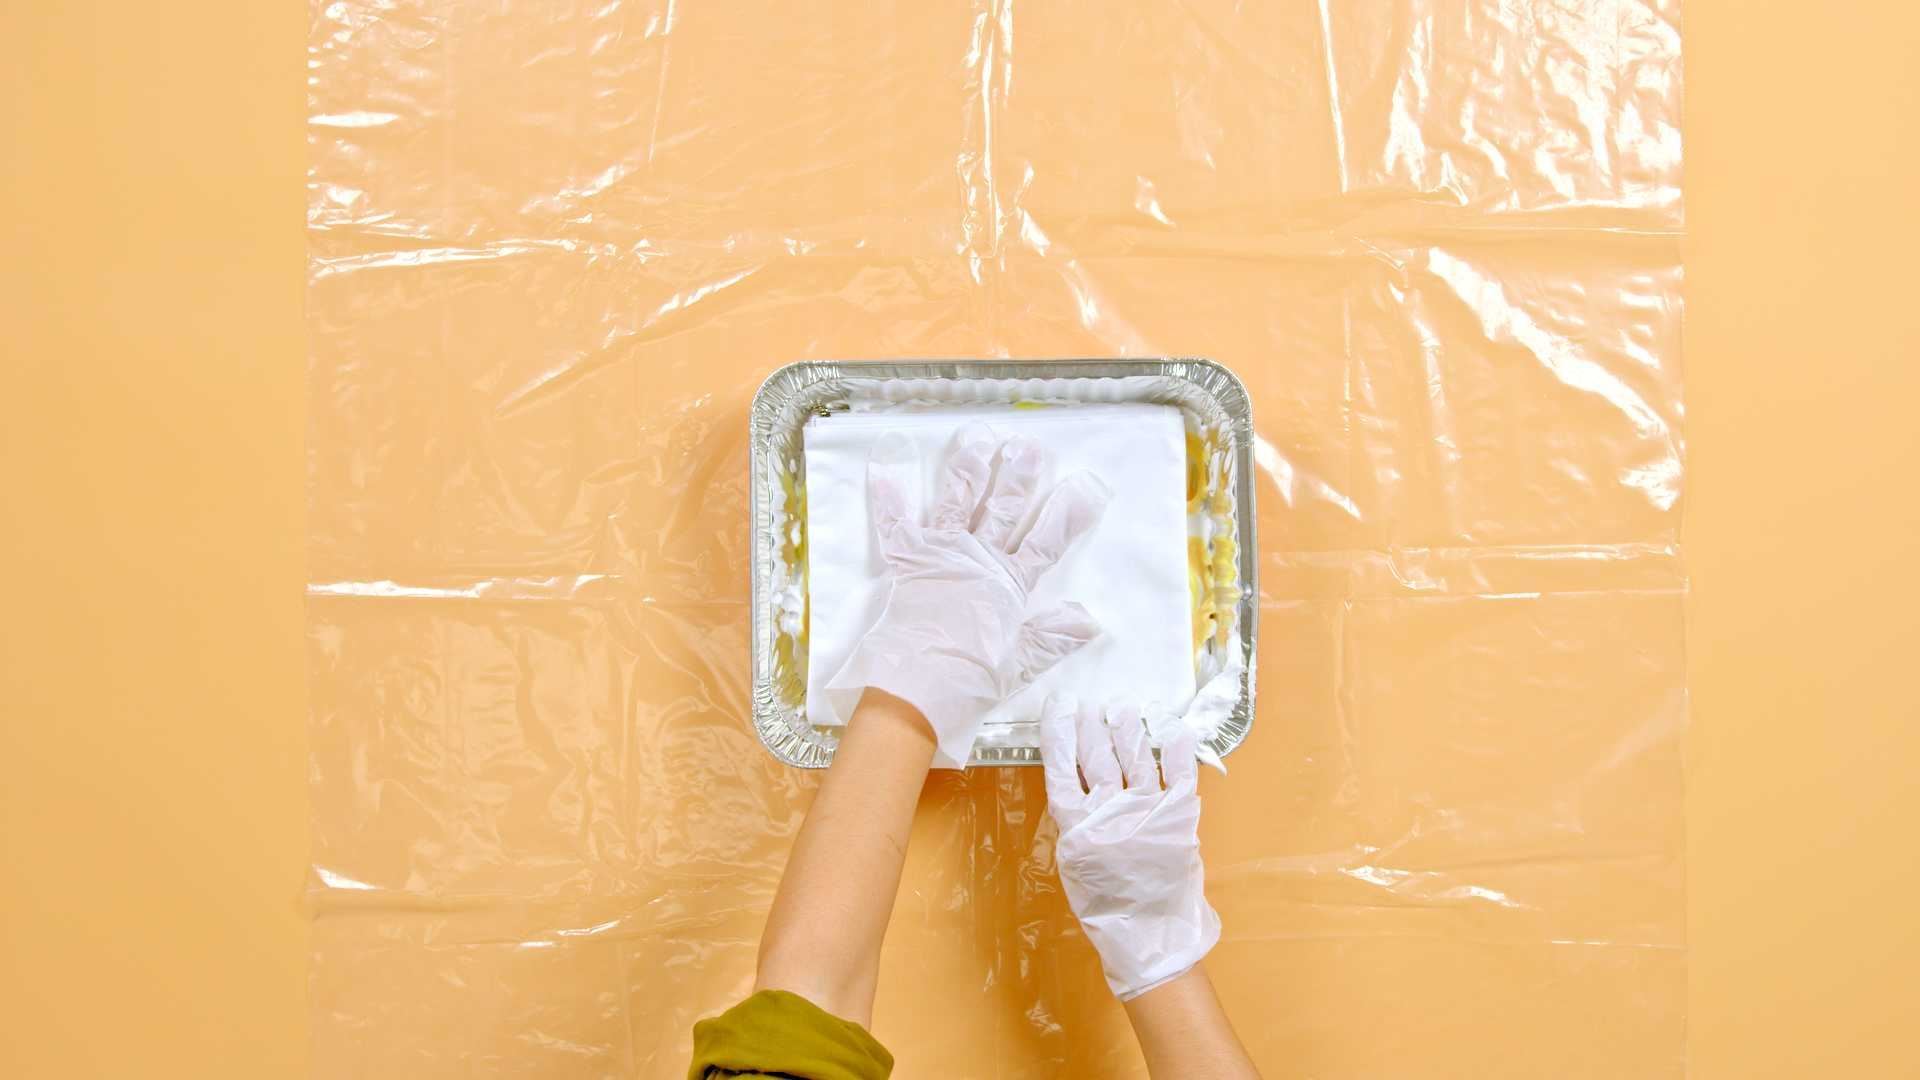
Carefully lay your substrate onto the surface of the marble dyed shaving cream. Gently press the fabric onto the surface to ensure the dyes are transferred.
Step 5:
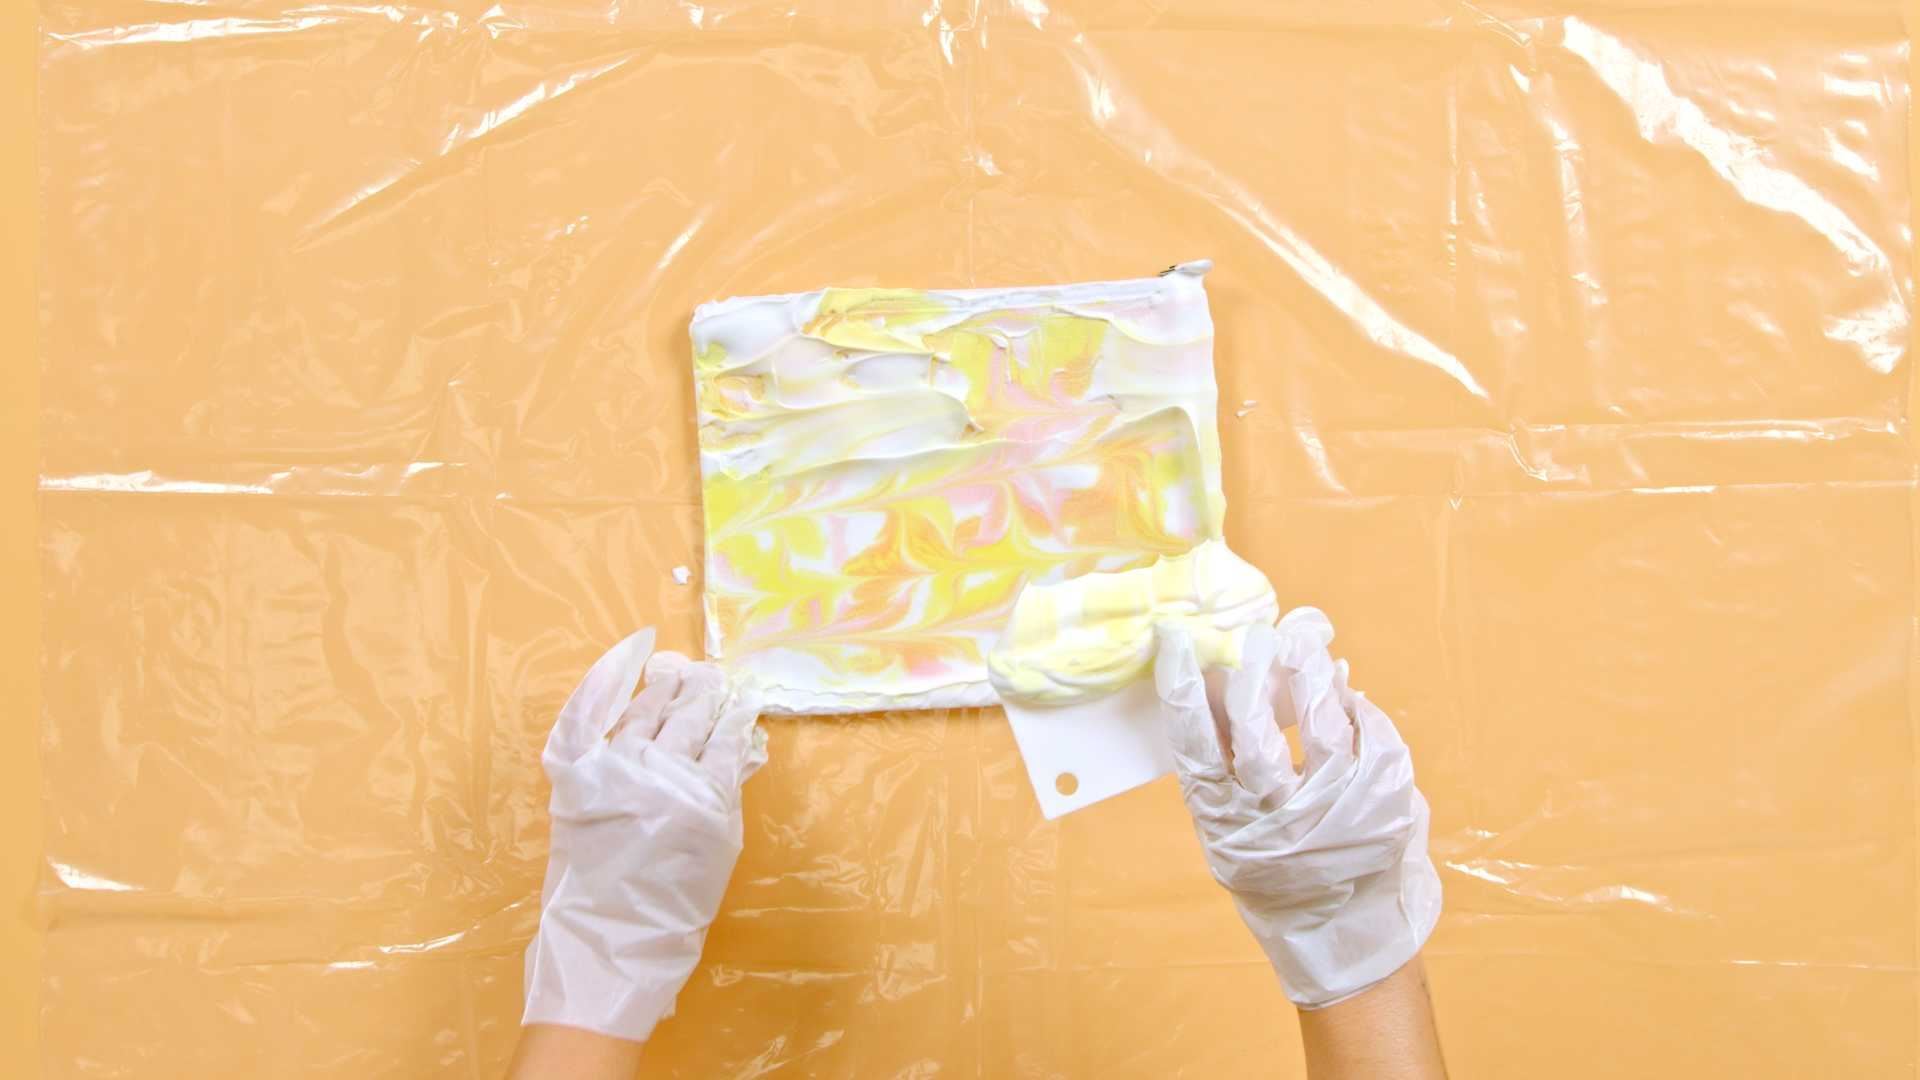
Use a plastic bench scraper to remove excess shaving cream from your project and check out your marbled tie-dye designs! If needed, use a paper towel to clean off any additional product.
Step 6:
Repeat steps 2-5 to marble tie-dye the other side of your project. Let dry for the dyes to set completely.
Step 7:
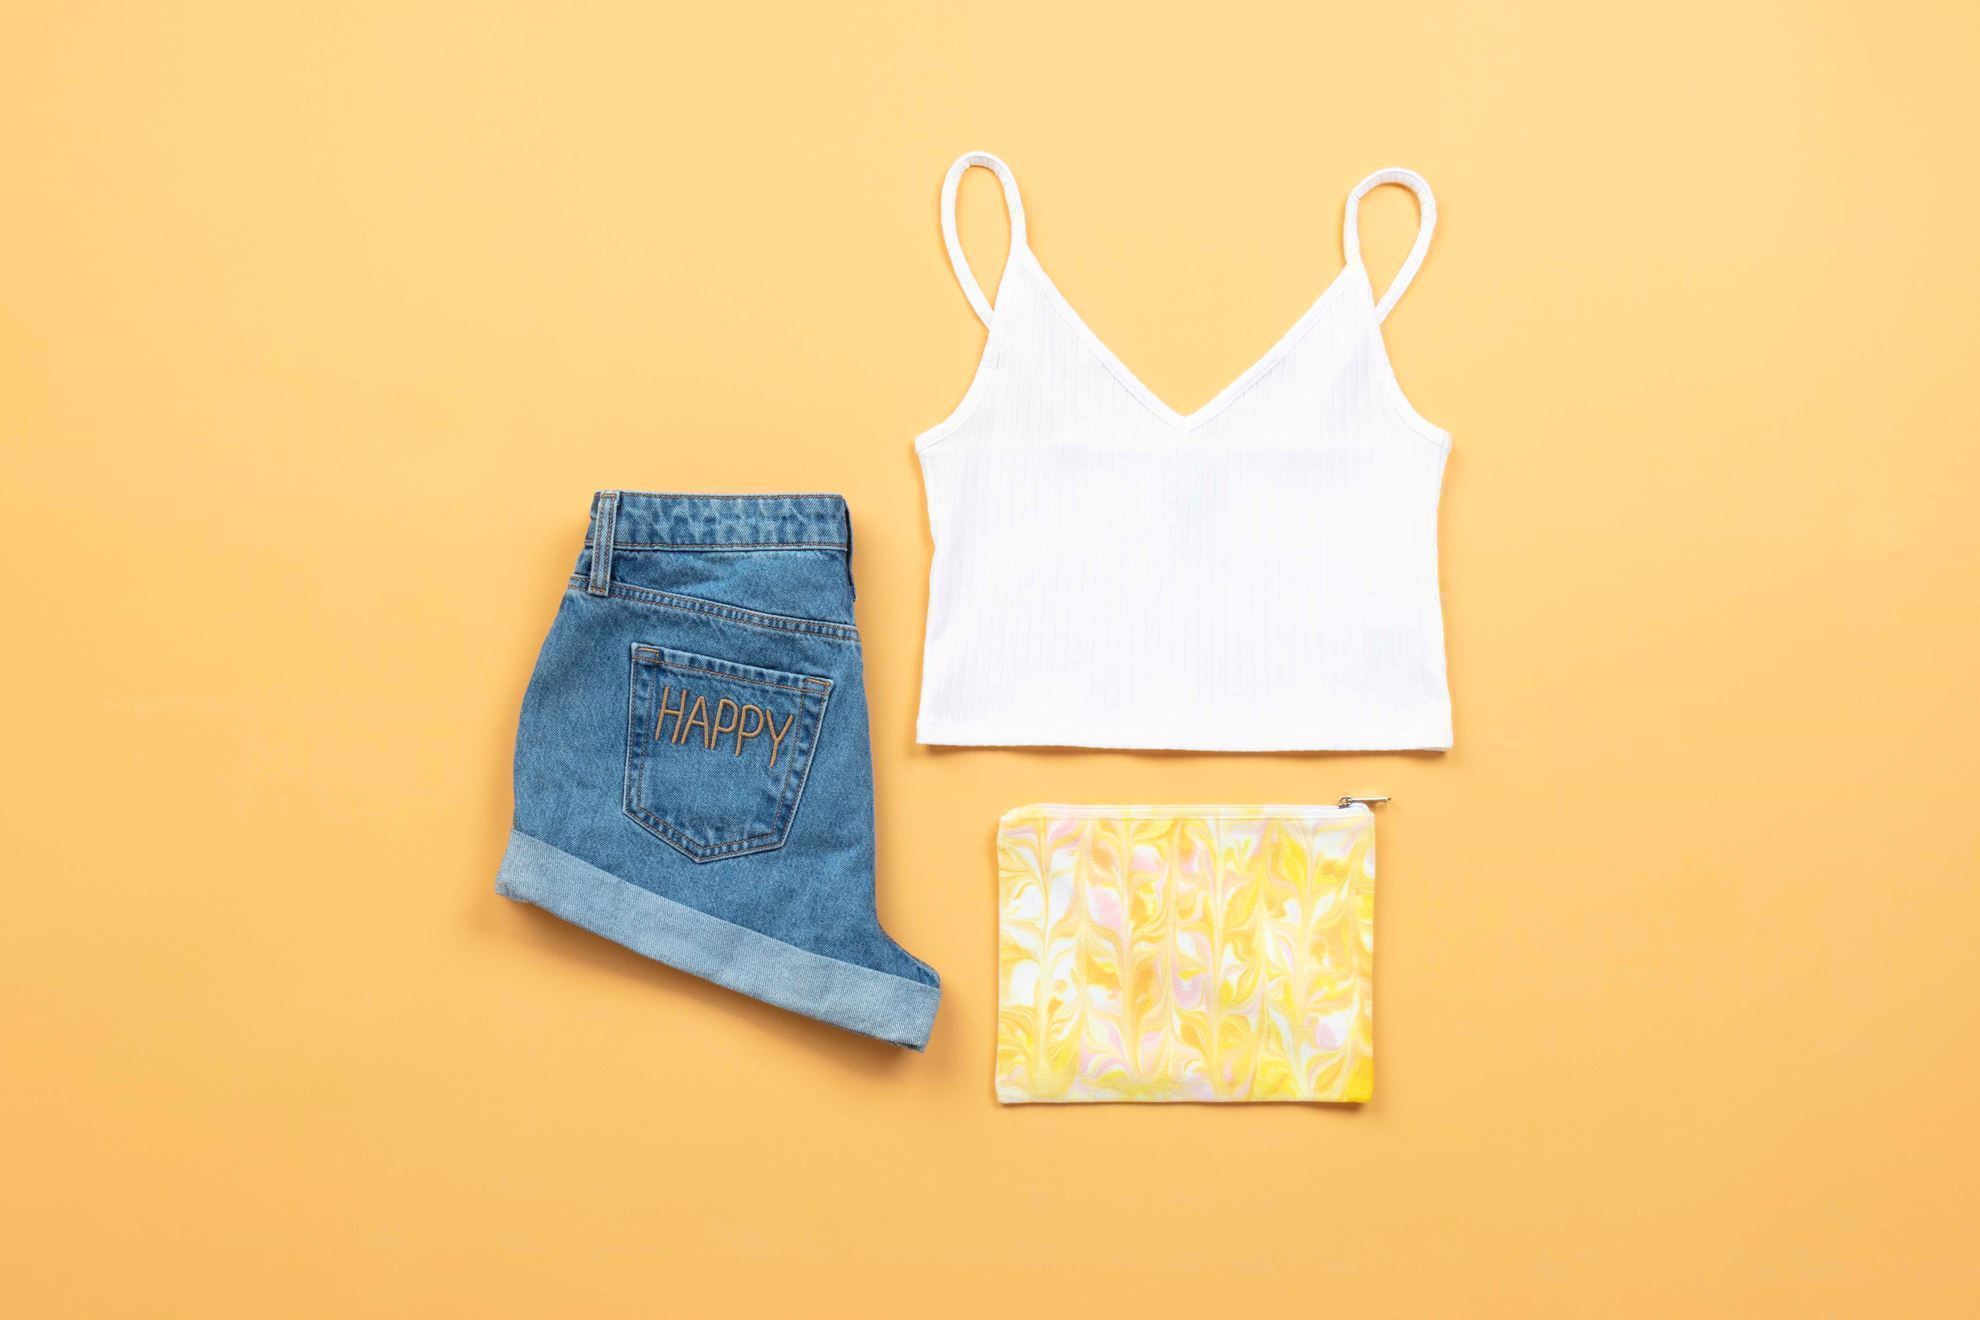
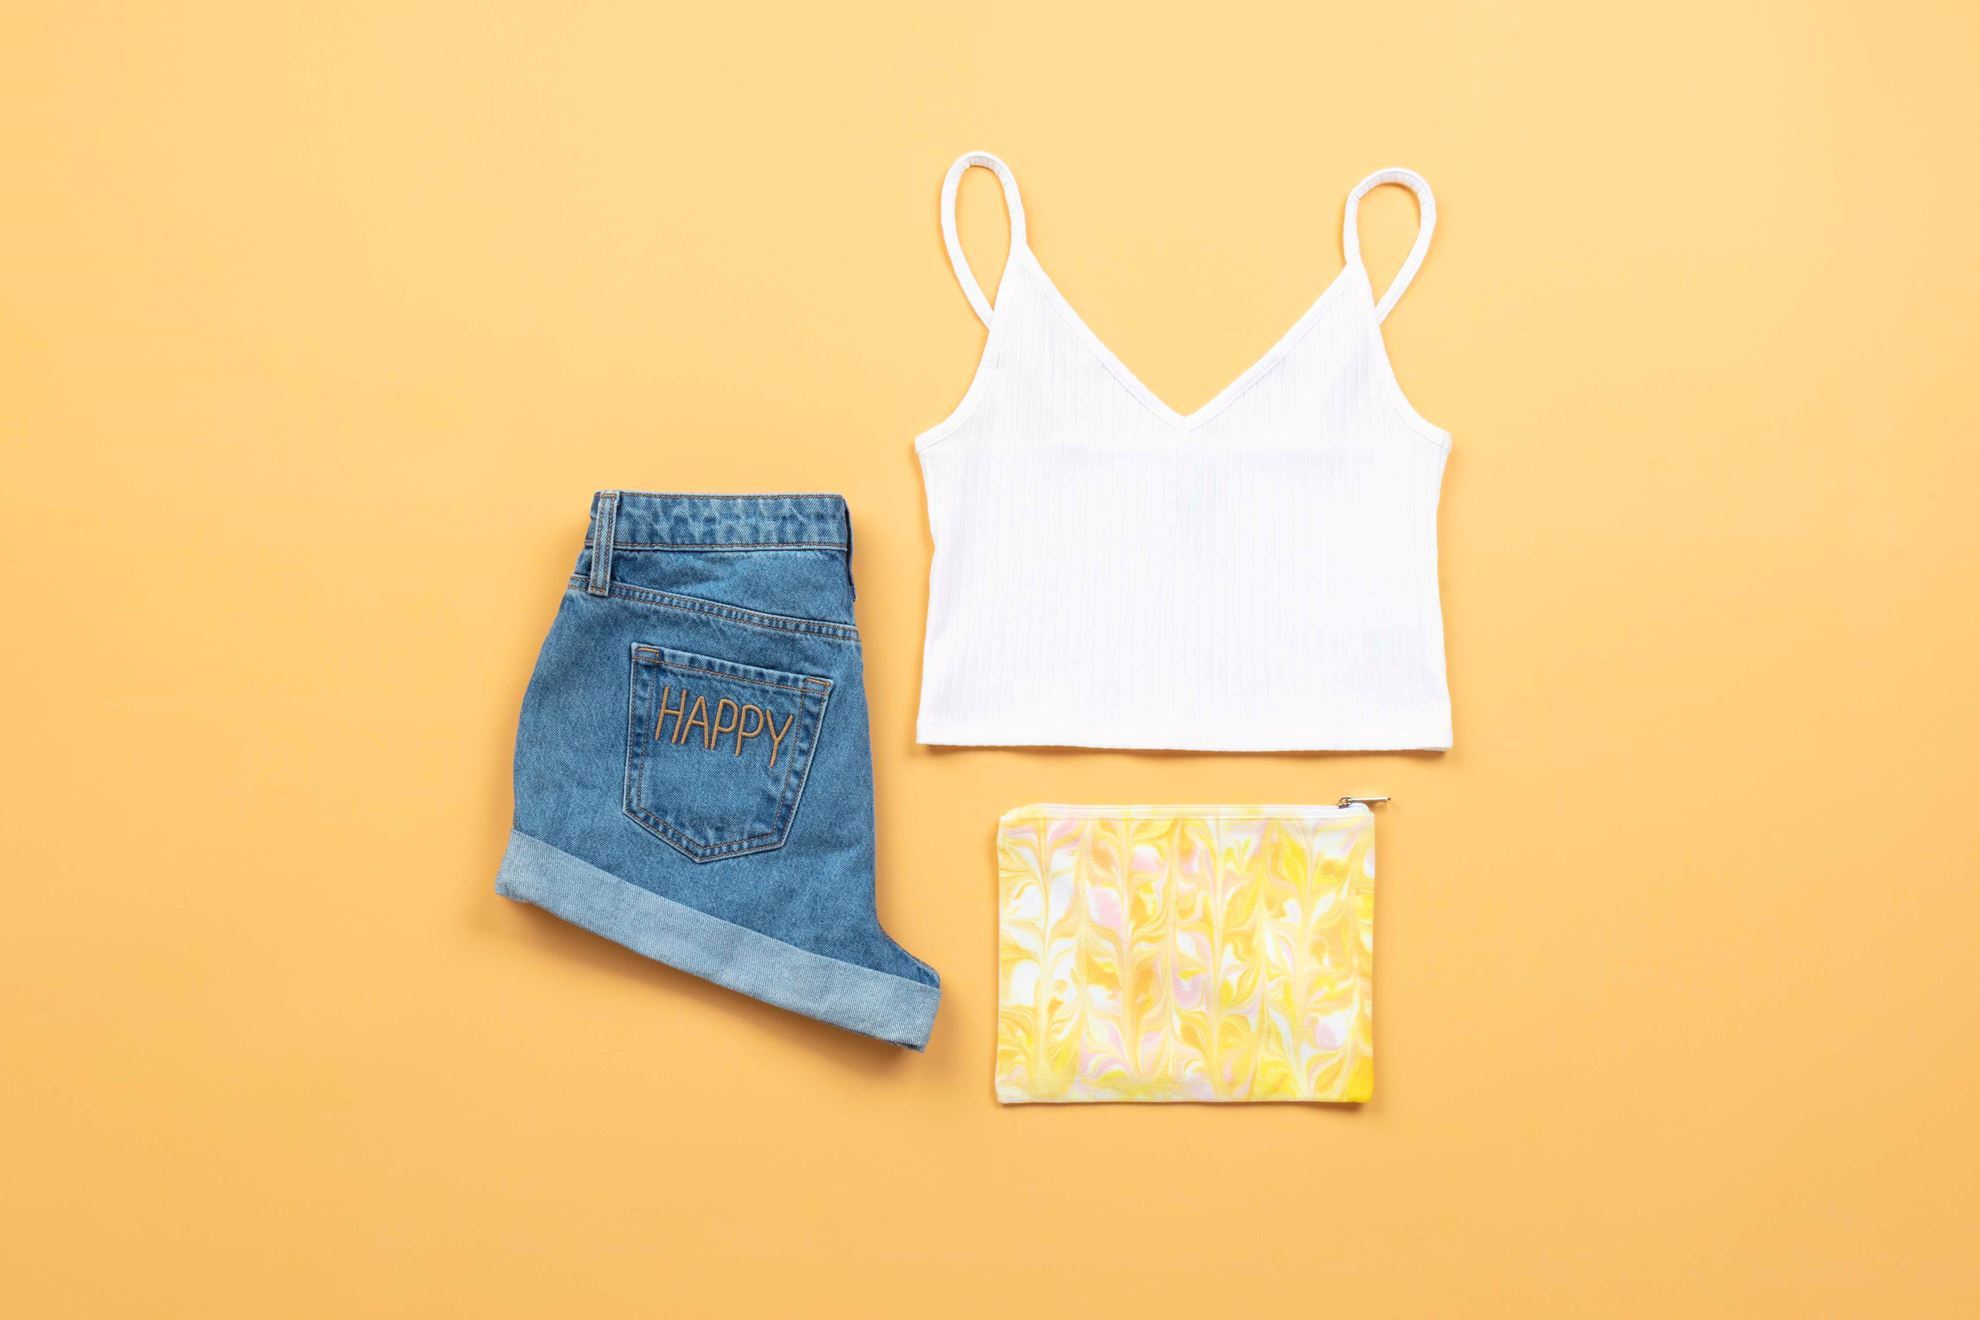
Your marble tie-dye project is ready! Add a fun swirl of color to any outfit with your own marble tie-dye accessories.
What projects will you customize with marble tie dye? Show your unique marble tie-dye patterns and tag us on social media @TulipColorCrafts!
Pin This Project

