You can delete and/or block cookies by modifying the settings on your browser. Learn more
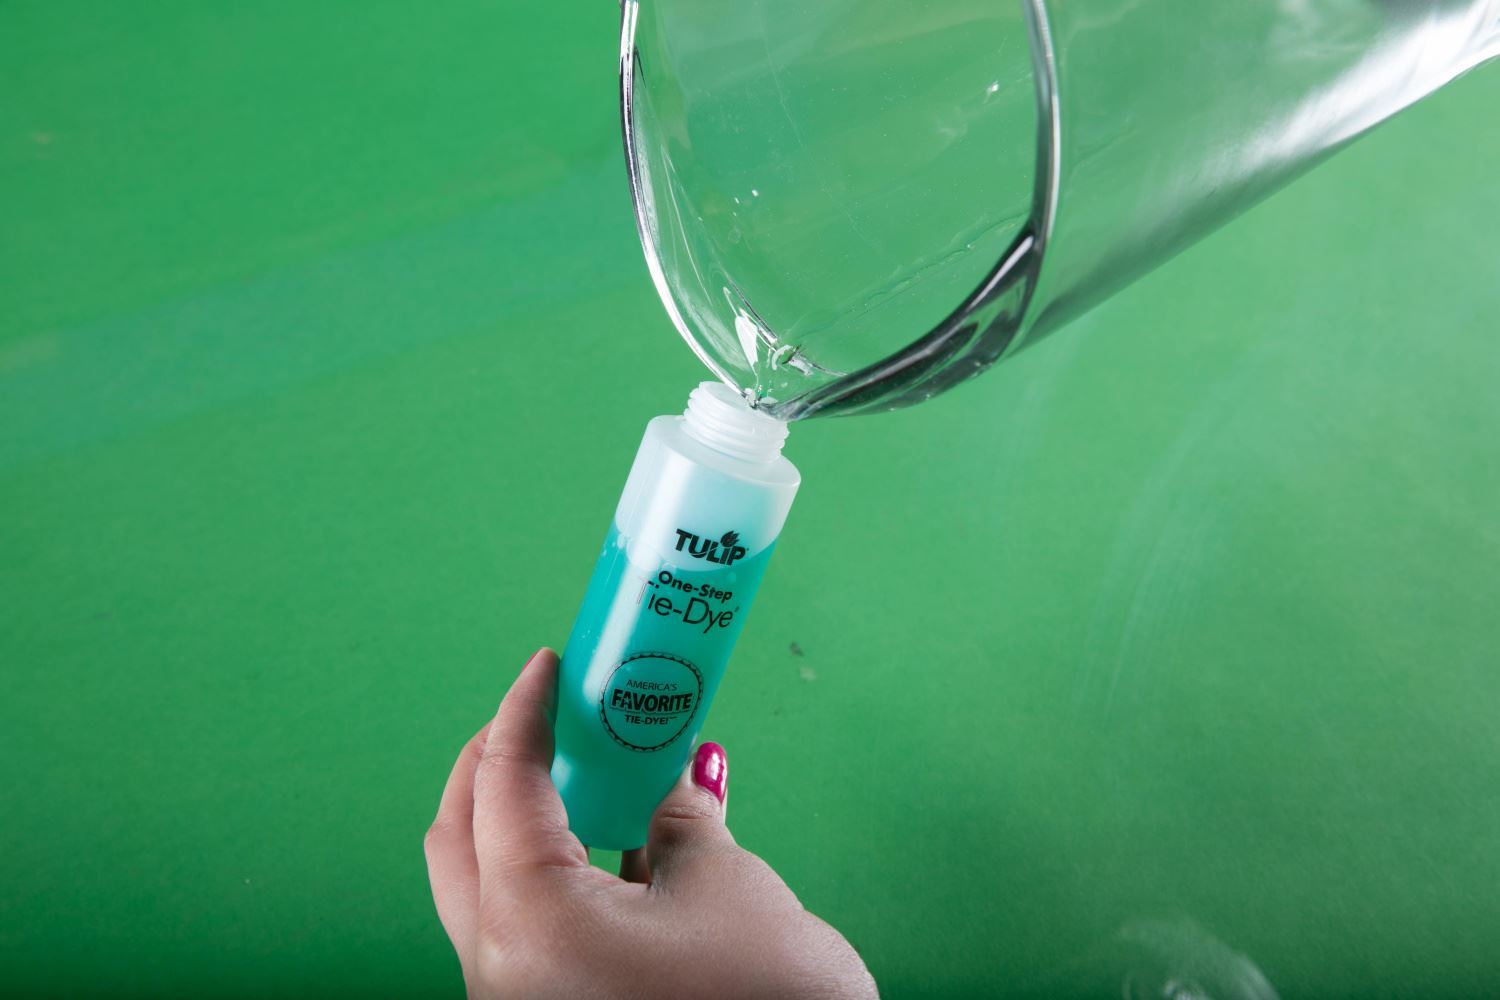
Step 1:
All you need to get started is an item to tie dye and your favorite Tulip One-Step Tie-Dye Kit! Make sure the item you are going to tie dye is white or a very light color, and made from 100% cotton or another natural-fiber fabric for best and brightest results. Before tie dyeing your item, make sure to wash it (without fabric softener) and leave damp. There's no need to presoak it in soda ash beause Tulip One-Step Dyes already have soda ash in the formula. Cover your work area with a disposable plastic surface cover and you're ready to get started on the crumple tie-dye technique!
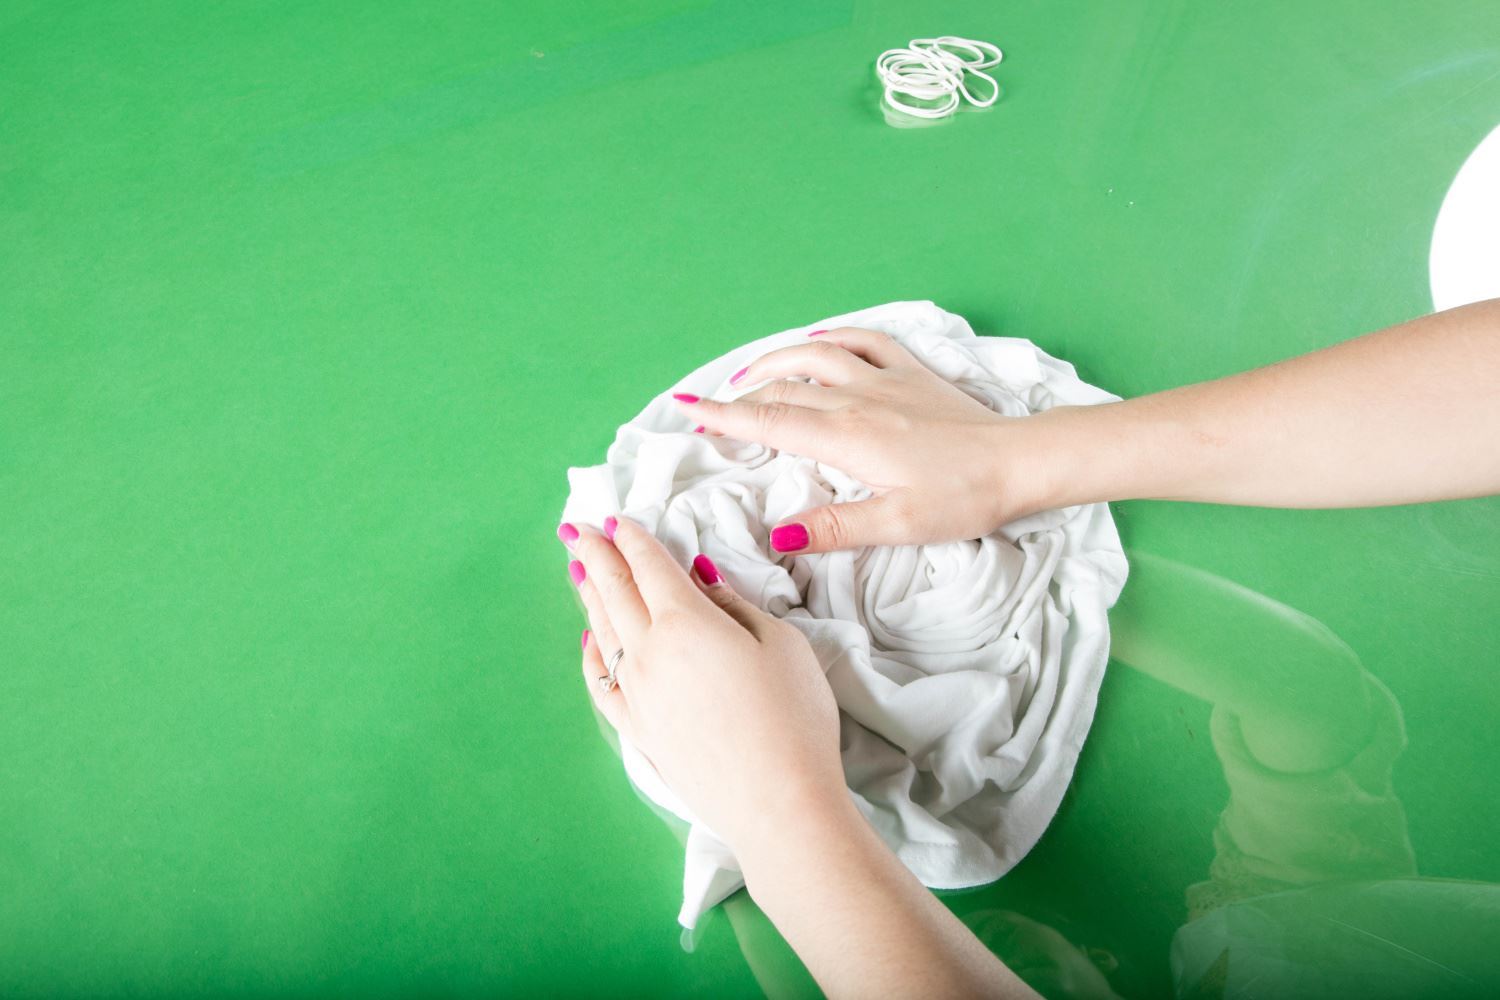
Step 2:
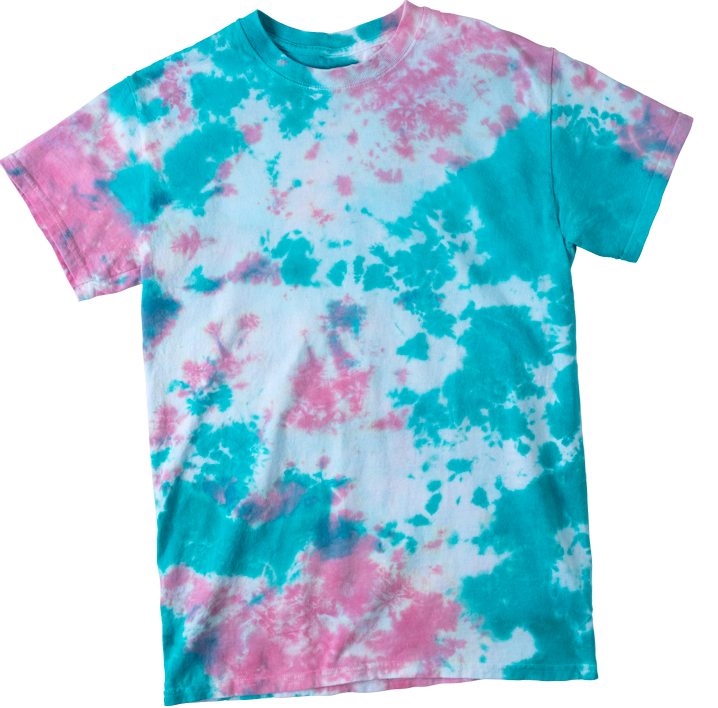
Lay your damp fabric out on the covered work surface. Scrunch the fabric into a crumpled mound. You can make the fabric loosely crumpled or really squish it all together for tighter, more defined crumples.
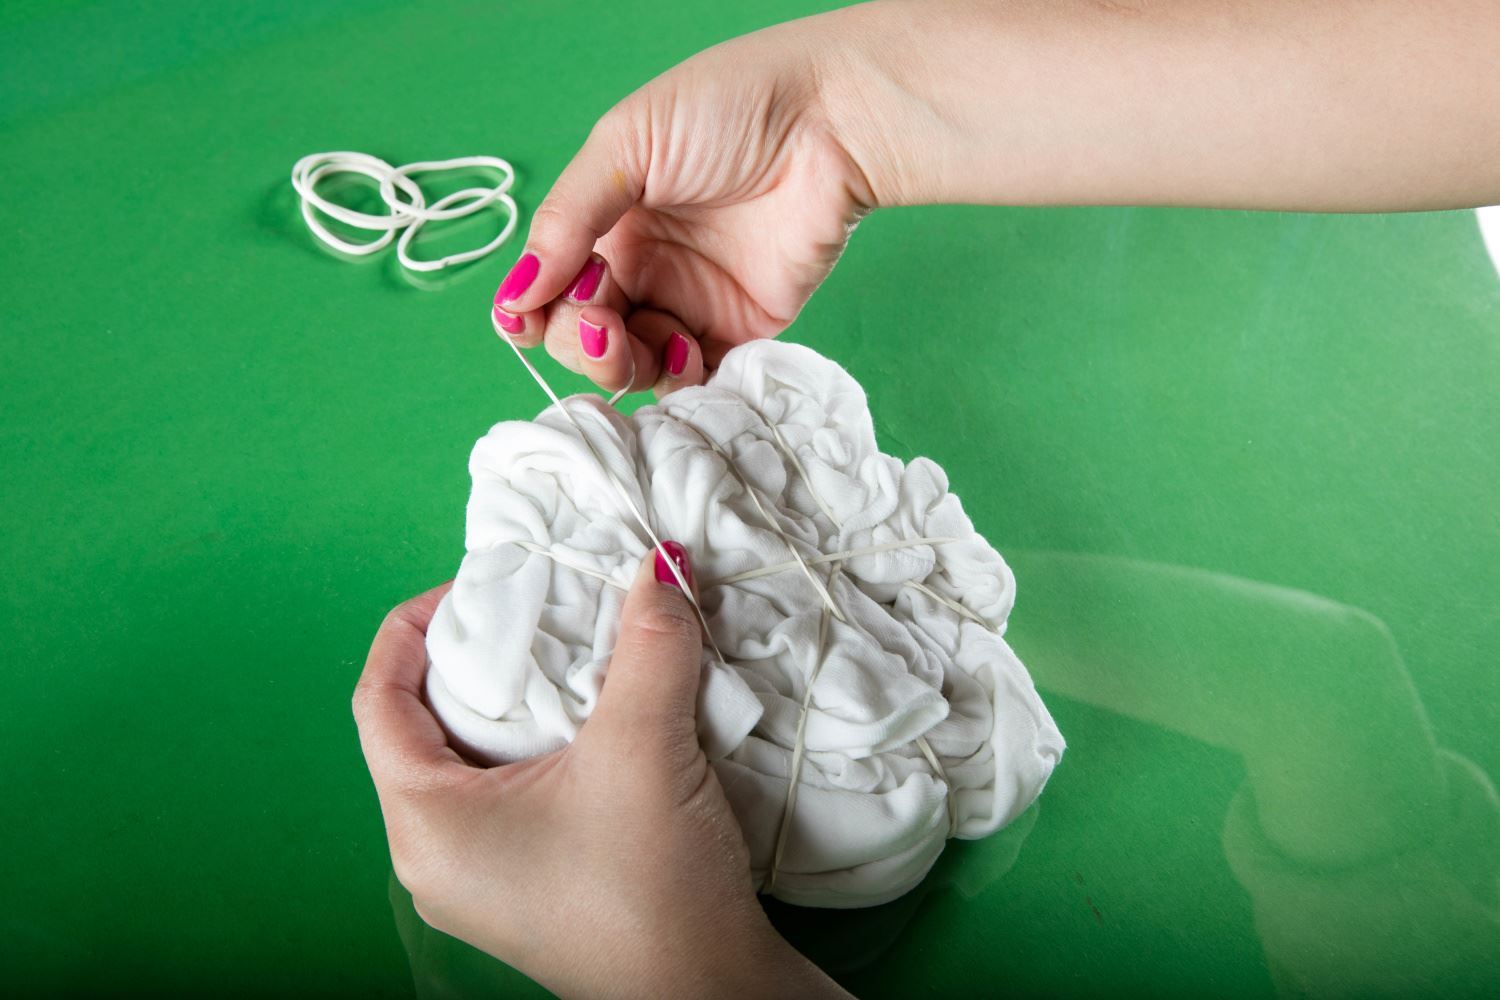
Step 3:
If you want to, you can secure your crumpled fabric with rubber bands before tie dyeing. This will help hold those crumples together more tightly if you are trying to achieve a super defined crumple tie-dye pattern. But you don't have to secure with rubber bands for this tie-dye look; it will still turn out looking awesome!
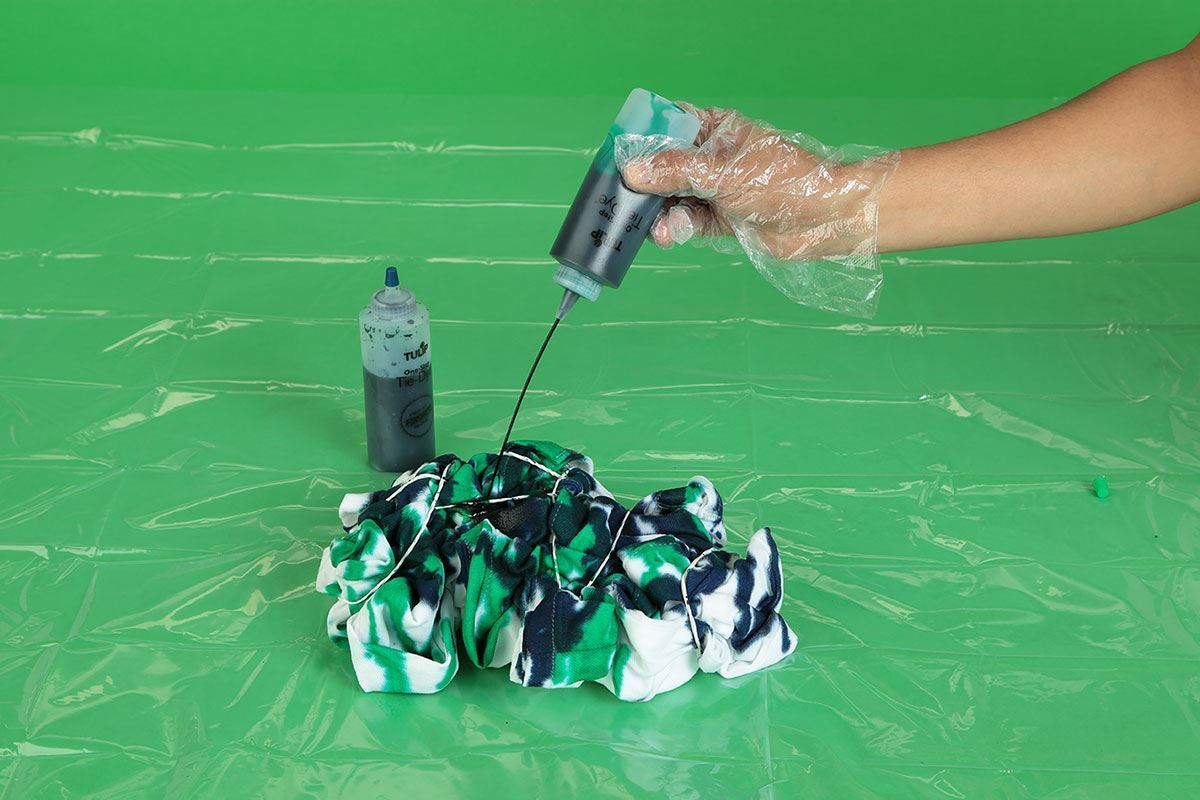
Step 4:
Mix your Tulip One-Step Dyes according to the packaging instructions, then apply to your cumpled fabric. You can apply one dye color or multiple dye colors - there's no wrong way to do it! Tip: If you are applying several dye colors, it's okay to allow the dyes to mix on the damp fabric, just make sure they're colors that blend nicely together (example: red + blue = purple). Some colors will turn a brownish color if they mix, so if you're unsure, try blending them together on scrap fabric first. Don't forget to flip your scrunched fabric over and apply dye to the backside as well. Place it in a sealed bag or cover with plastic to keep damp while the dye sets, then launder according to instructions.
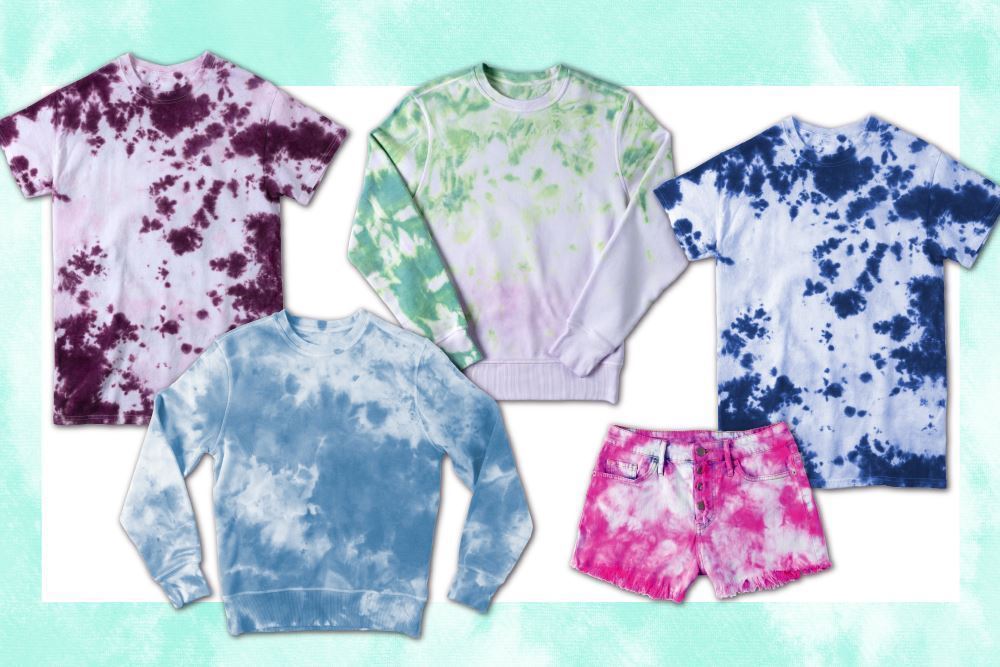
Tulip Crumple Tie-Dye Ideas
Now that you know how easy it is to do the crumple tie-dye technique on just about anything you can tie dye, check out this 5-crumple-tie-dye-ideas roundup of ideas to get you inspired to start crumpling your stuff!
