You can delete and/or block cookies by modifying the settings on your browser. Learn more
Candy-Inspired Two-Minute Tie-Dye T-shirts
Published Date May 07, 2020
If you're impatient like us and you want to wear your tie-dye fashion as soon as possible - like yesterday - you've come to the right post. Today we're talking about Tulip Two-Minute Tie Dye (yes, it actually exists) ... and if you haven't heard of it yet, it's your lucky day. Two-Minute Tie Dye is our patent-pending process that speeds up our One-Step Dye set time from 8 hours to 2 minutes. No joke. Tulip Two-Minute Tie-Dye Kits feature specially made containers designed to work specifically with Tulip One-Step Dyes in the microwave to speed up the set process. Our friend Handmade Charlotte put together some fab candy-inspired T-shirt ideas for you using Two-Minute Tie Dye, so check out the process and swoop up your own kit to sweeten your day with a faster way to tie dye!
What you need:
- Tulip Two-Minute Tie Dye Kit or Tulip Two-Minute Tie Dye Containers & One-Step Dyes of choice
- White 100% cotton T-shirts
- Scissors
- Disposable plastic surface cover

Before tie dyeing, wash your shirt (without fabric softener) and leave damp. Cover your work surface with protective plastic then lay your shirt out onto your prepared surface. Scrunch the shirt fabric together into a tight mound.

Bind your scrunched shirt with rubber bands to hold the shirt secure.
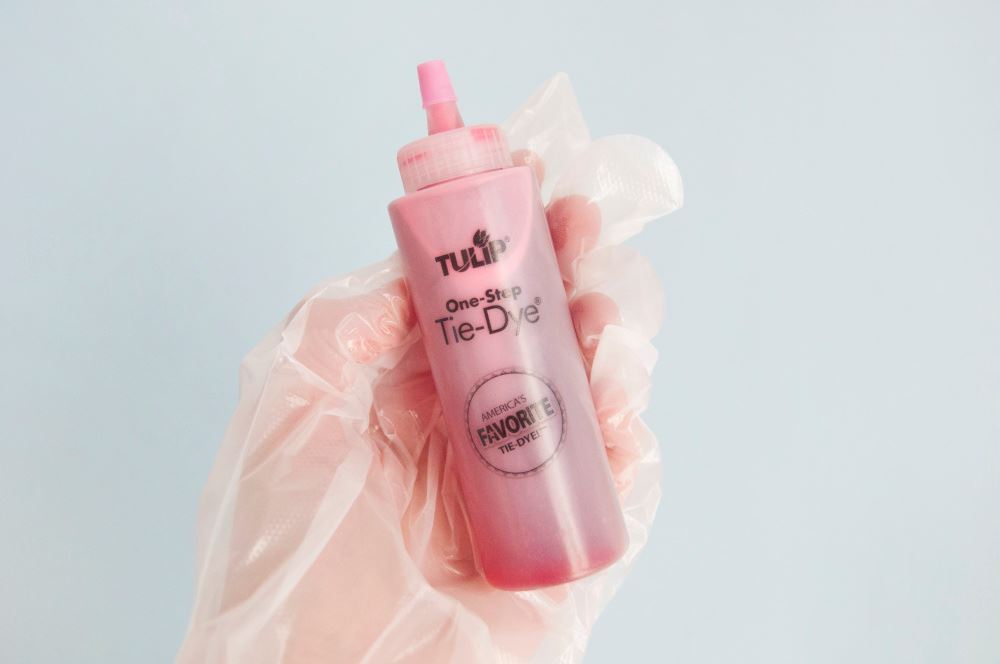
For a bubblegum look, mix up pink One-Step Dye according to instructions.
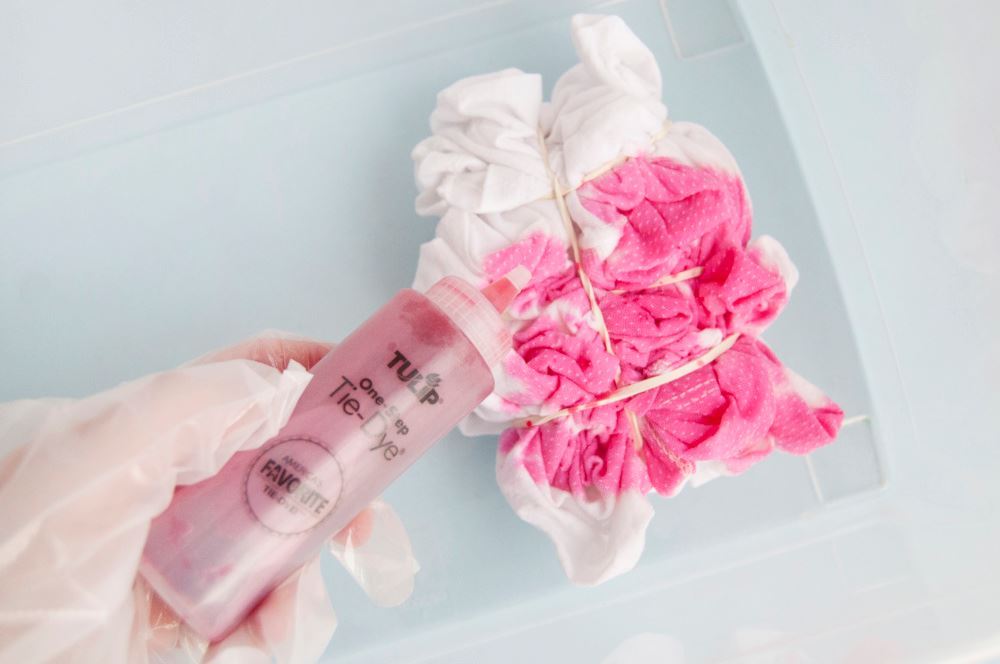
Apply dye over the entire shirt, flipping it over and applying to the backside as well.
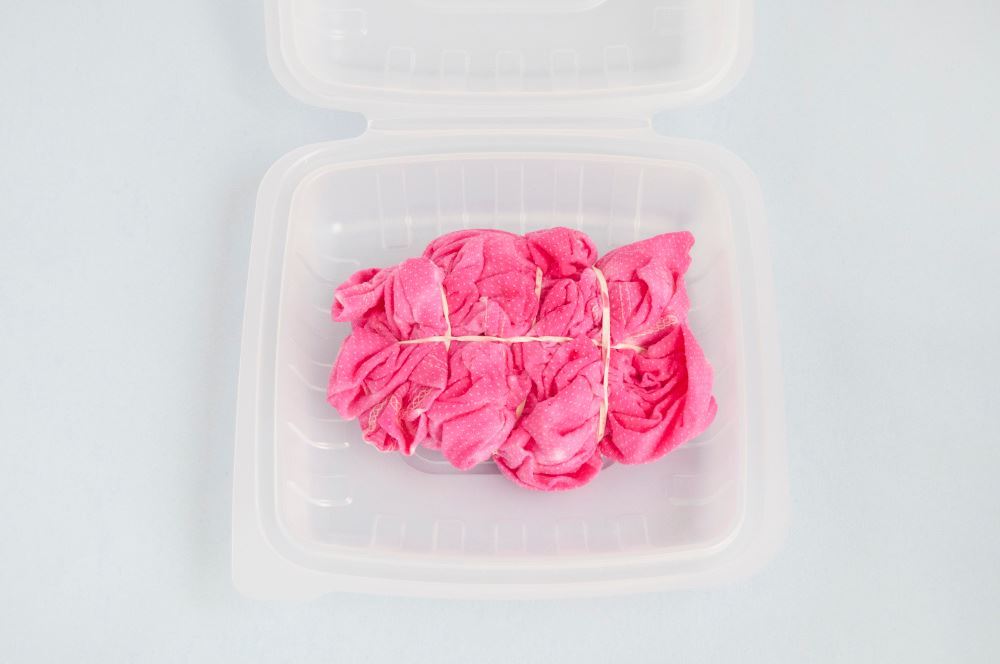
Make sure your shirt is still completely damp before placing in the Two-Minute Tie-Dye Container. If any part has dried, re-dampen. Snap the lid closed and microwave your shirt according to instructions.
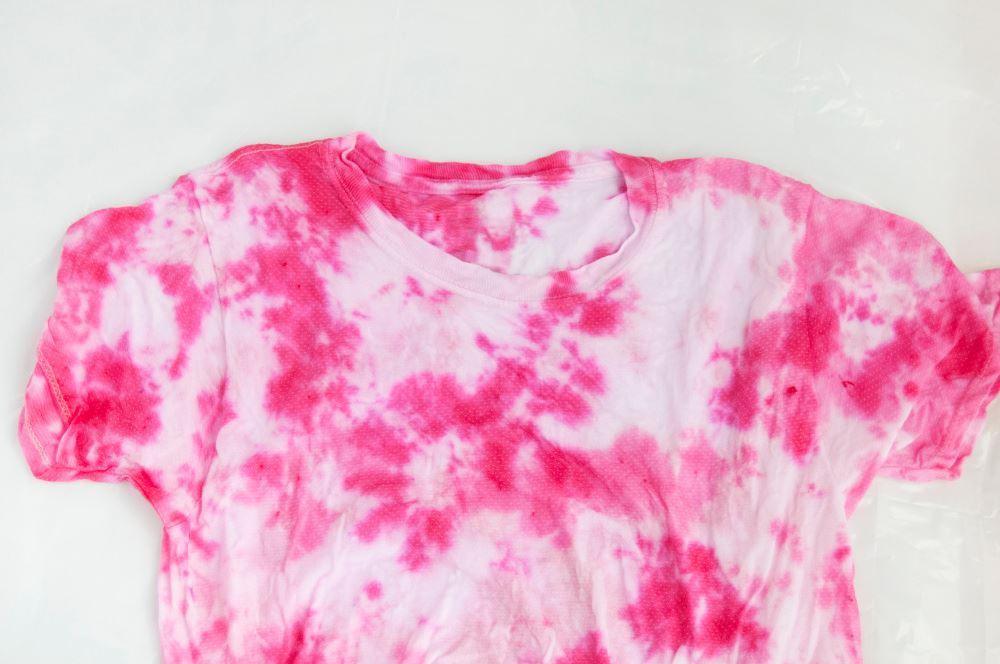
Once your shirt has processed and cooled according to instructions, remove the rubber bands and rinse it. If you want to achieve a "double-bubble" effect like Handmade Charlotte, repeat the entire scrunching, binding and dye process with a darker shade of pink for twice the effect!
Bullseye Berry Cotton Candy T-shirt
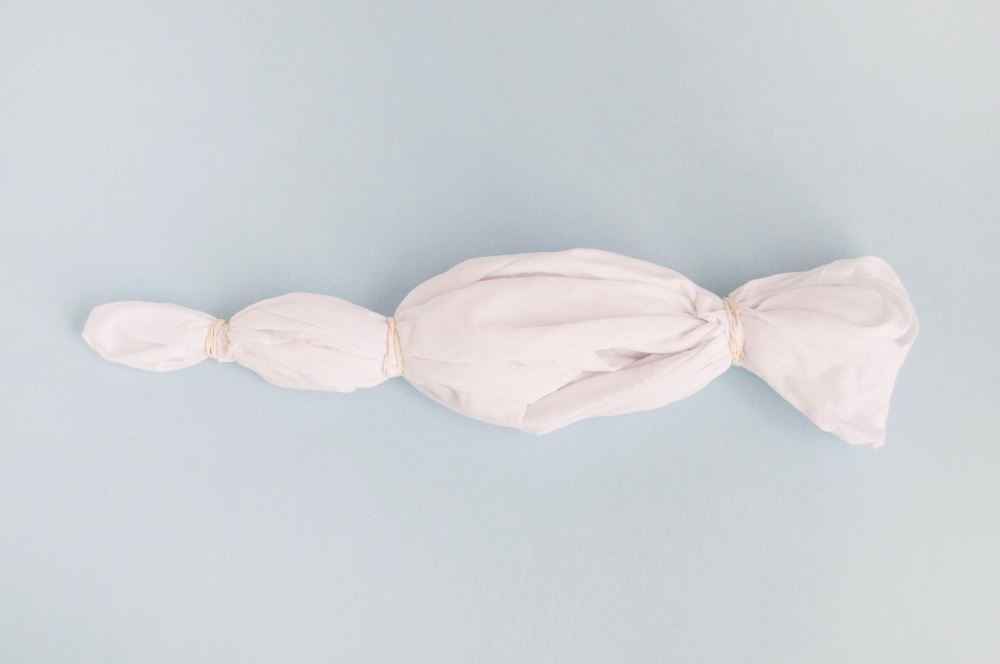
For the berry cotton candy shirt, Handmade Charlotte used the bullseye tie-dye technique. To mix it up, she started the bullseye off to the side instead of the center of the shirt. To do this, lay out your shirt flat on your work surface and pinch the spot to the side of the shirt where you want the center of the bullseye to be. Pull the fabric upward into a tube shape and wrap a rubber band around the bunched fabric a few inches below the point to create the innermost circle. Continue to wrap additional rubber bands around the shirt to create more circles for the bullseye.
Bullseye Berry Cotton Candy T-shirt
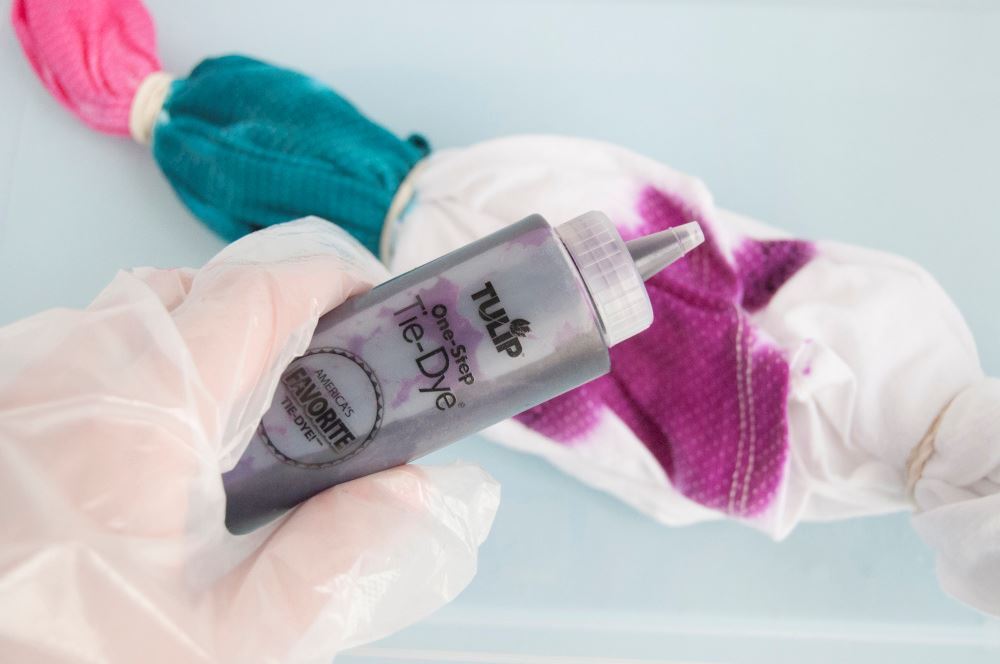
Mix up your dyes and add a different dye color to each banded section. Once you are finished, process in the microwave according to instructions, then rinse and wash as instructed.
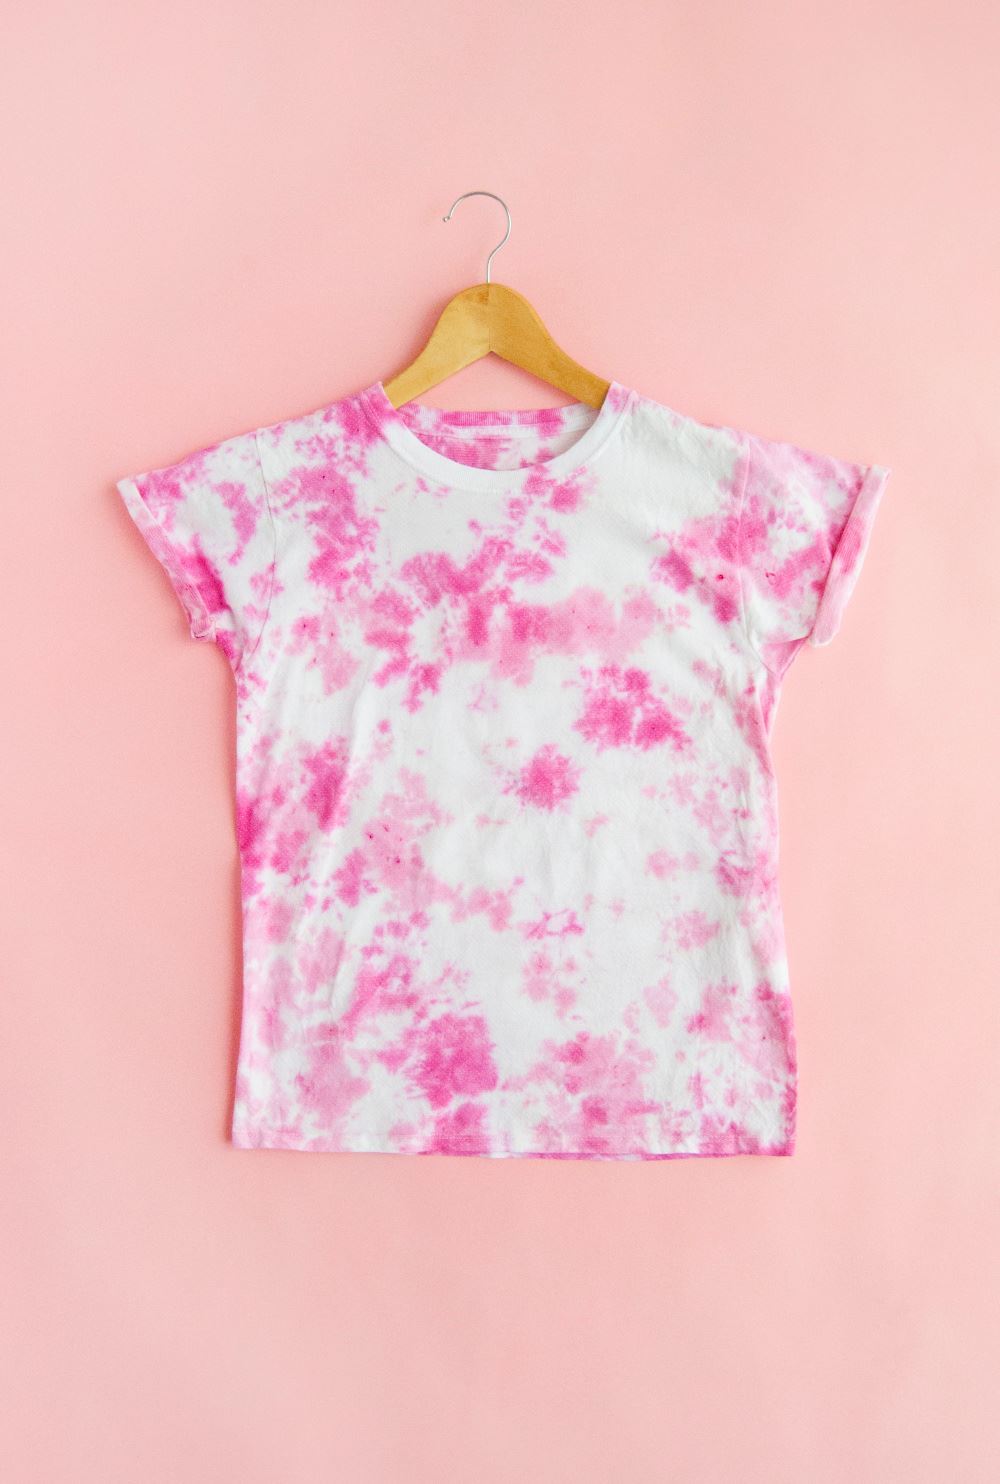
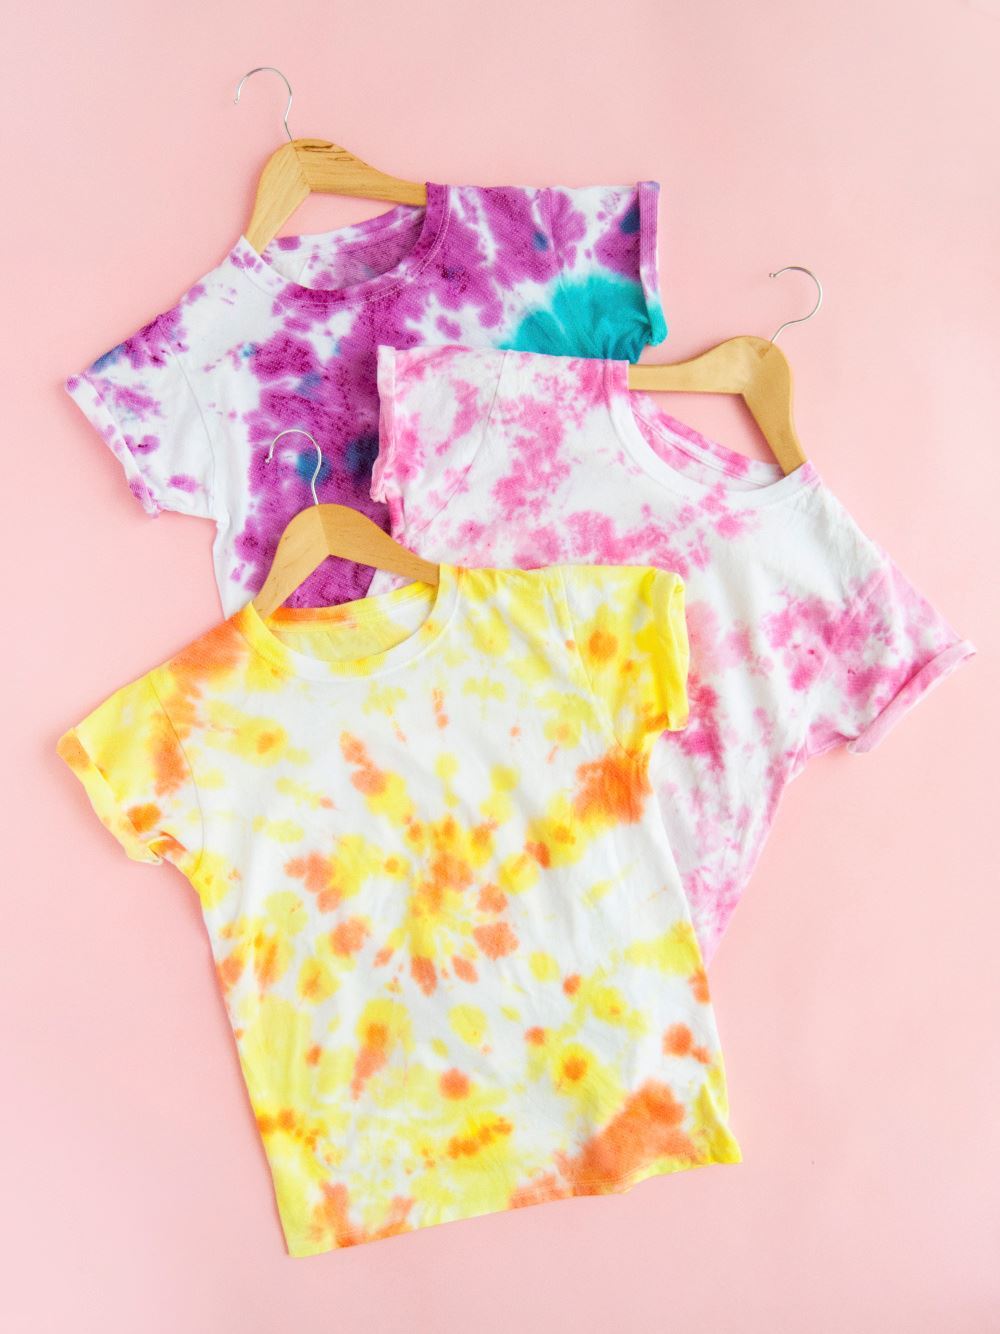
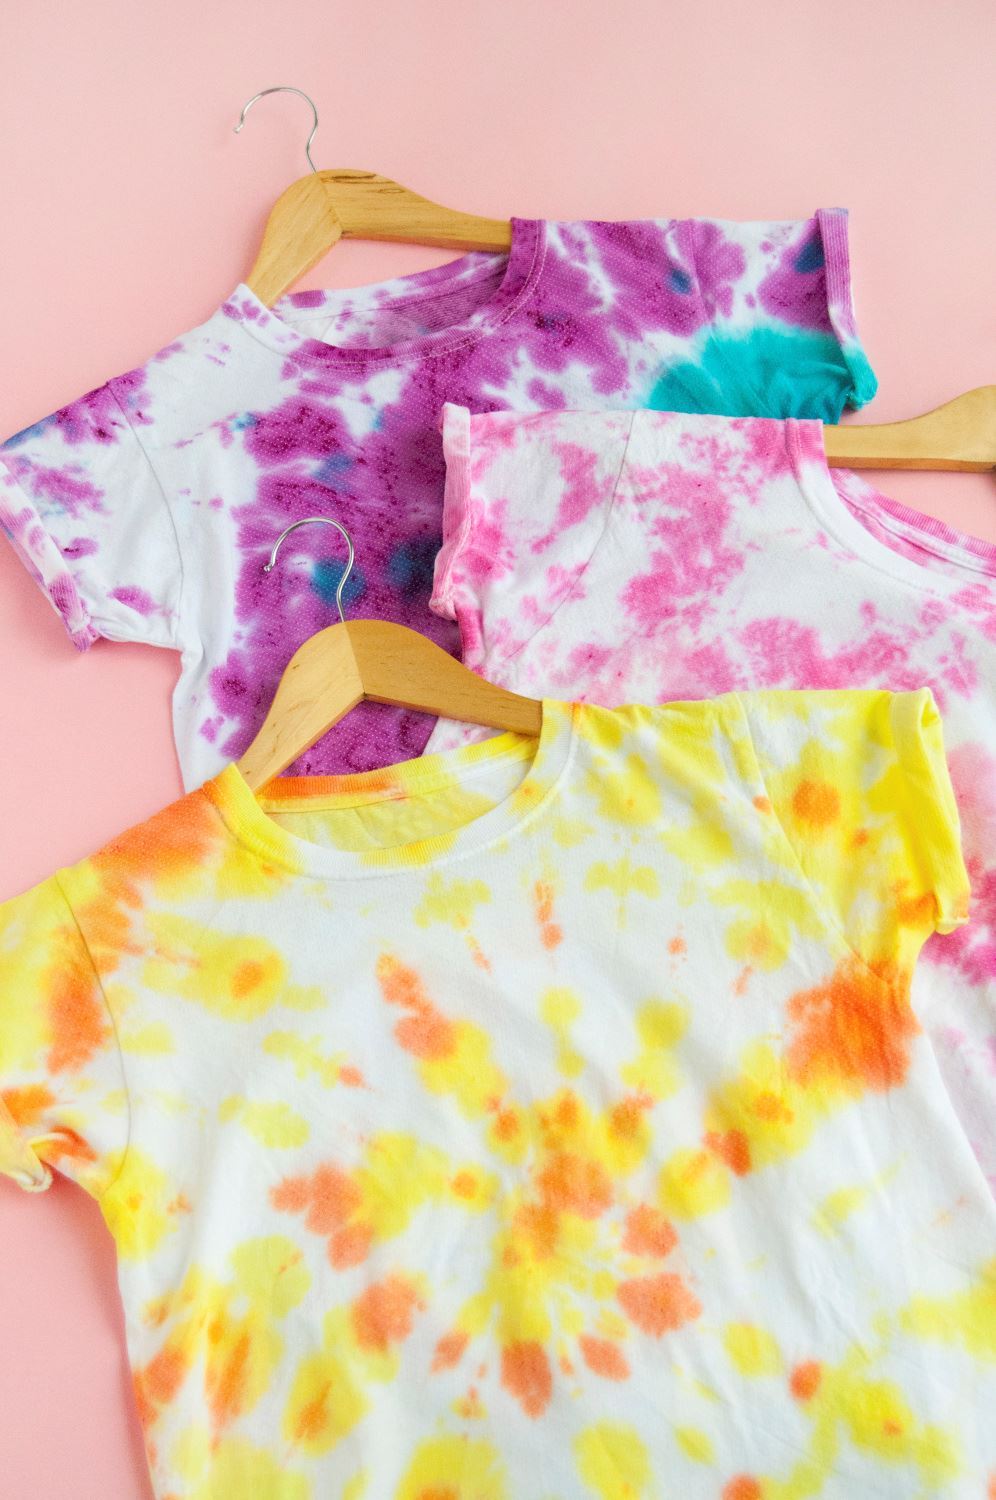
How cool is this Double-Bubble Crumple T-shirt?! It's twice the tie-dye fun!
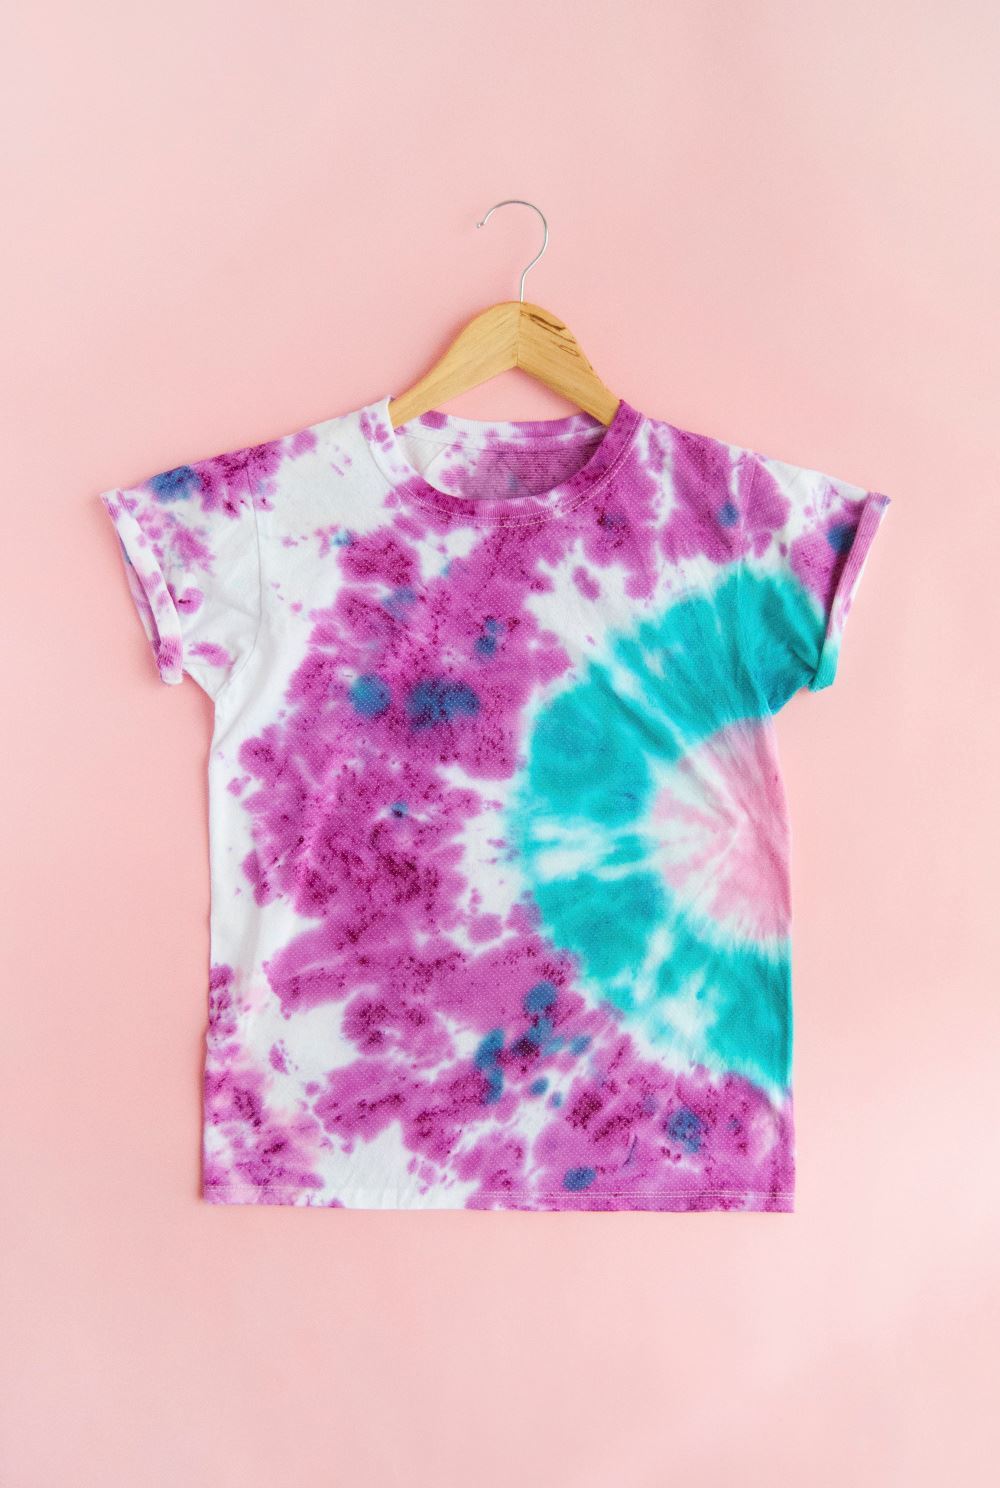
This Cotton Candy Bullseye T-shirt really hits the mark, don't you think?!
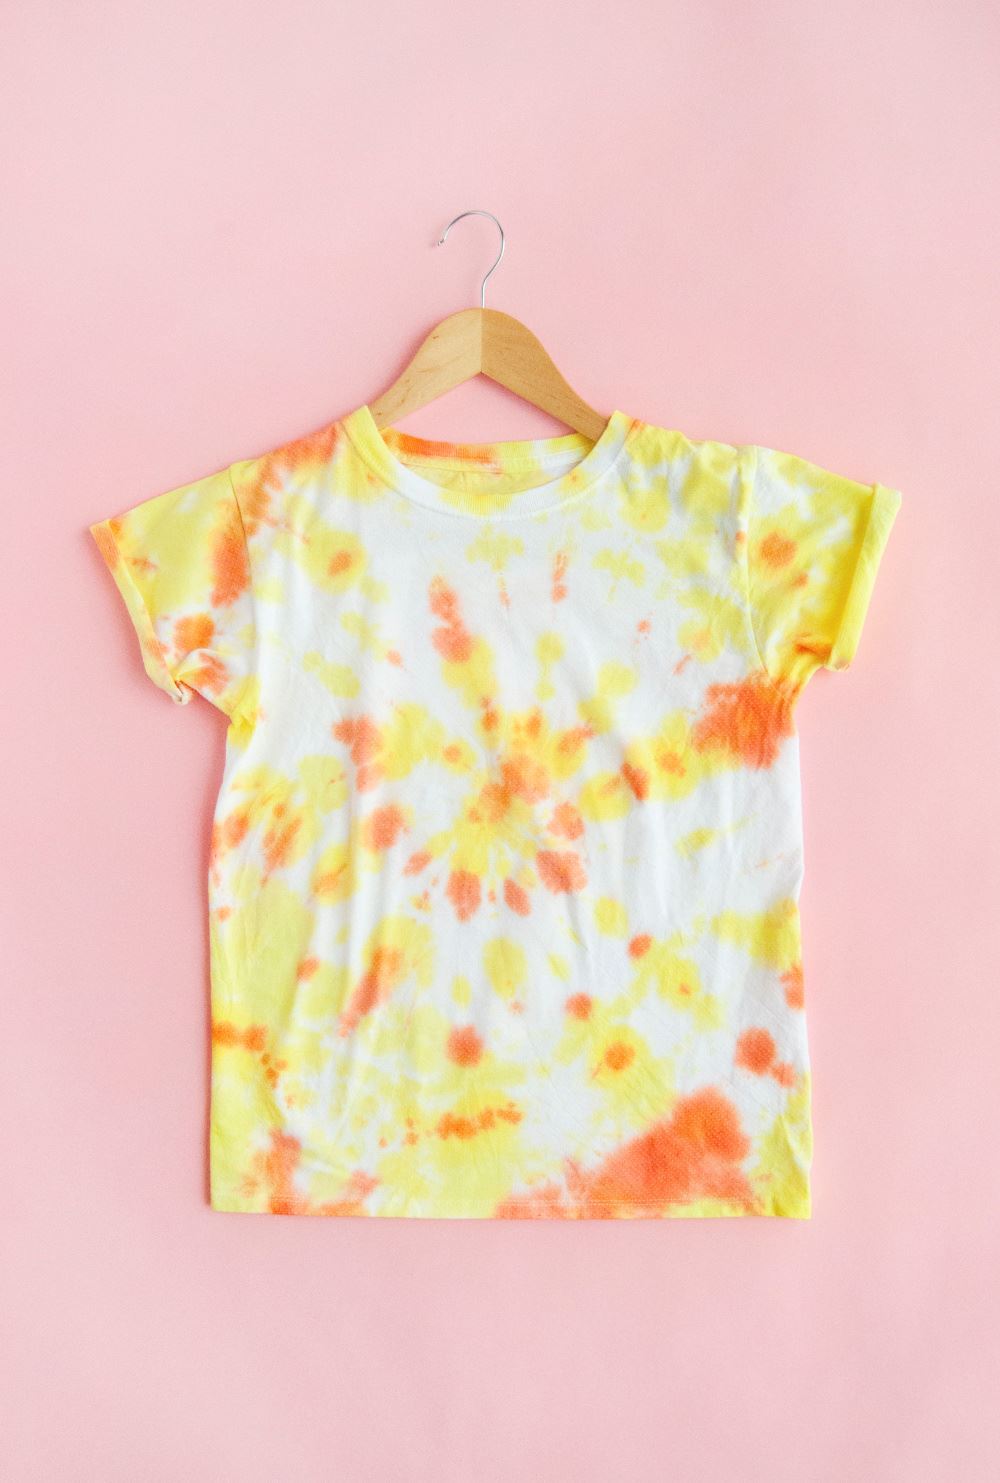
We didn't show the folding process for this bright tee, but you can use the spiral tie-dye technique and yellow and orange dyes for a bold pop of color that beams like the summer sun.
What are you waiting for? It's time to try Two-Minute Tie Dye, don't you think? You won't be waiting long for fab new tie-dye fashion!


