You can delete and/or block cookies by modifying the settings on your browser. Learn more
Winter Shibori Tie-Dye Pillows
Published Date December 04, 2019
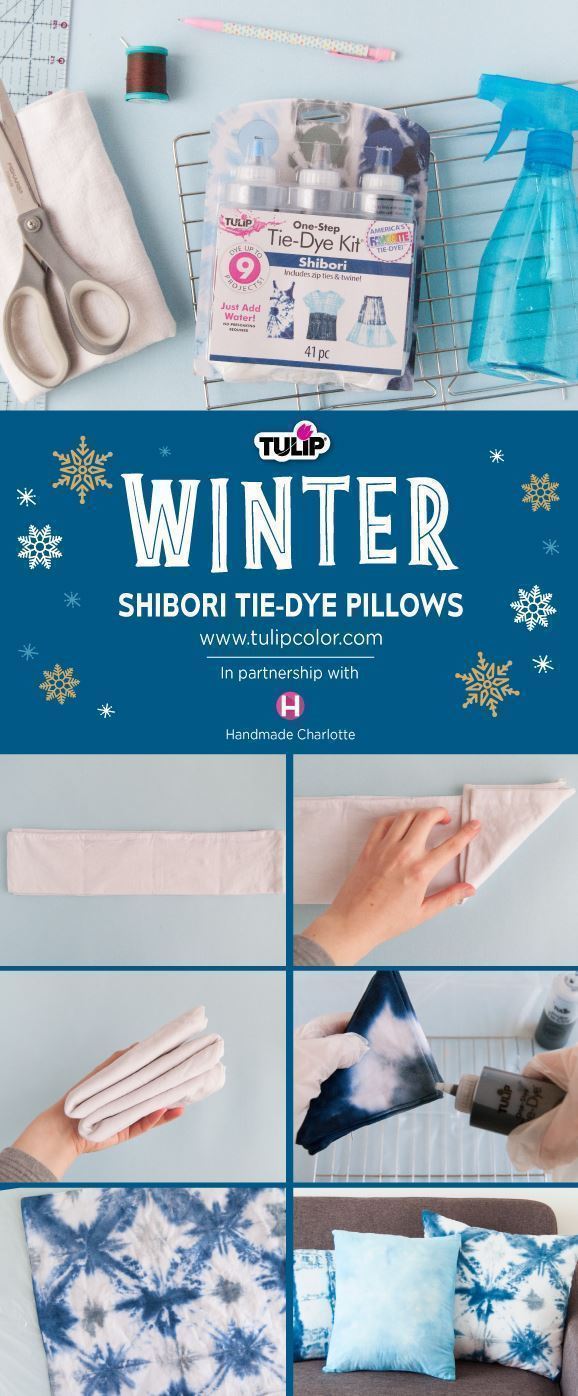
Create your own cozy little winter wonderland indoors with a set of shibori tie-dye pillows! The cool blues in snowflake and striped patterns are perfect for adding pretty winter effects to your favorite sitting area. Read on for the tutorial from Handmade Charlotte on how to tie dye your own set of cotton pillow covers using the Tulip 3-Color Shibori Tie-Dye Kit.
What you need:
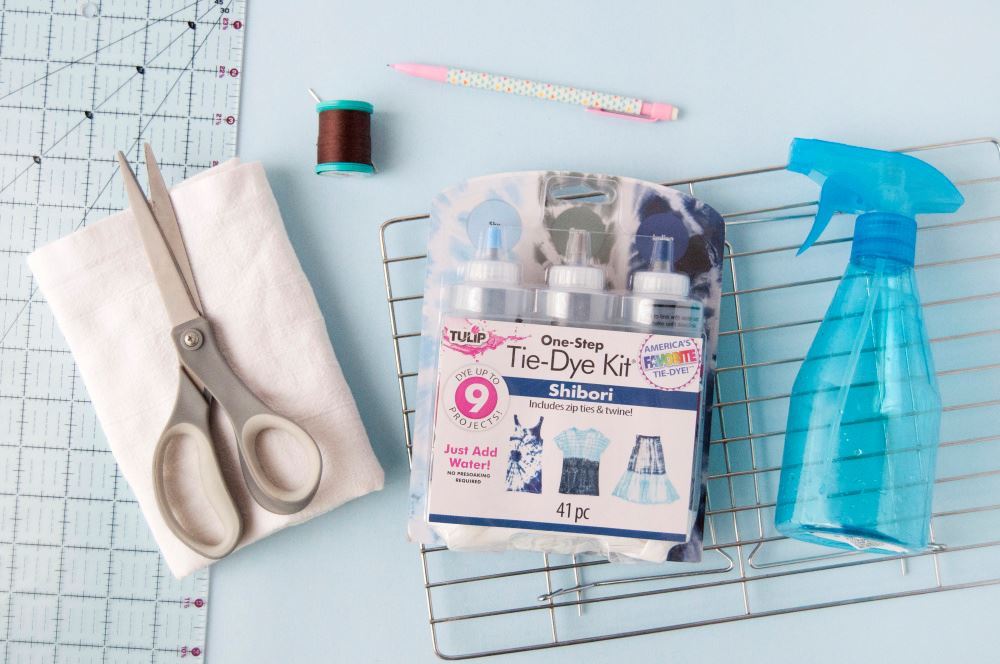
- Tulip 3-Color Shibori Tie-Dye Kit
- 3 White 100% cotton pillow covers
- Wire cooling rack
- Scissors
- Needle and upholstery thread
- Pencil
- Ruler
- Spray bottle
- Disposable plastic table cover
Prep your work surface by covering with a disposable plastic table cover. Mix your dyes according to the kit instructions and pre-wash your pillow covers (without fabric softener). Go ahead and leave the pillow covers damp after washing since you'll want them damp for tie dyeing.
TRIANGLE FOLDING TECHNIQUE
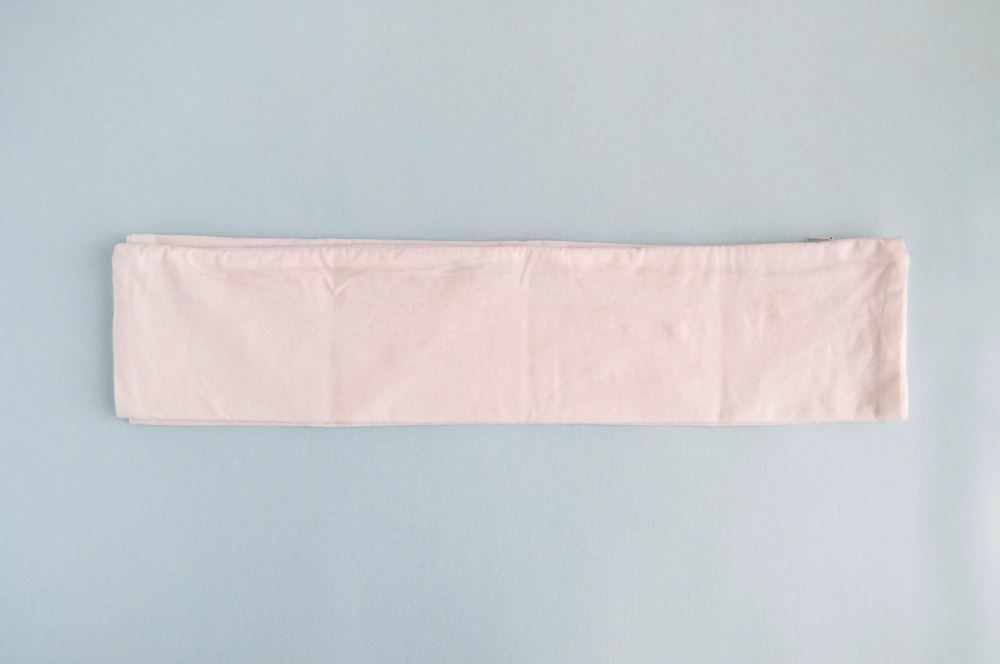
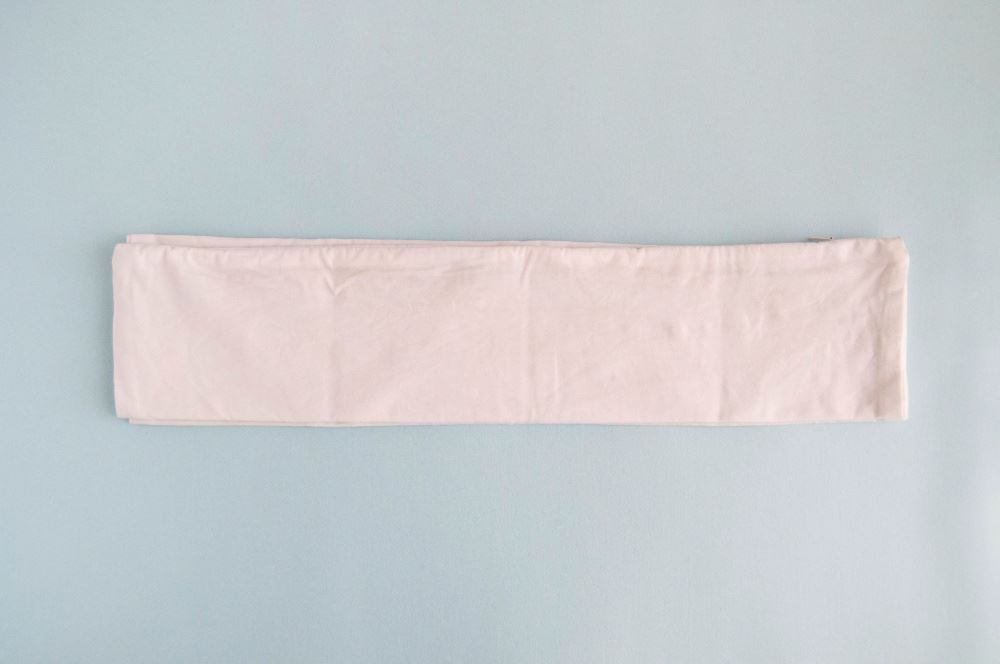
Fold one of the damp pillow covers accordion style into four even sections.
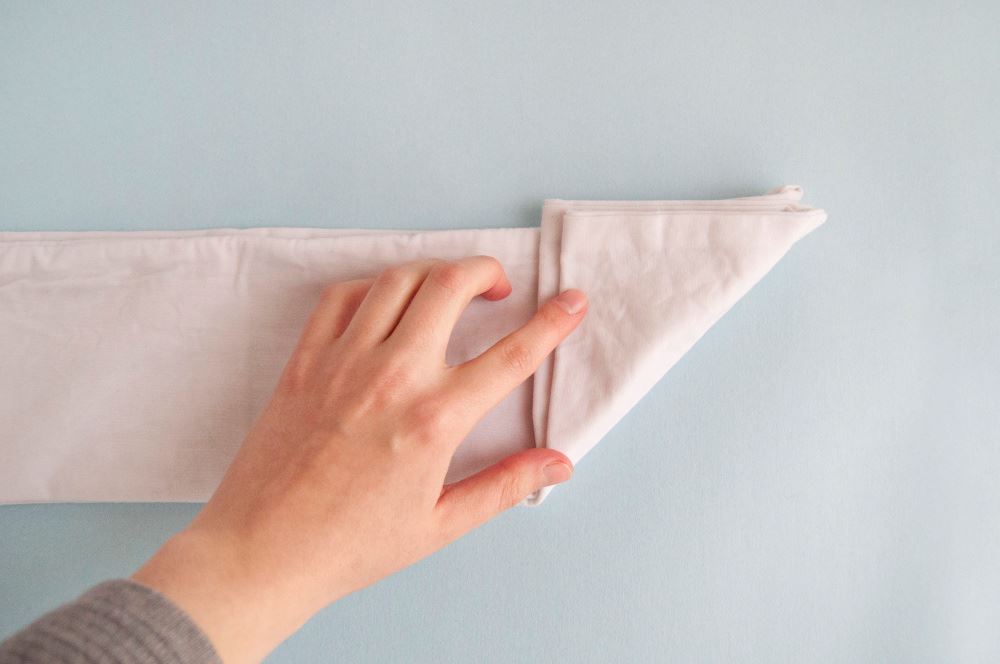
Start on one end of the pleated cover and fold over the corner to form a triangle, aligning edges.
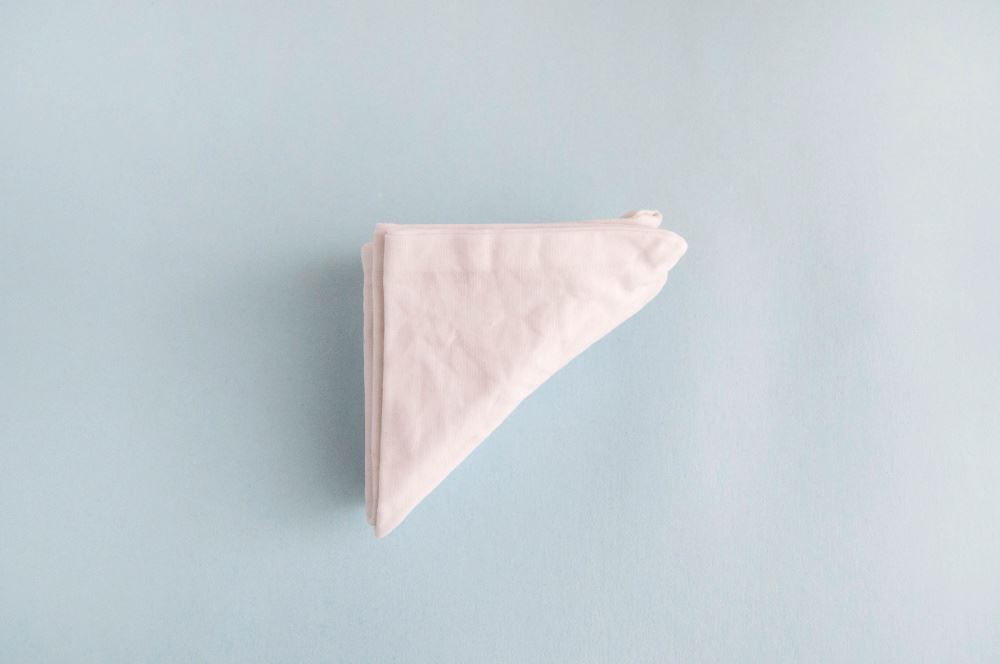
Continue folding accordion style again with the triangle shapes until you have folded the entire cover.
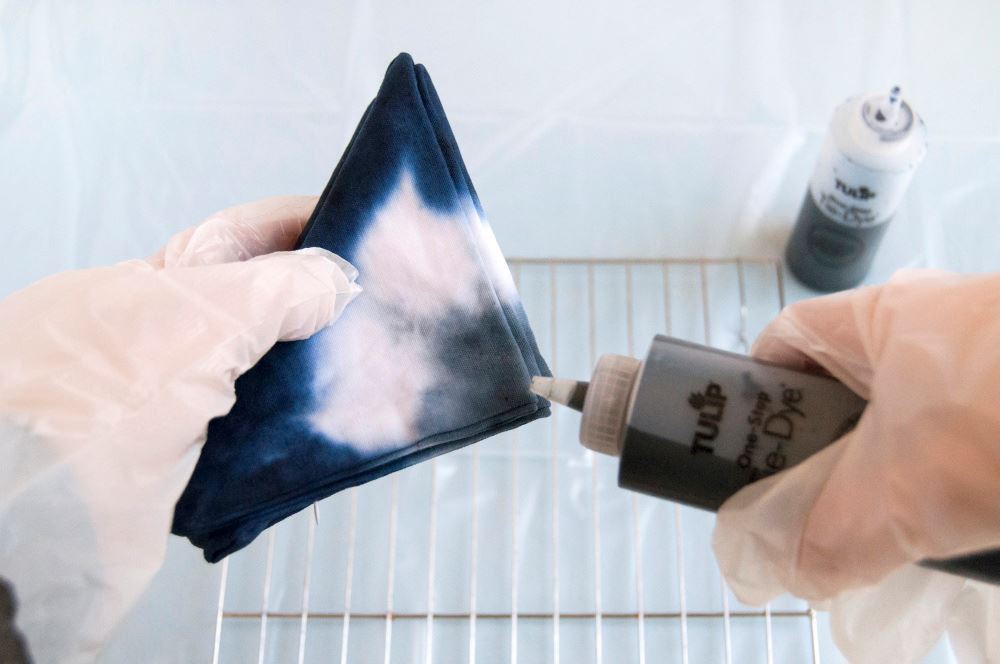
Apply dye to the folded cover. Handmade Charlotte applied indigo along the long edge of the triangle and added a pop of gray dye to the triangle point. Feel free to experiment with yours! Make sure to apply dye onto all of the folded sides. Placing on a wire rack afterward will help prevent the cover from sitting in a pool of dye and dye spreading onto places you don't want it.
RECTANGLE FOLDING TECHNIQUE
Fold one of the other damp covers into fourths accordion style.
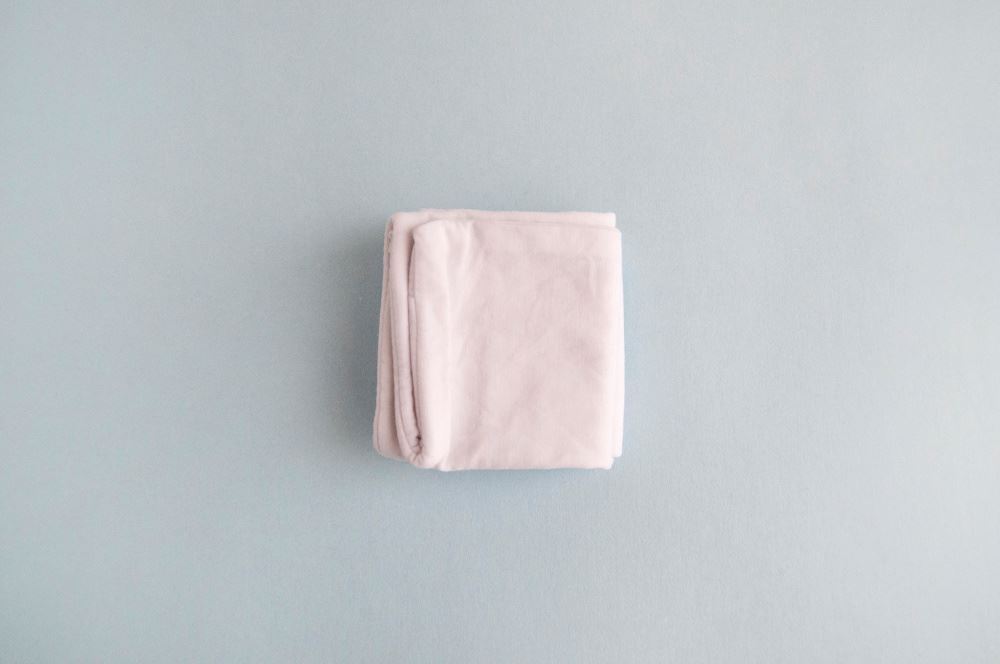
Fold it accordion style again into squares.
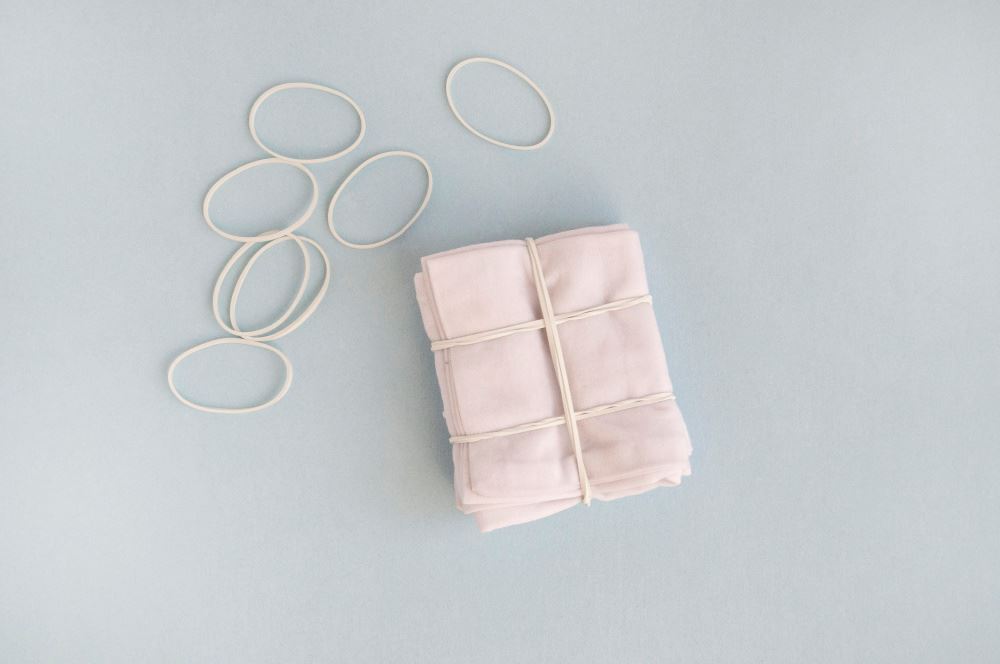
Bind your folded cover with rubber bands. Handmade Charlotte created six sections but you can add as few or as many as you want. There really isn't a wrong way to do it!
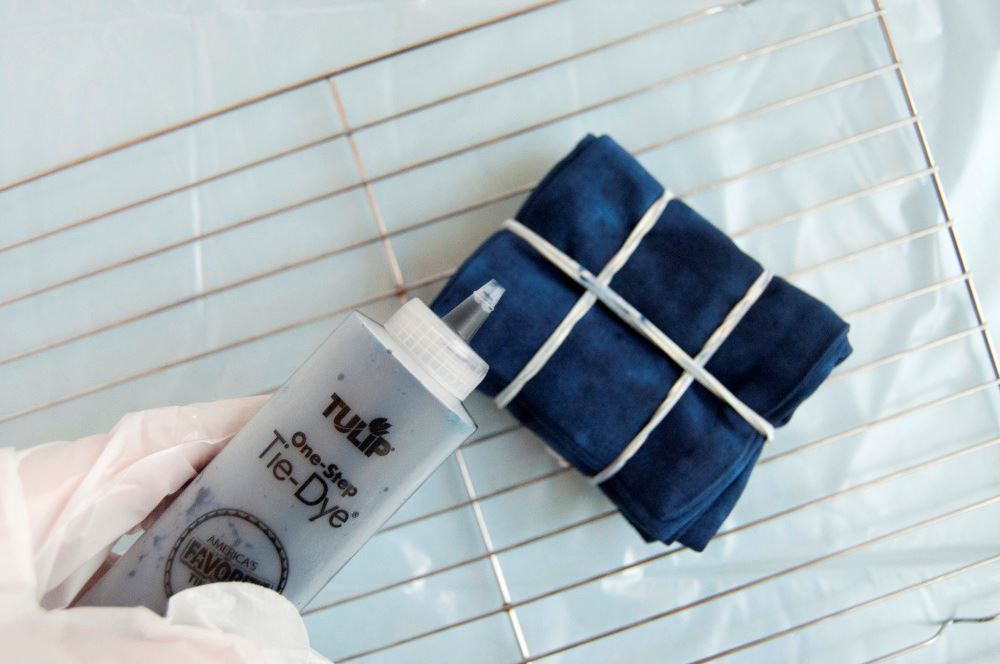
Place the bound cover on a wire rack if you have one, and apply dye according to your liking.
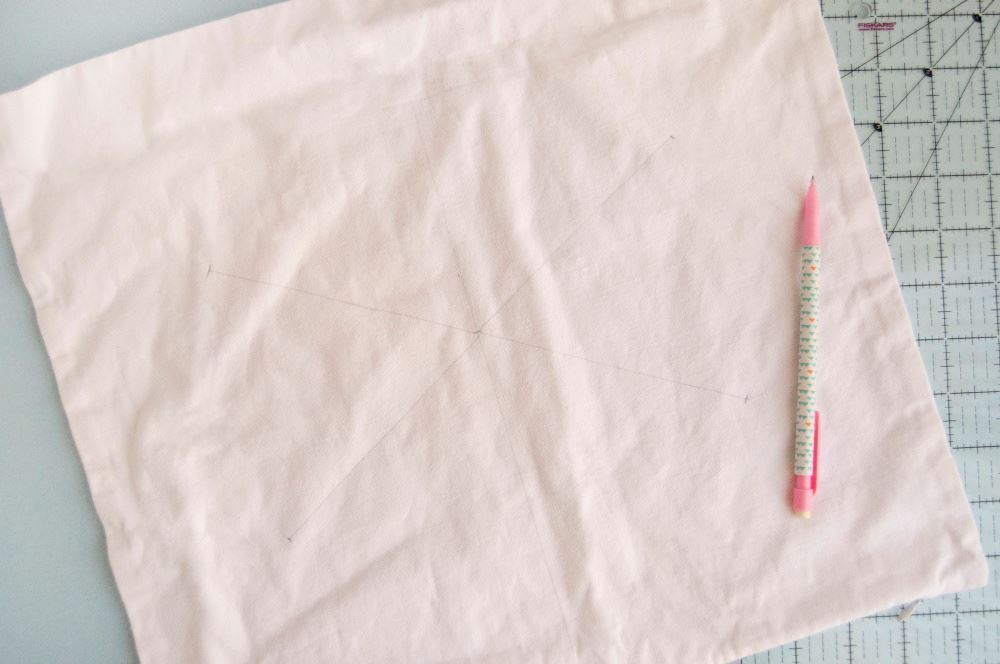
STITCH RESIST SNOWFLAKE TECHNIQUE
For this technique, you'll want to dry your pillow cover (do not use a dryer sheet). Use a pencil and ruler to draw a simple snowflake shape with three lines as shown onto the center of the cover.
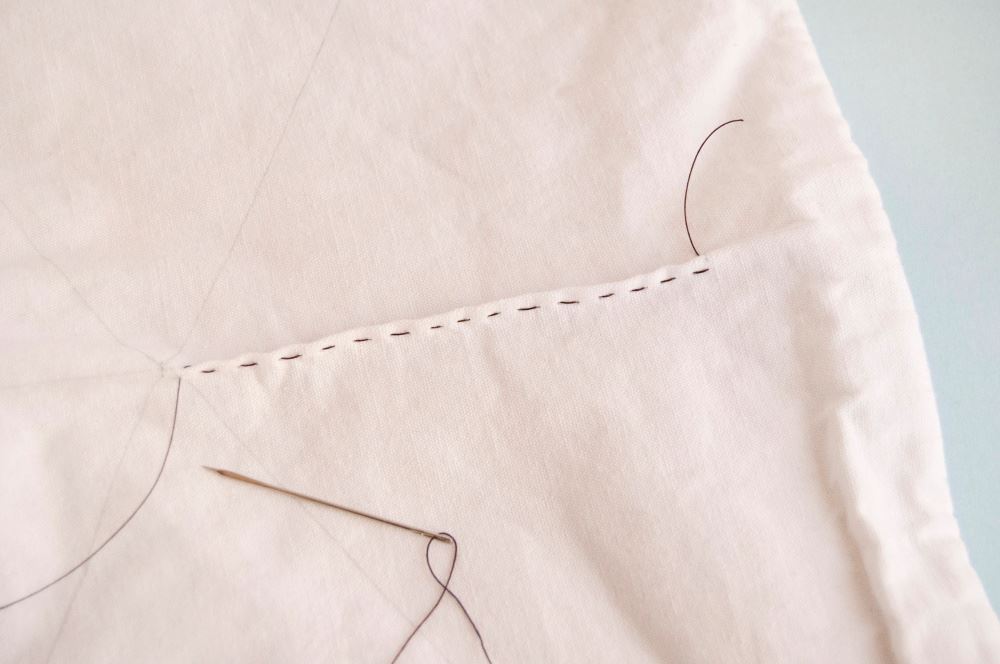
Thread a long strand of embroidery thread through a needle. Create a fold along one of the pencil lines and stich along the fold, just under the ridge of the fold.
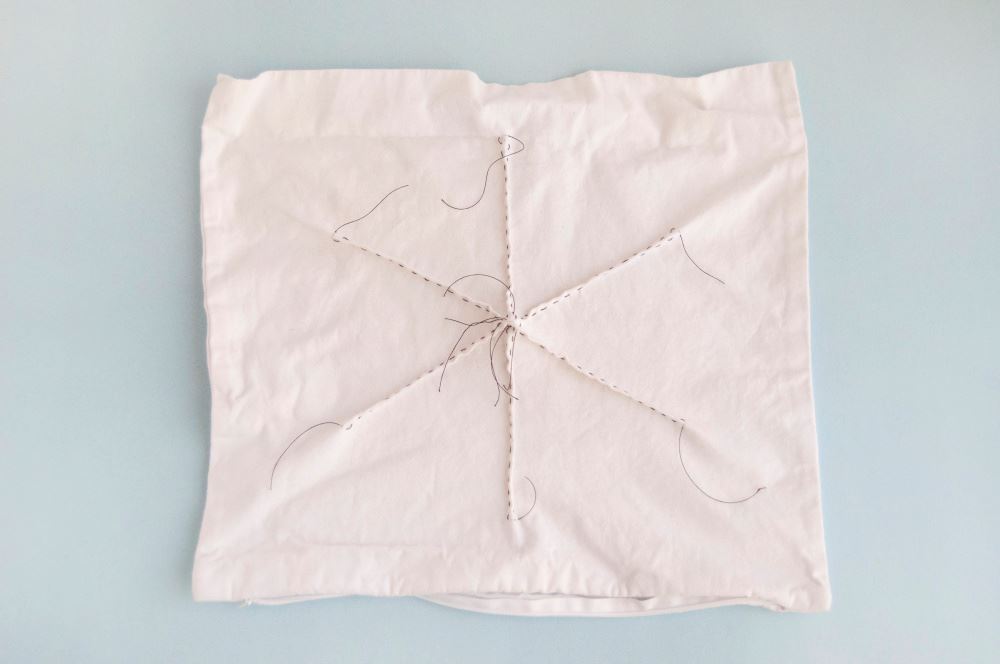
Stop once you reach the middle, making sure to leave about 3" of thread at each end of the line. Repeat process for all snowflake lines.
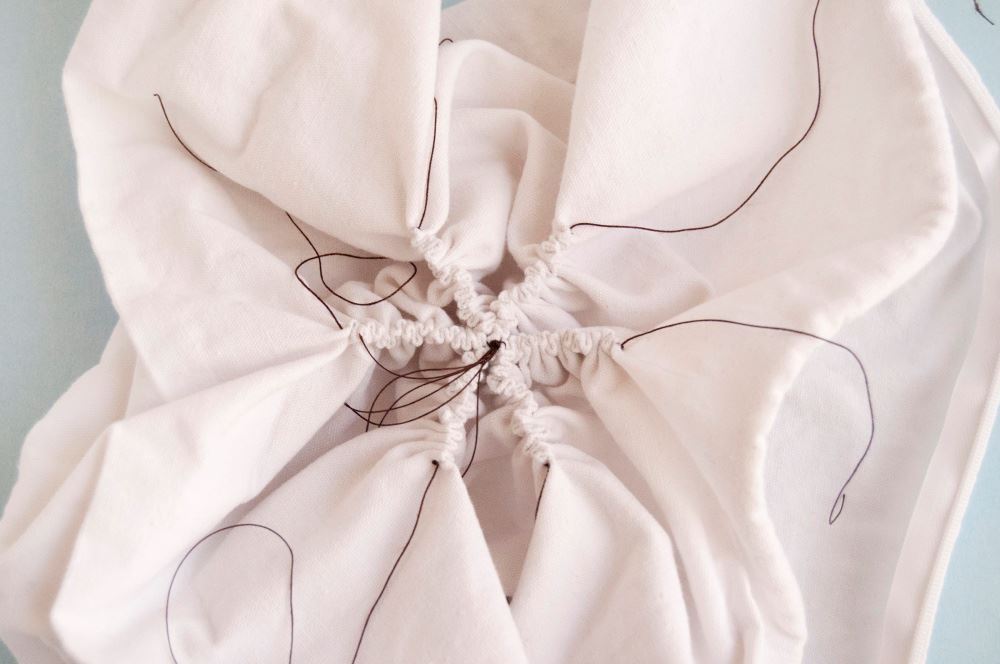
Gather the strands of thread in the center and tie them together in a knot to secure. Hold one of the strands of thread and use other hand to tightly scrunch the fabric along the strand. Tie a double or triple knot at the end to hold the fabric in place. Repeat for each strand.
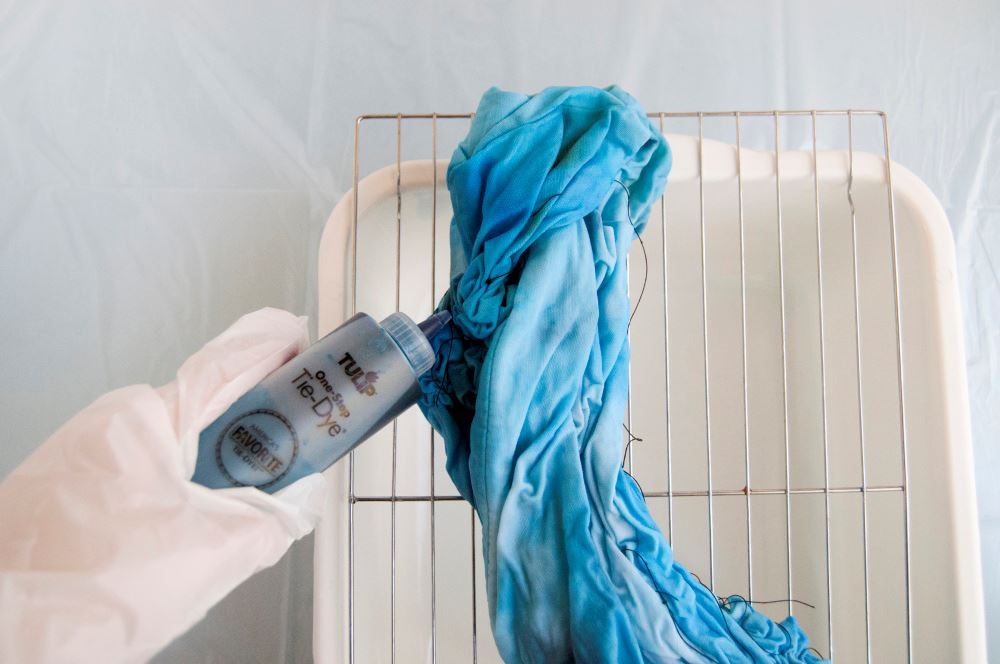
Fill your spray bottle with water and mist over the entire pillow cover to dampen. Apply dye as desired onto the cover.
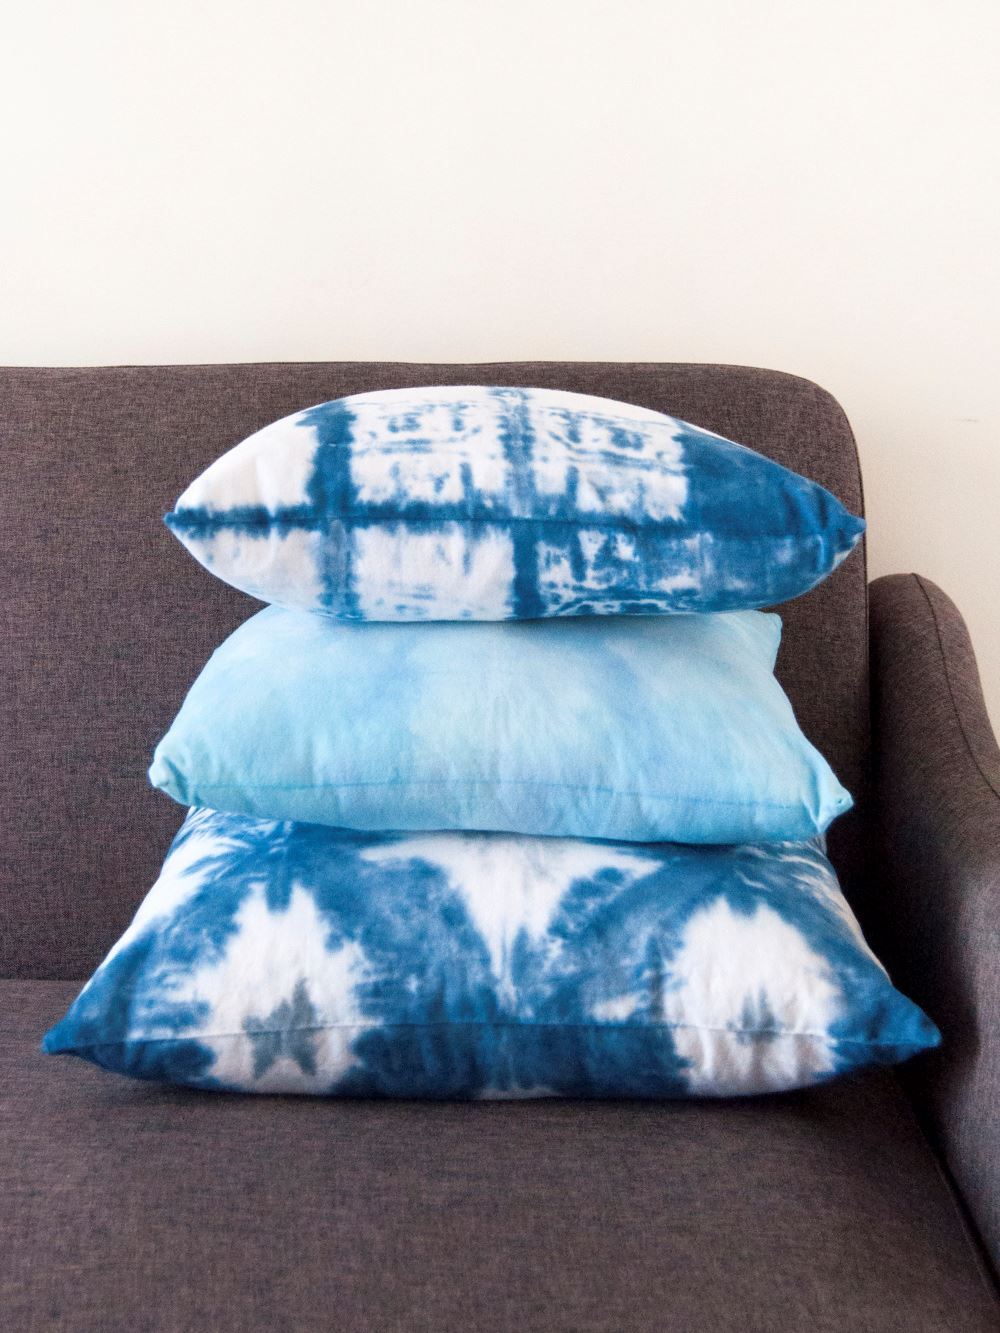
Let all covers set for the recommended time, then launder according to kit instructions.
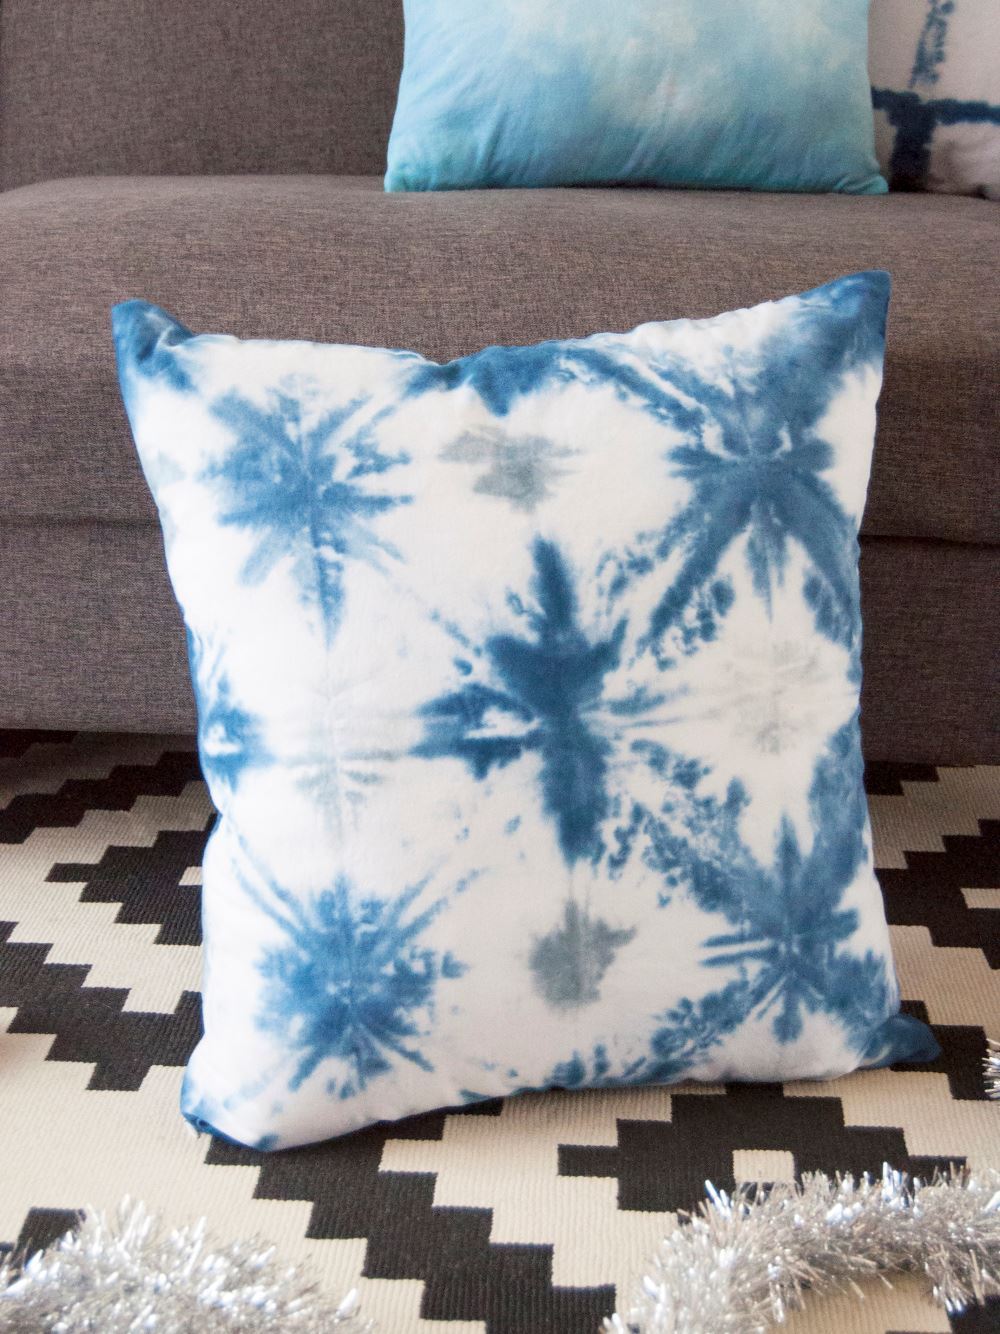
How fantastic is this triangle pattern pillow?! It looks just like falling snowflakes!
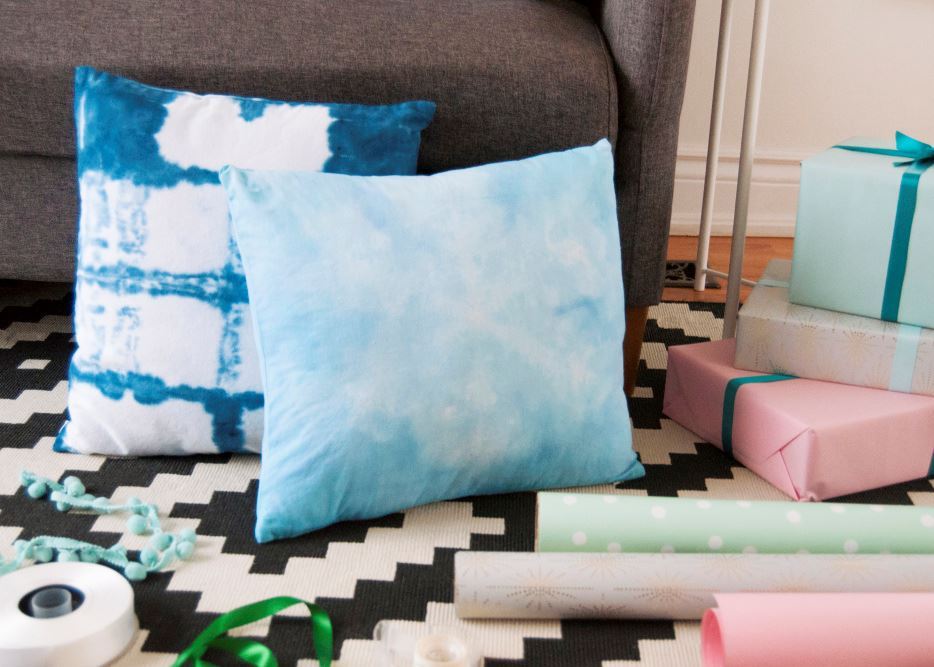
The striped and large snowflake pillows are just as fab! Who wouldn't want to cozy up to these wintery little wonders?!
Pin This Project
