You can delete and/or block cookies by modifying the settings on your browser. Learn more

What You Need
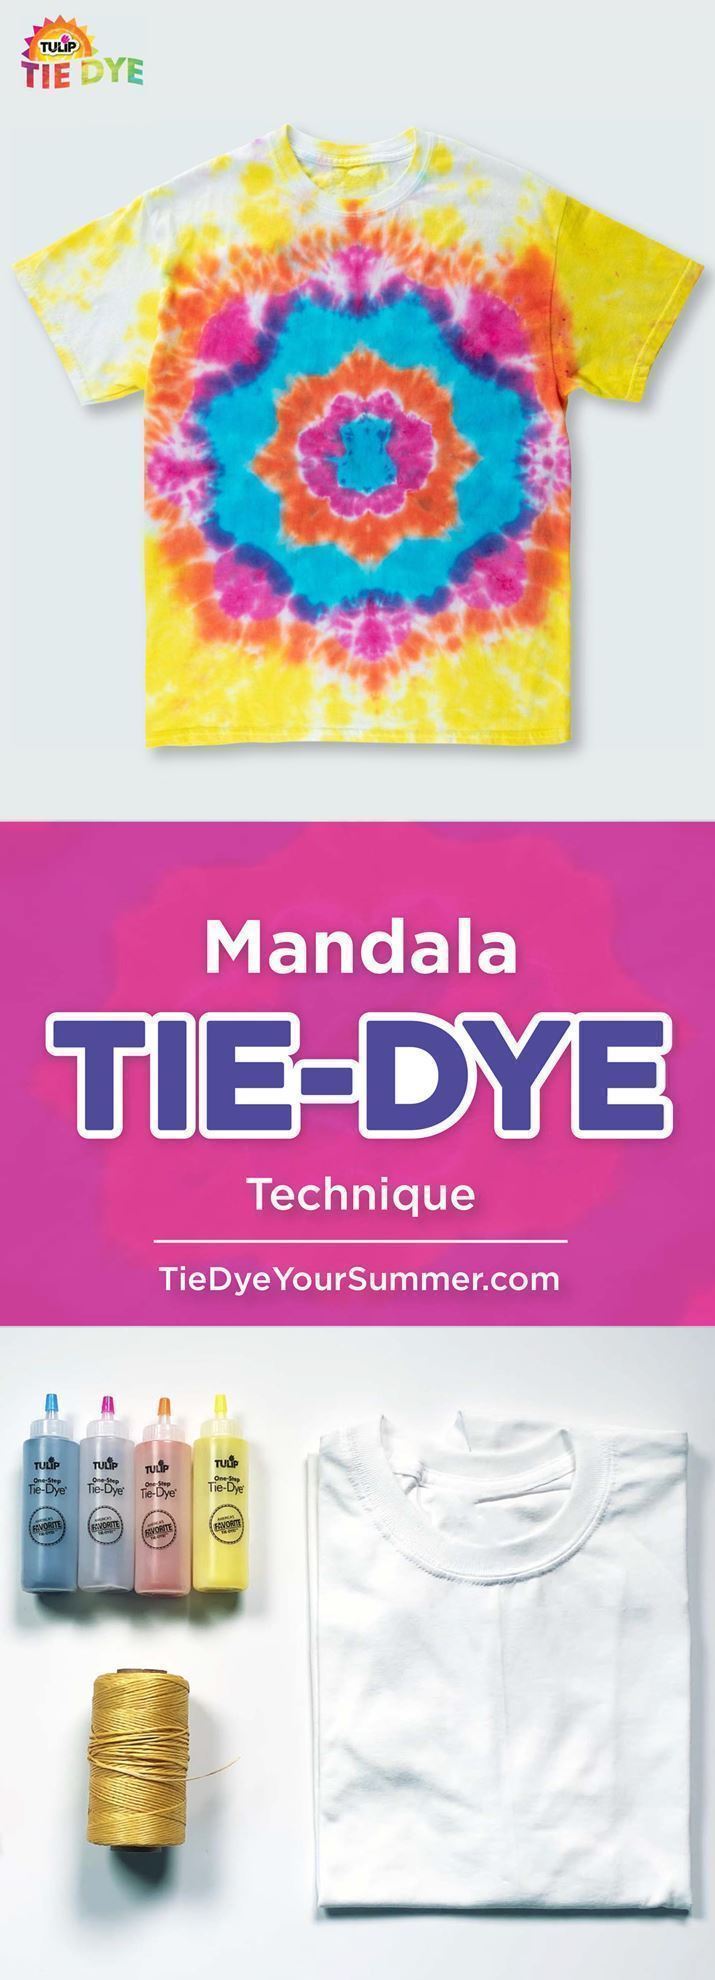
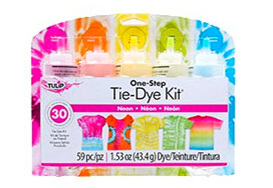
Your Tulip One-Step Tie-Dye Kit always comes with the basic tie-dye essentials you’ll need for your tie-dye project. Each kit includes a certain number of disposable plastic gloves, rubber bands, instructions, and of course – bottles of dye powder! Depending on the tie-dye technique you are using, you might need a few extra supplies. For the Full Mandala Tie-Dye Technique, we recommend having a washable marker, some wax string to help you achieve a super tight bind after folding, and some scissors for later removing the string. You’ll also need something to tie dye, like a T-shirt (or tapestry, bedding, etc. – whatever you wish to tie dye); make sure your fabric is made of a 100% natural fiber fabric like cotton, rayon or silk for best results.
Mix Dyes & Prewash Fabric
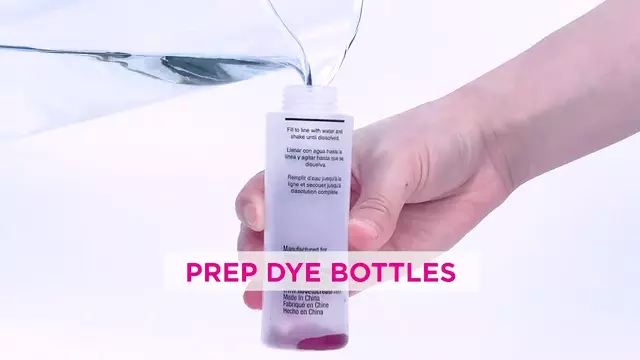
To mix your dyes, simply add tap water to the fill line on each bottle, replace the nozzles with the caps still on, and shake each bottle thoroughly until all dye powder dissolves. Wait to mix your dyes until you are ready to apply them. Dyes left unapplied for more than 72 hours might lose their concentration and therefore might not appear as vibrant after dyeing.
There’s no need to presoak your fabric in soda ash before tie dyeing; Tulip dyes come with soda ash in the formula! However, we do recommend that you prewash your fabric (without fabric softener – this can block the dyes from properly absorbing into the fabric), especially if your fabric is brand new.
Full Mandala Step 1:
Pull up the top layer of your damp T-shirt from the middle of the collar and the same point on the bottom edge and fold the shirt in half vertically. Determine where the bottom of the sleeve is and fold the shirt in half again at this point, folding the bottom edge up towards the collar. Make sure your fabric layers are smooth, then fold the top layer of your folded shirt over into a triangle shape. Do this by grabbing the bottom edge of your shirt (which is now at the bottom left corner on your left-hand side), and folding it over to the top right-hand side corner as shown. This should form a triangle shape with your top layer.
Repeat this same fold once more with the top layer to make a narrower triangle. Carefully flip the shirt over, keeping your triangle folds intact (which should now be on the bottom), and repeat this triangle folding process on the other half of the shirt. You should be folding the bottom layer back towards your left-hand side in the opposite direction.
Lift your folded fabric slightly to determine where the edge of the sleeve is within the folds. This will be the point you start at when creating your zigzag guidelines for binding the fabric.
Using a washable marker, start at the bottom edge of the folded fabric closest to you, at the point where the sleeve is noted in the step above. Draw a zigzag line from this point up to the other edge pointed away from you, and back down to the bottom fold, repeating until you reach the narrow tip of the folded fabric.
Flip the folded fabric over and repeat drawing zigzags on the other side that match with/align with the lines you drew on the opposite side.
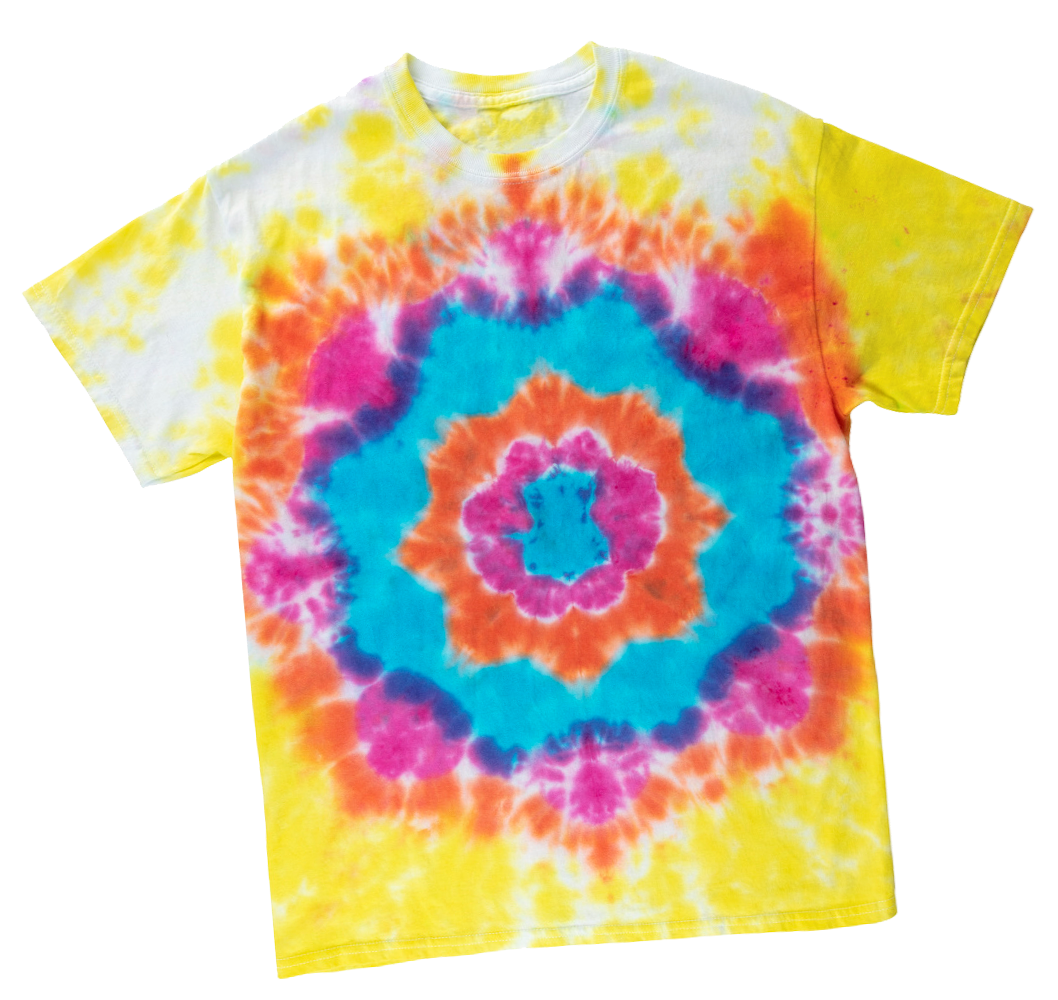
Now it’s time to bind your fabric with your wax string! Wrap the string around your largest zigzag line (should be the point opposite the tip of the fabric) and tie a tight knot in the string. You’ll want to make it as tight as possible so you’ll have a very defined mandala pattern line after dyeing. Continue tightly wrapping the string a few times around each line of the zigzag until you reach the point. Tie a tight knot and cut off the remaining string.
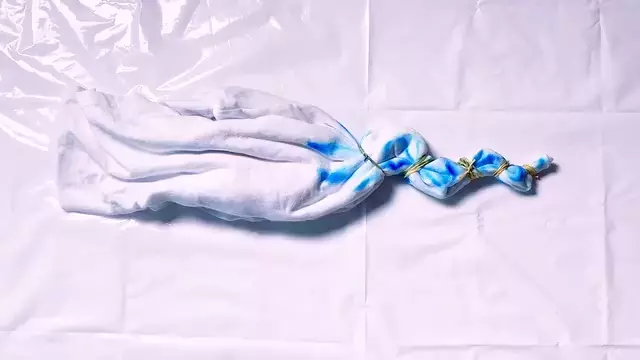
Step 2:
It’s not a necessity, but we like to place our projects on a wire rack (like a baking rack) before applying dyes to help prevent the different dye colors from pooling underneath and potentially muddying the colors. Apply your dye colors to your project in whatever color patterns you like! You can apply a different color to each bound section if you want, or alternate colors between each section. Get creative and have fun! Make sure to rotate your project as you apply your dyes to match colors on the other side.
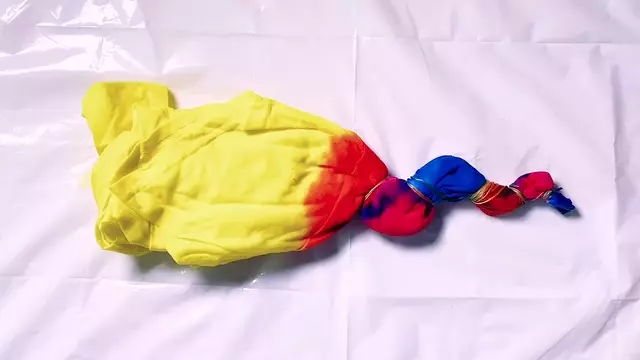
Step 3:
Once you’ve added all of your tie-dye colors, place your tie-dye project into a sealable bag, or wrap it in plastic wrap. This will help keep the project damp while the dye fully processes. Leave the project sealed for 6 to 8 hours or overnight for the dye to completely set.
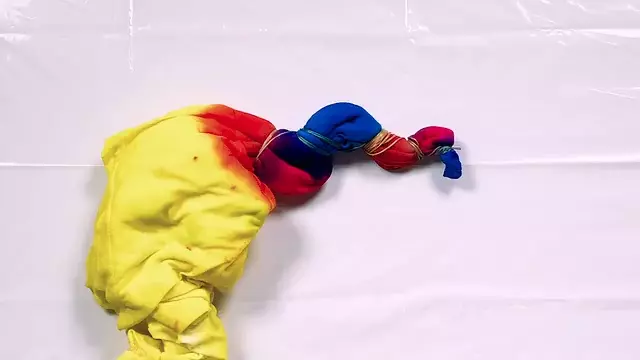
Step 4:
After the dye colors have completely set, remove the string by carefully cutting away from your project. Rinse, wash and dry separately according to your kit instructions.
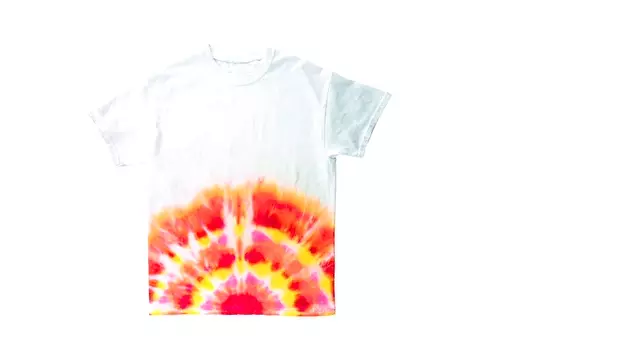
Half Mandala Step 1:
Fold your prewashed, damp shirt in half lengthwise with the fold facing away from you. Starting at the bottom edge of shirt, triangle fold the bottom corner by pulling the corner back (away from you) until it aligns with the folded edge. Fold this triangle fold over again towards the folded edge to create a narrower triangular section, and a third time as well. Make sure the sleeve and the fabric is smooth and aligned with the folds.
Carefully flip the shirt over, keeping the folded side intact as you place it on your work surface. Repeat creating the three triangle folds on the now top half, folding the fabric towards you (and the folded edge) this time around so the folds on each half of the shirt are mirrored.
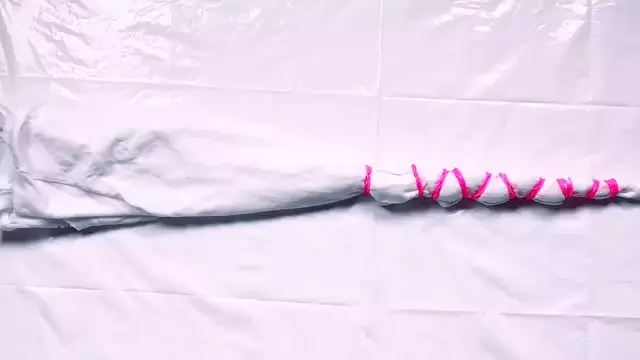
Use your washable marker to draw a zigzag line starting from the narrow point of the folded fabric to the halfway point. Tightly wrap rubber bands around each zigzag line, starting at the point and working your way towards the middle.
Step 2:
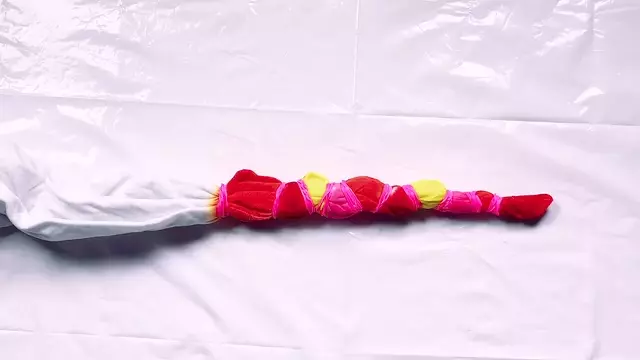
Add water to each tie-dye bottle you’re going to use for your project. Place your bound fabric on a wire rack if you have one, to help prevent the dyes from pooling underneath and muddying colors as you apply them to the fabric. Apply your dyes in whatever color patterns you choose. Don’t forget to turn the fabric over and apply dyes to the back side, matching whatever pattern you applied on the opposite side.
Step 3:
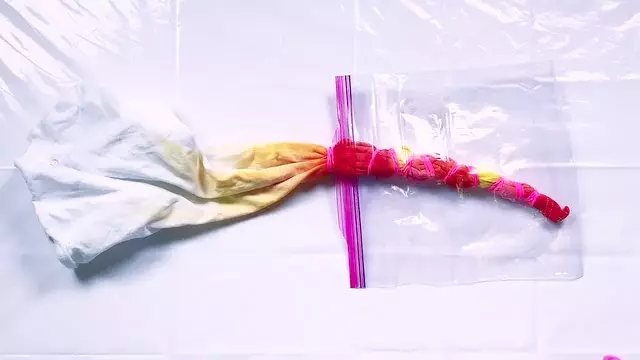
Once you’ve added all of your tie-dye colors, place your tie-dye project into a sealable bag, or wrap it in plastic wrap to help keep the project damp while the dye fully processes. Leave the project sealed for 6 to 8 hours or overnight for the dye to completely set.
Step 4:
After the dye colors have completely set, remove the rubber bands by carefully cutting away from your project. Rinse, wash and dry separately according to your kit instructions.
Pin This Project

