You can delete and/or block cookies by modifying the settings on your browser. Learn more
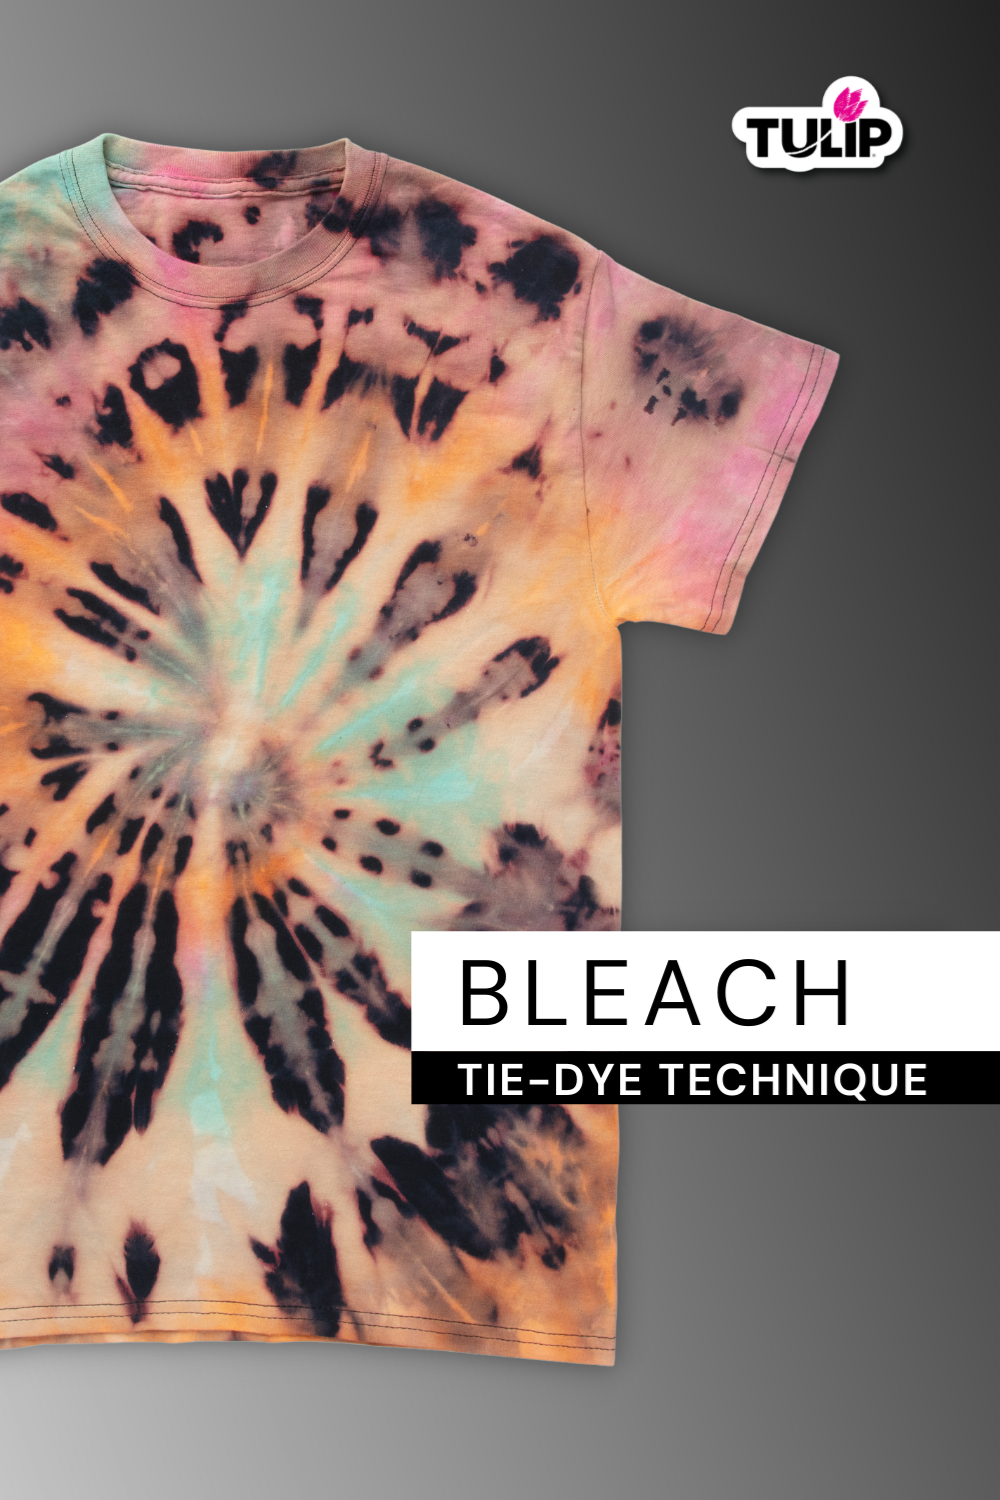
How to Bleach Tie Dye a Shirt
Follow these easy instructions on how to bleach tie-dye a shirt. You will learn everything you need to know about tie dyeing your own shirts, sweats, and more to create bleach tie-dye effects.
What is Bleach tie dye?
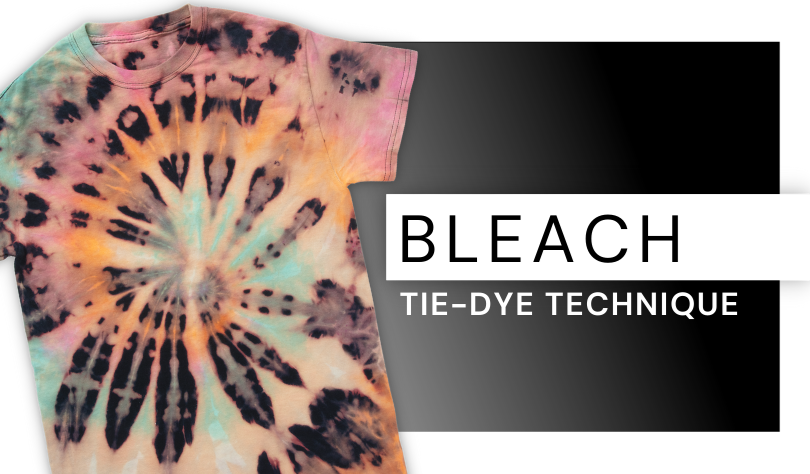
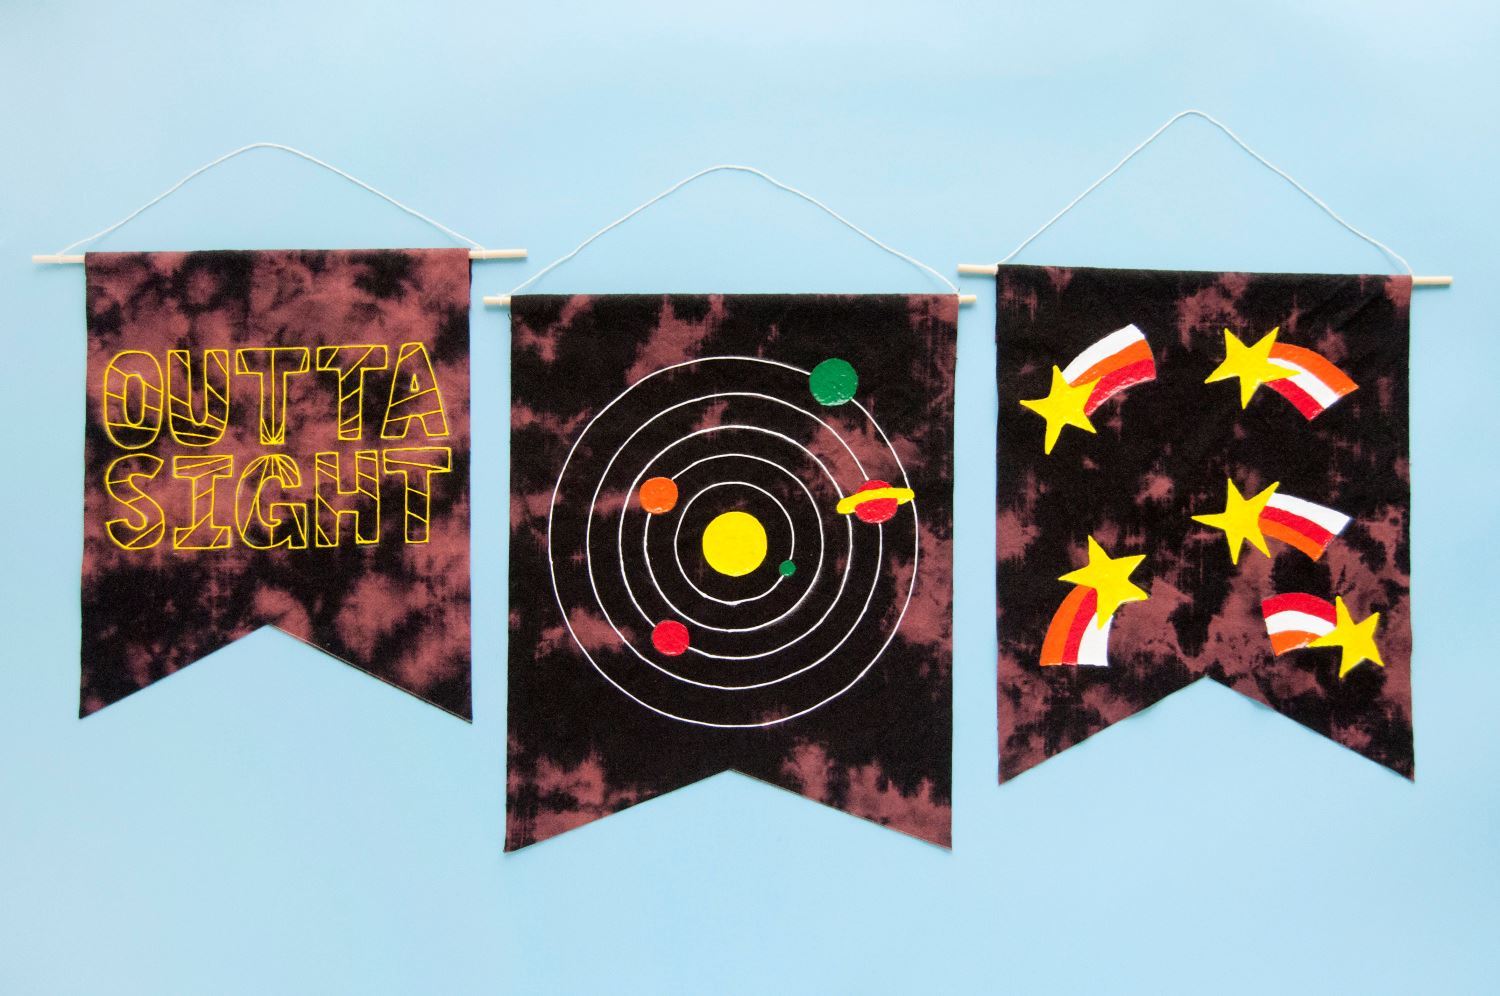
Traditional tie dye is done by adding dye to light-colored fabrics, and bleach tie dye does the opposite— instead of adding color, you’re removing it from your dark-colored fabrics with bleach! Bind your project in your desired tie-dye pattern, apply bleach, and voila! You’ve got a bold new look to hit the town with.
Bleach dyeing might seem intimidating, but with the proper safety precautions and Tulip’s expert guidance, you’ll fall in love with this relatively simple tie-dye technique! Using household bleach to tie dye is just as easy as regular tie dye, but with faster and more dramatic results. Plus, since bleach removes color from fabrics fairly quickly, there’s no need to wait hours for dyes to set! You’ll be able to wear your bleach tie-dye projects the same day you make them— it's that quick!
Bleach tie-dye supplies
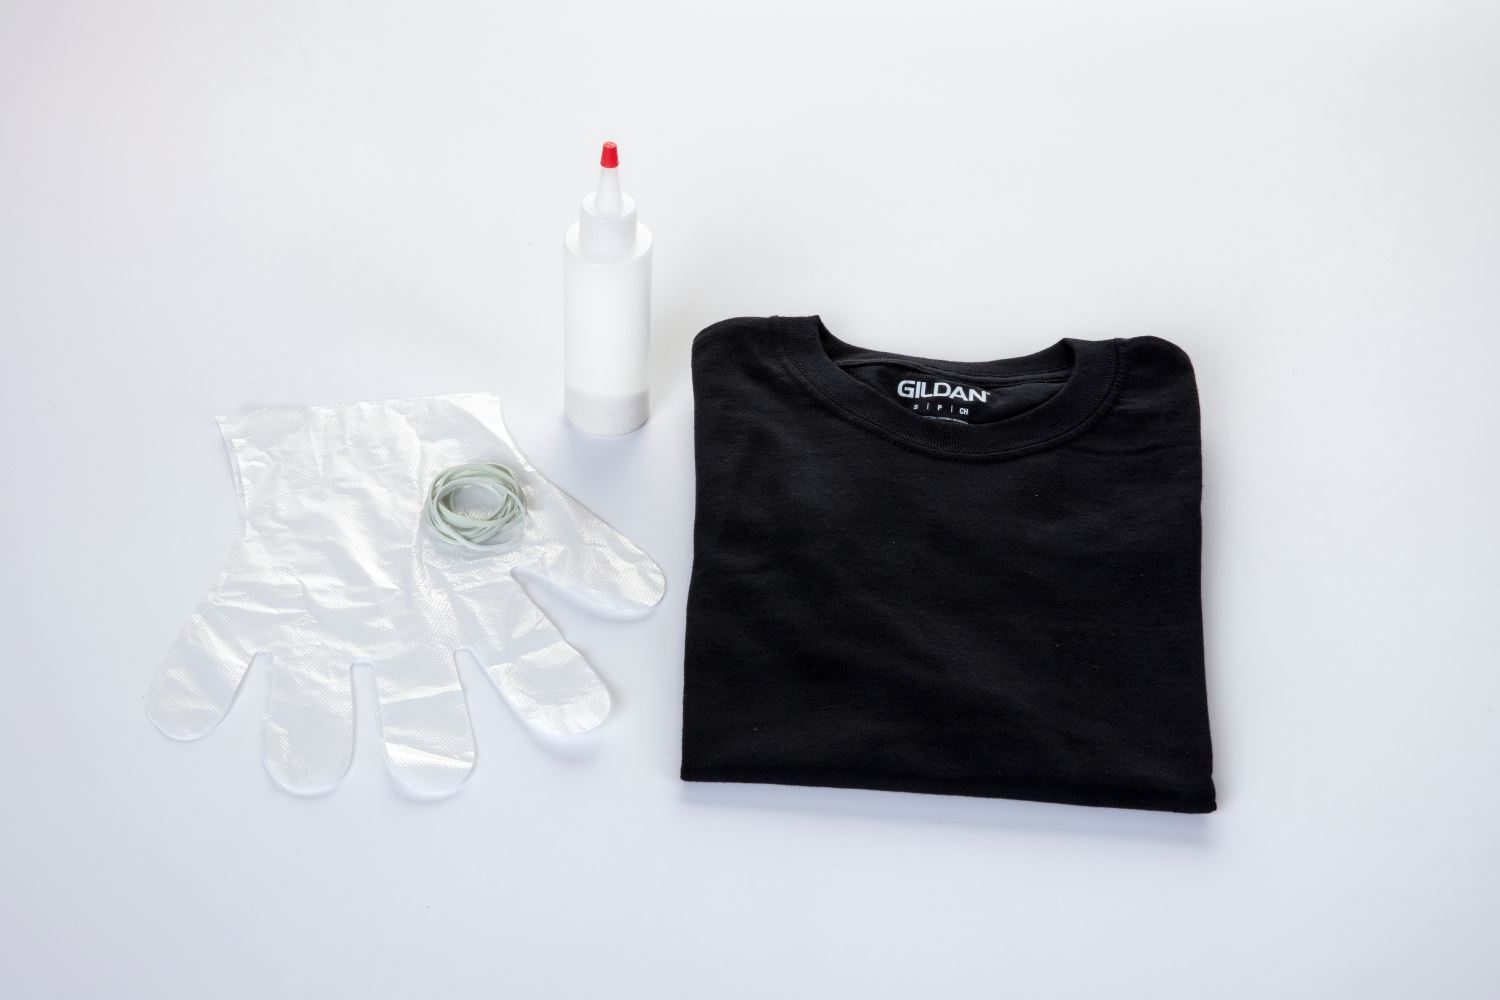
Here is what you'll need for this bleach tie-dye tutorial:
- Dark colored shirt, 100% cotton
- Tulip Reverse Tie-Dye Kit
- (Or Hydrogen peroxide + Bleach)
- Water
- Gloves (included in kit)
- Rubber bands (included in kit)
- Squeeze bottle (included in kit)
- Plastic tablecloth
- Wire rack (optional)
- Face Mask and Safety goggles (optional)
Step 1: Prep Your Station
Prep your dye station: The most important aspect of bleach tie-dye is following proper safety precautions. Bleach can be a very harmful chemical, so you’ll want to protect yourself and your work area as much as possible!
Set up your bleach tie-dye station in a well-ventilated area and wear face mask that covers your mouth and nose to avoid inhaling toxic fumes. Protect your work surface with a plastic covering, like a disposable plastic tablecloth or large garbage bags, to prevent staining.
Remember to always wear gloves when handling bleach! We also recommend wearing safety goggles while bleaching— it’s better to be safe than sorry!
Step 2: Mix Solutions
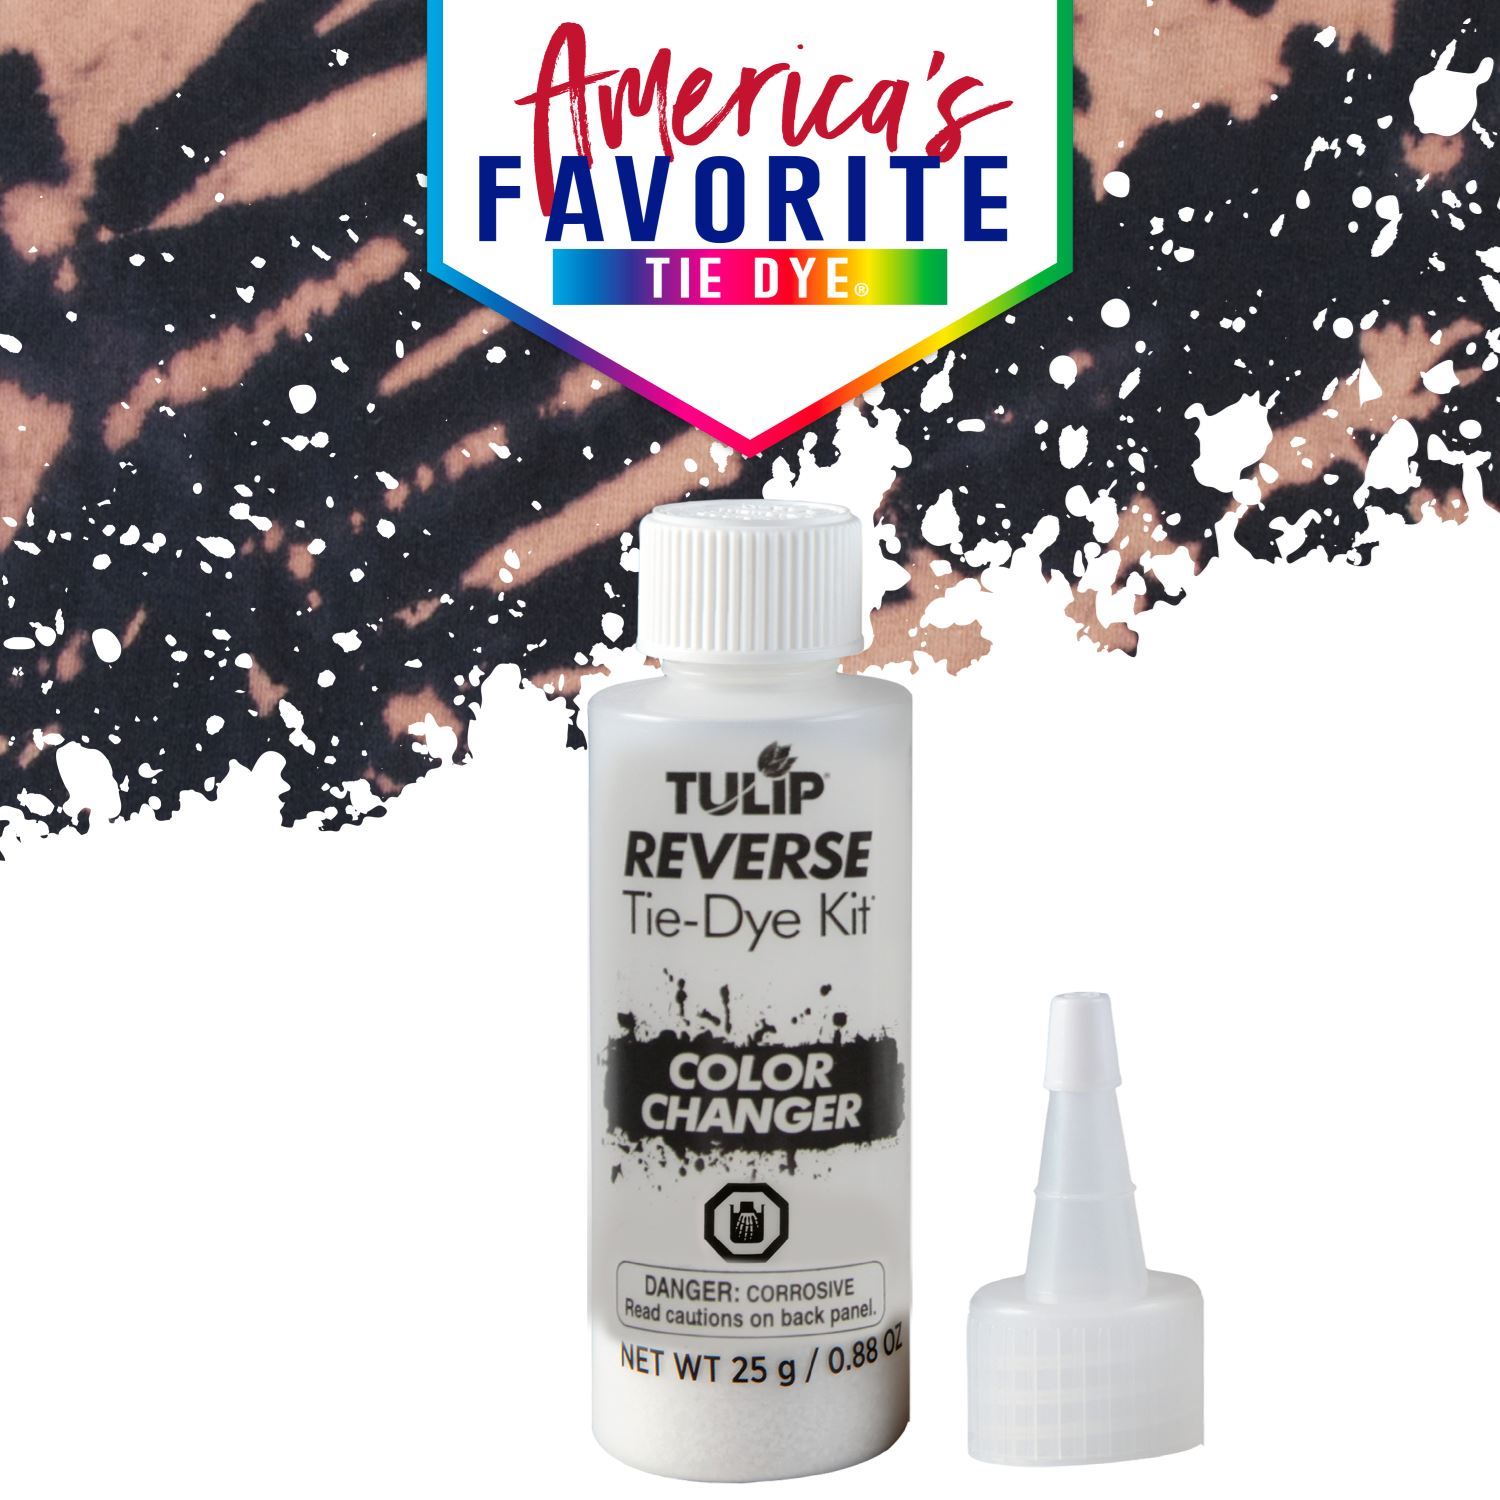
Mix your solutions: Mix up one of the bottles of Color Changer from your Reverse Tie-Dye Kit according to instructions. It's the easiest solution. This is what you’ll use to bleach tie dye your shirt!
Alternative: prepare your own bleach solution by mixing equal parts bleach and water. You can mix this solution in a large squeeze bottle for easy application, or mix it in a large plastic bucket or tub. Then, prepare your neutralizing solution by mixing 1 part hydrogen peroxide and 10 parts water in a plastic tub, bowl, or directly in your sink. Since bleach works so fast, it’s helpful to have a neutralizing solution to stop the bleaching process once the desired lightness is achieved. Be sure to prepare enough neutralizing solution to fully saturate your garments.
Step 3: Apply bleach
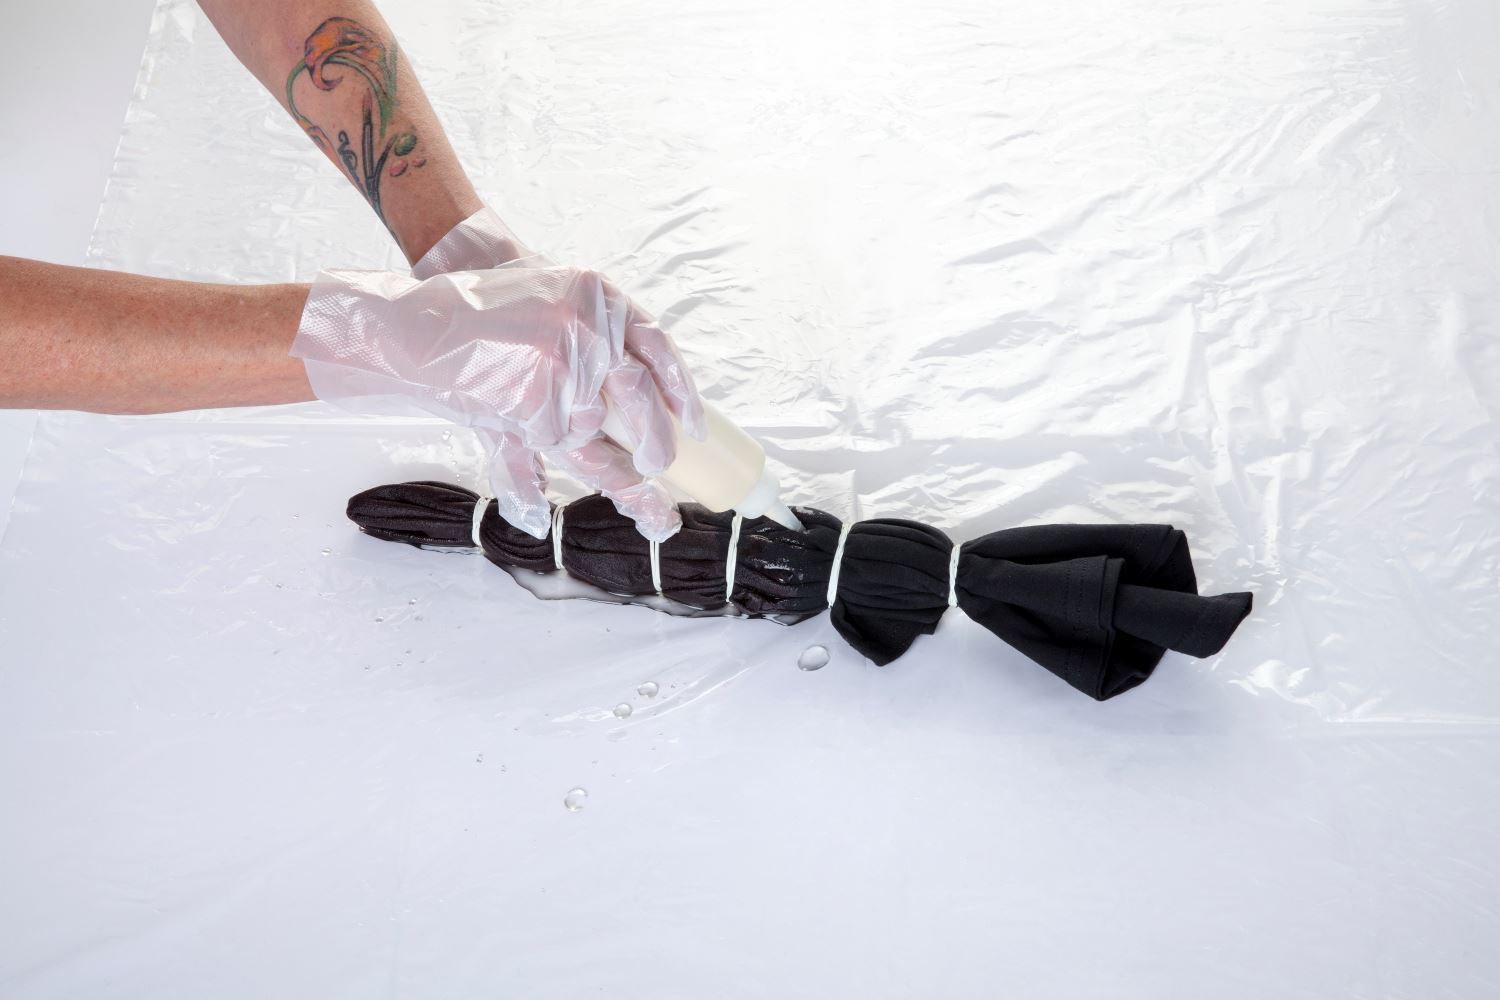
Apply bleach: For this project, you’ll want to use a dark 100% cotton t-shirt for best results. Cotton blends will work too, but may need additional processing time. Prewash (and dry, optionally) your garment and fold it into your desired tie-dye pattern, securing with rubber bands. For this tutorial, we are using the bullseye tie-dye pattern. Simply pinch your fabric into a tube, then add rubber bands to create as many sections as you’d like.
Place shirt onto a wire rack if using, then apply your bleach solution, rotating the fabric as needed. Use your gloved hands to help work the bleach solution into the fabric. If you’re using the bucket method, just submerge your folded garment into the bleach solution.
You’ll begin to see your bleach tie-dye results almost immediately! Keep an eye on your shirt to monitor the amount of color removal. This can take anywhere between 5 and 20 minutes, depending on how dense the fabric is. Be careful not to leave the bleach solution on for too long, as it may damage the fabric. Keep in mind that your shirt will be lighter once it has been washed and dried!
Step 4: Wash
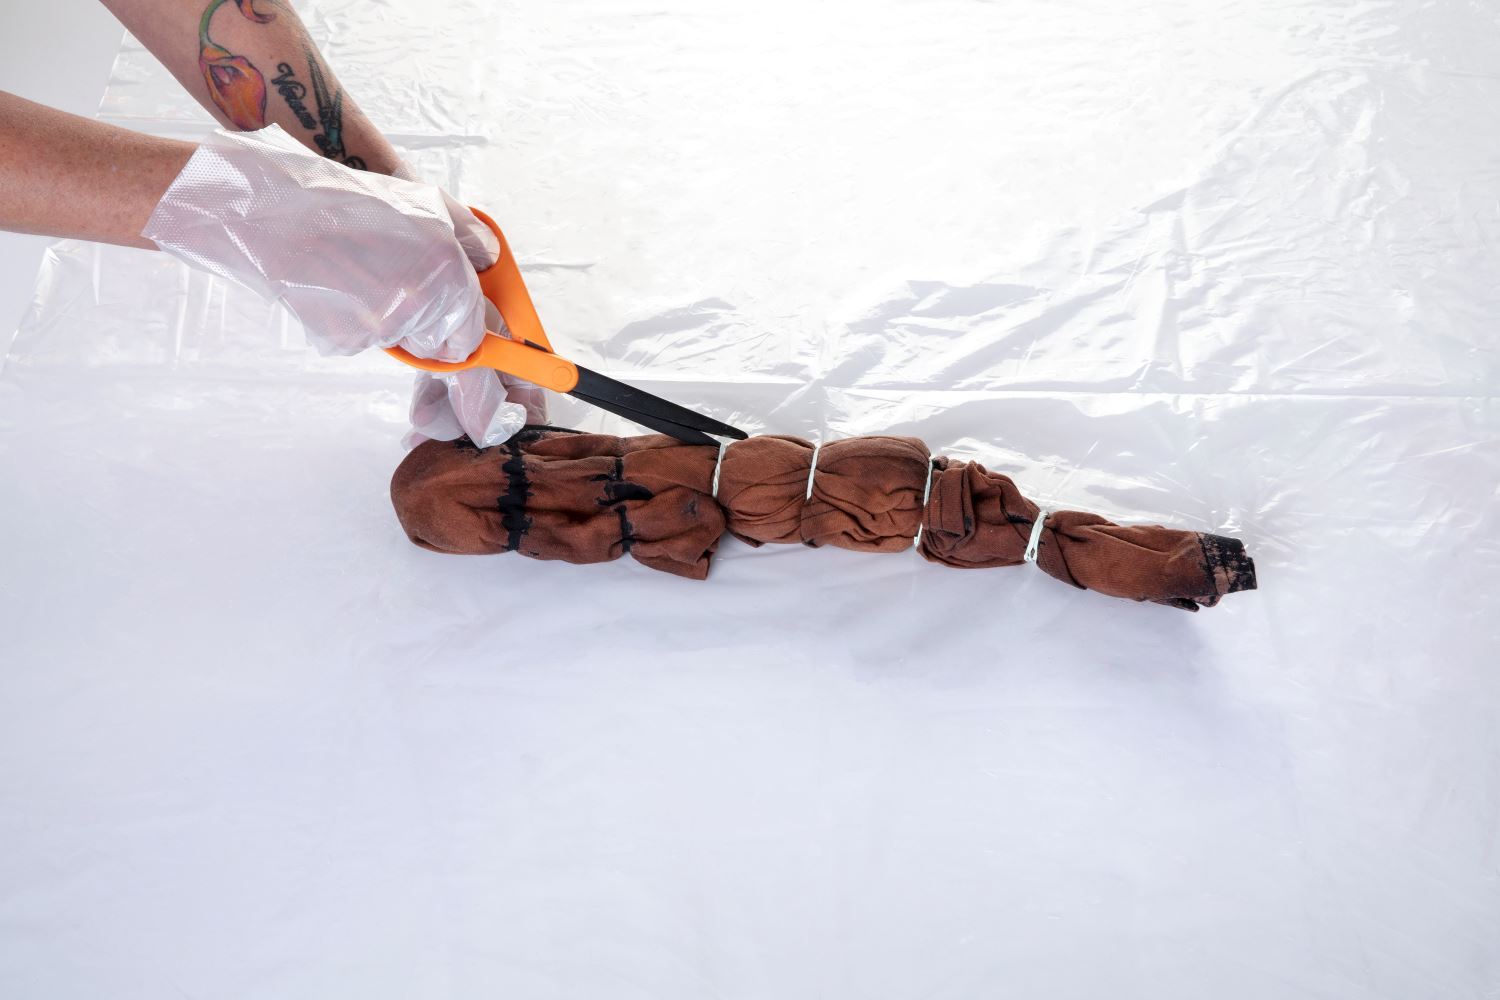
Take off the rubber bands and wash: When you are satisfied with the amount of color that has been removed, take off the rubber bands and rinse your shirt with water. Then, place your shirt into the neutralizing solution for at least 15 minutes to stop the bleaching process. Rinse it once more after soaking, then add it to the washing machine. Set the load to large and use cold water with a small amount of detergent. Dry normally.
Step 5: Reveal Design
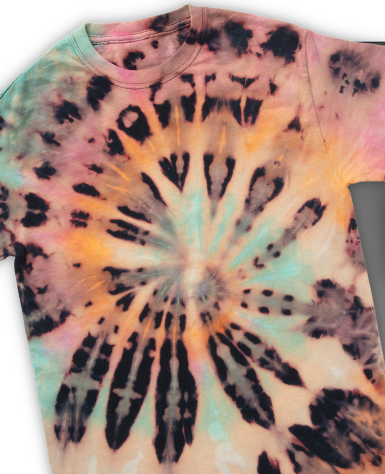
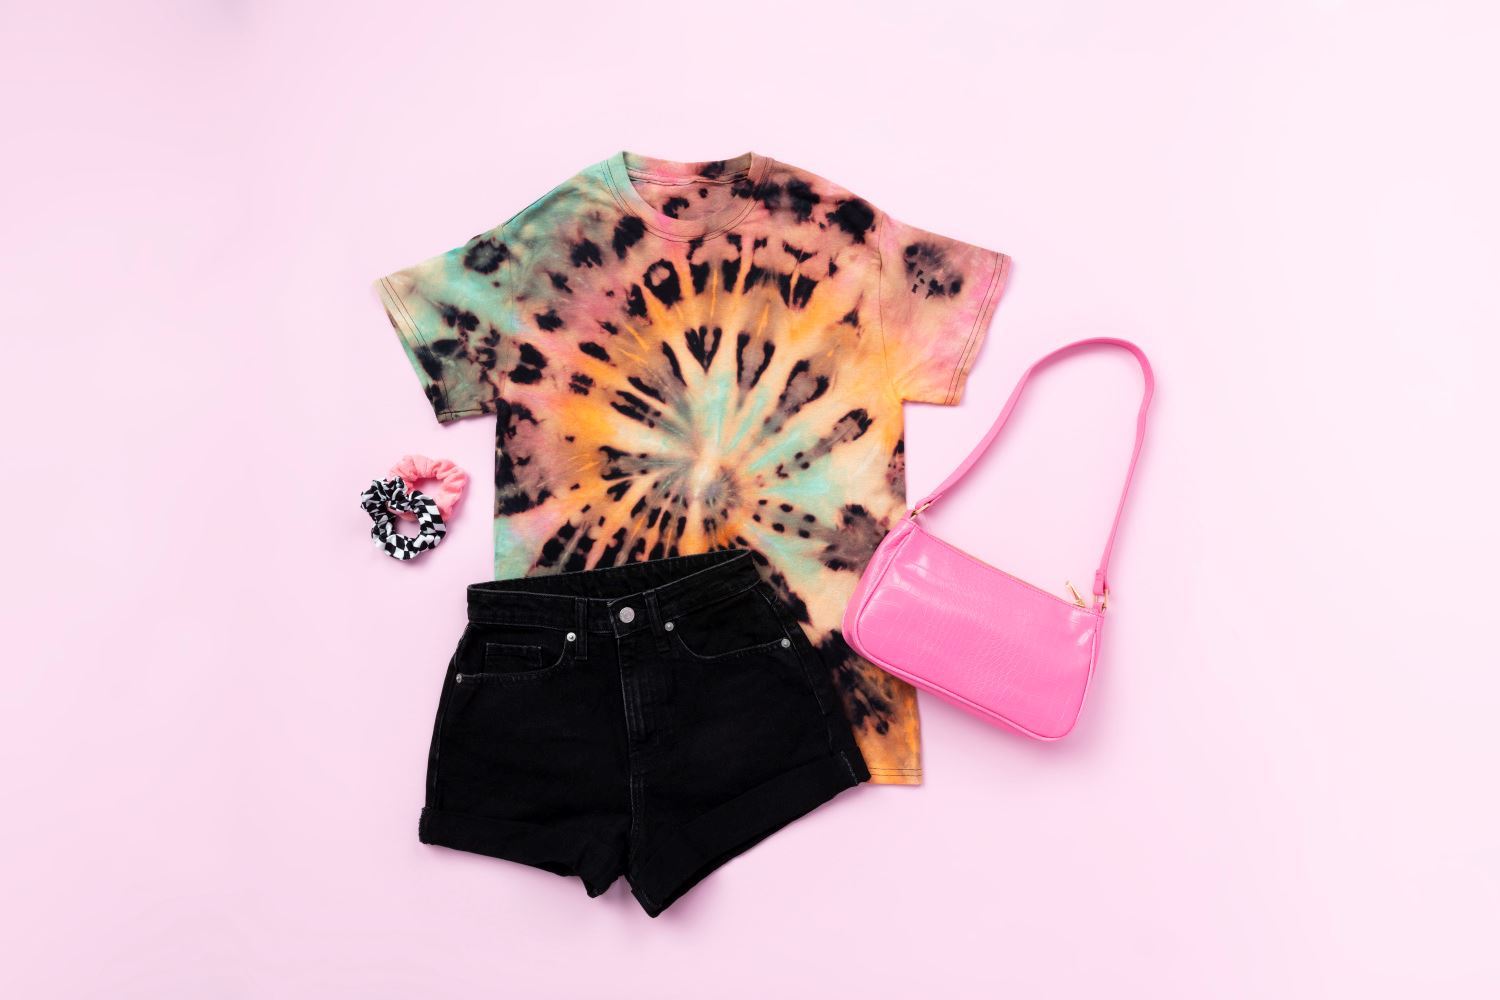
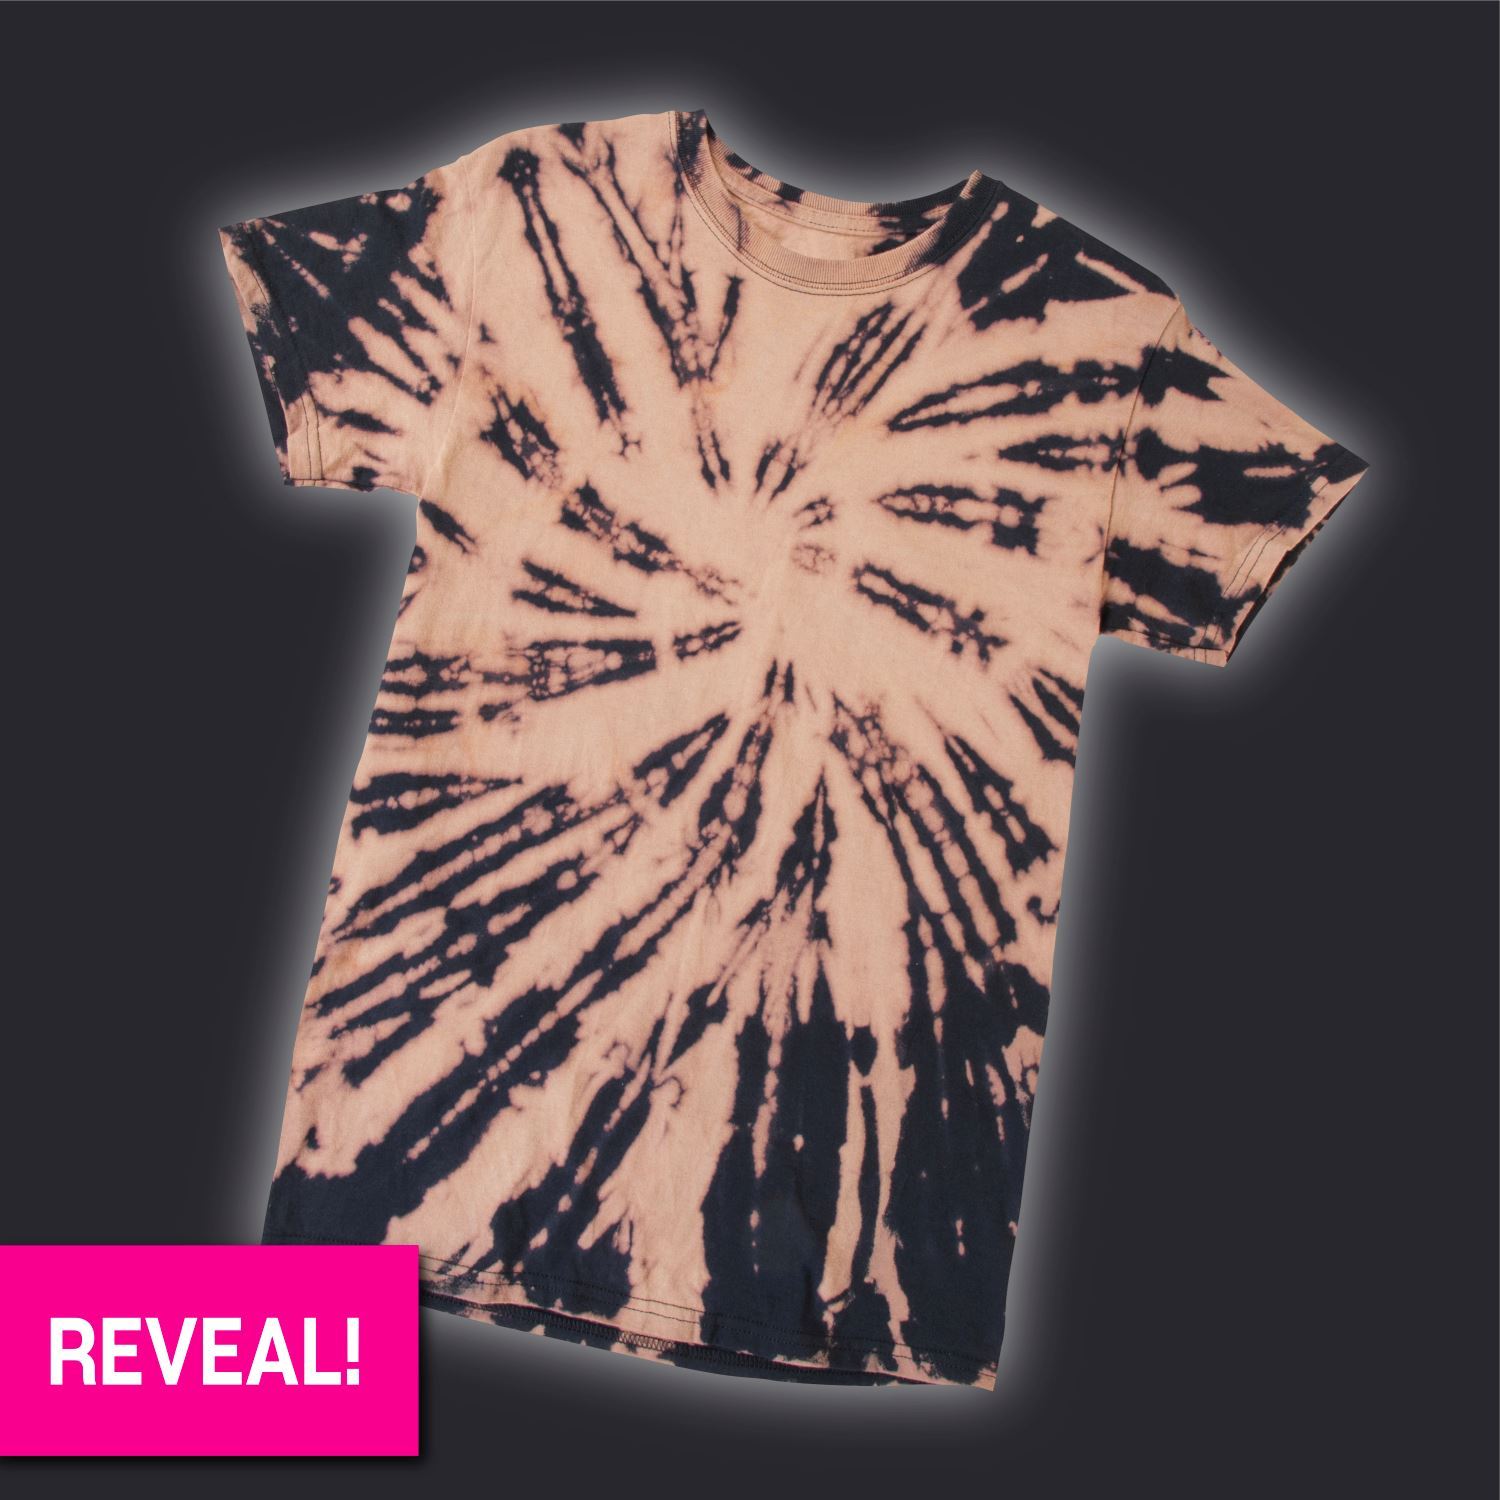
Reveal: Once your bleach tie-dye shirt has been washed and dried, it’s ready to wear! Those designs will be just as bold as you are.
Step 6 : Add Color
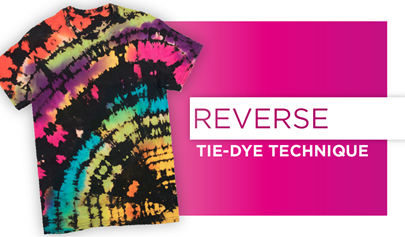
Add Color: Take your creation one step further with your favorite Tulip One-Step Tie Dye! Mix the tie-dye solution and apply colors to the bleached parts of your shirt. Once you’ve added your dyes, carefully gather your shirt and place it into a sealable plastic bag or wrap in plastic wrap to keep it damp while the dye completely processes. This will take 6 to 8 hours or overnight if you want to give it some extra time. After the dye processes, rinse and launder according to package instructions. Now you have an awesome colorful reverse-dye tee!
Ta-da! It’s really THAT easy to create a stunning bleach tie-dye shirt. If you’re still unsure about using household bleach for your tie-dye projects, try one of our Reverse Tie-Dye Kits for bleach tie dye made simple! You can test the waters with the original Reverse Tie-Dye Kit, draw custom designs with the Reverse Dye Pen, or go all out with the Reverse 4-Color Tie-Dye Kit.
Bleach Tie dye FAQs
What items can you bleach tie-dye?
This technique can be done on a variety of surfaces like hats, shirts, sweats, and more—but for best results, try to stick to 100% cotton or cotton blend fabrics.
How long do you let bleach tie-dye sit?
Always keep an eye on your garments when using the bleach tie-dye technique to monitor the amount of color removal. You can let bleach tie-dye sit for anywhere between 5 and 20 minutes, depending on how dense the fabric is. Be careful not to leave the bleach solution on for too long, as it may damage the fabric. Keep in mind that your garments will be lighter once they have been washed and dried!
Is it better to bleach tie-dye wet or dry?
Just like with regular tie dye, bleach tie-dye can be done on wet or dry fabrics. For heavy items such as sweatshirts, sweatpants, and jeans, we recommend dampening your fabric first so that the bleach can easily penetrate the fabric. For lightweight items such as cotton t-shirts, we recommend leaving them dry so that your tie-dye patterns come out sharp.
Will you be trying the bleach tie-dye technique? Tag us on social media @TulipColor with your unique tie-dye creations and give us a follow for more tie-dye techniques, inspiration, and more!
Pin This Project

