You can delete and/or block cookies by modifying the settings on your browser. Learn more
Step 1:
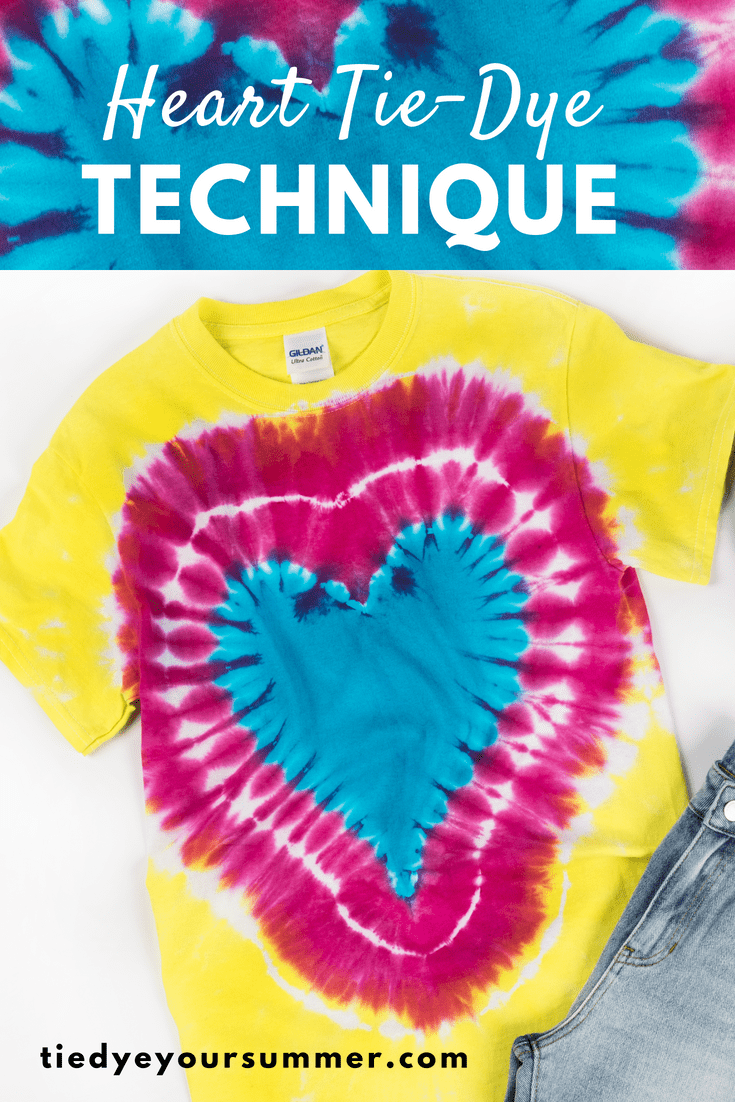
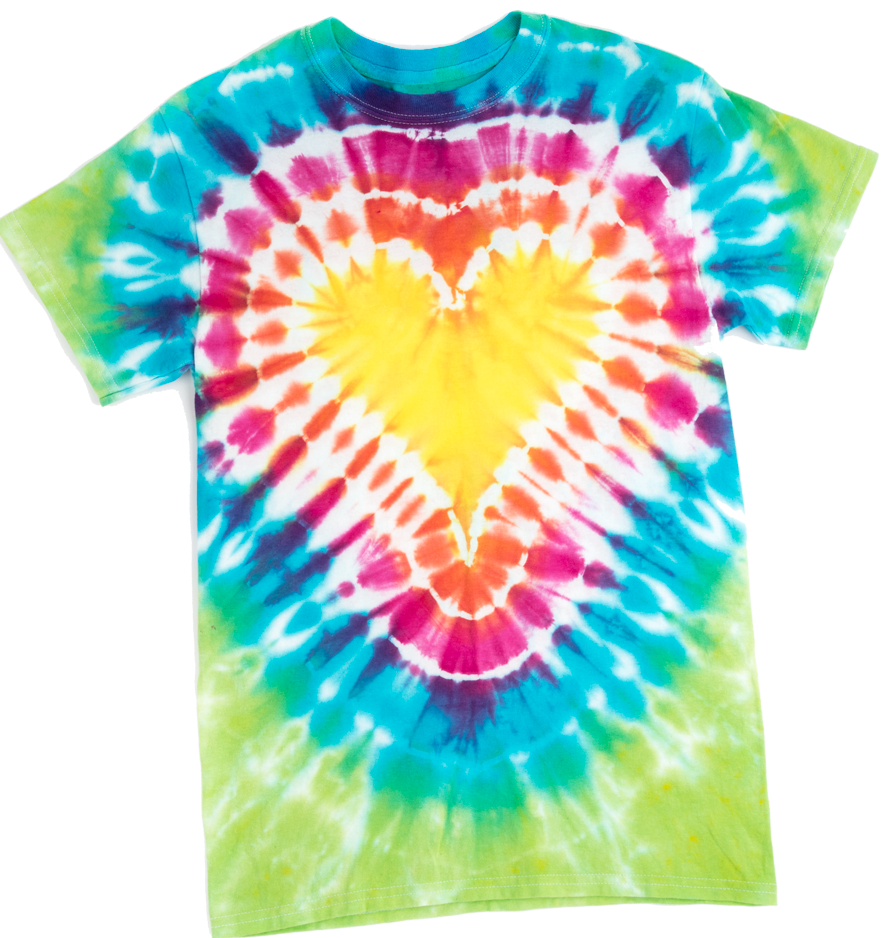
Fold your damp T-shirt vertically in half and smooth out on your work surface. Use a washable marker to draw a half heart shape with the center aligning along the fold. Tightly pleat your shirt along the marker line so that the line appears as straight as possible when all of the pleats are together. Wrap a rubber band tightly around the pleated fabric at this marker line. Wrap another rubber band a few inches below the first, keeping with the pleats. You can stop here or continue adding a few more rubber bands down the length of your shirt, depending on how many dyed sections you want. Each banded section can be a new dye color!
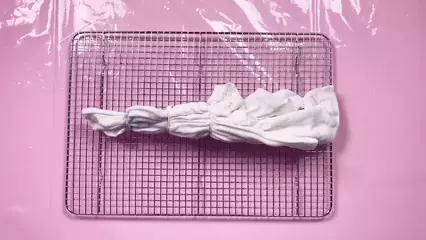
Step 2:
Wearing the plastic gloves from your kit, place your project on a wire rack if using. You can apply as many dye colors as sections with rubber bands, or as few as one dye color. However you decide to apply your dyes, make sure to rotate your shirt and match the dyes in the same color pattern on the sides and back.
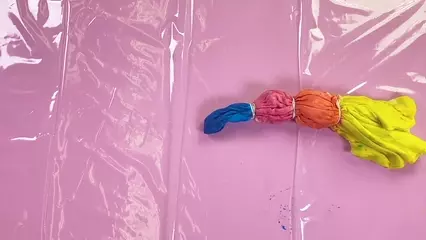
Step 3:
Place your dyed project into a sealable plastic bag or wrap in plastic wrap to keep it damp while the dye completely processes. This will take 6 to 8 hours or overnight if you want to give it some extra time.
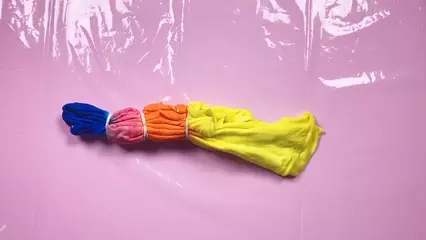
Step 4:
Once your dye has fully processed, remove the rubber bands (carefully cutting them off is the easiest way) and check out your heart tie dye! Rinse, wash and dry according to your instruction guide.
Pin This Project

