You can delete and/or block cookies by modifying the settings on your browser. Learn more
How to Throw a Tie-Dye Party in Your Backyard
Published Date August 17, 2020
We’re all staying close to home these days, but that doesn’t mean we can’t celebrate special occasions or enjoy fun activities outdoors with close friends and family. We’re feeling super inspired by this amazingly bright backyard tie-dye party our friends over at Beijos Events threw for their kids, and we just have to share. So, if you’ve been searching for fun party ideas you can do outdoors, or you’ve been obsessing over tie dye lately (we can’t think of anything better to obsess over) and are wondering how to throw a tie-dye party, get the deets here. Are you ready for the best backyard party ever?!
What you need:
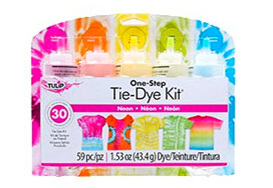
- Tulip One-Step Tie-Dye Kits of choice
- White 100% cotton T-shirts
- Colorful plastic table covers
- Sealable plastic bags + permanent marker for labeling
- Paper towels
- Colorful decorations like balloons, flowers, etc.
- Colorful napkins, paper plates and plastic utensils – choose lots of different colors
- Colorful snacks of course!
Tie-dye party invitations
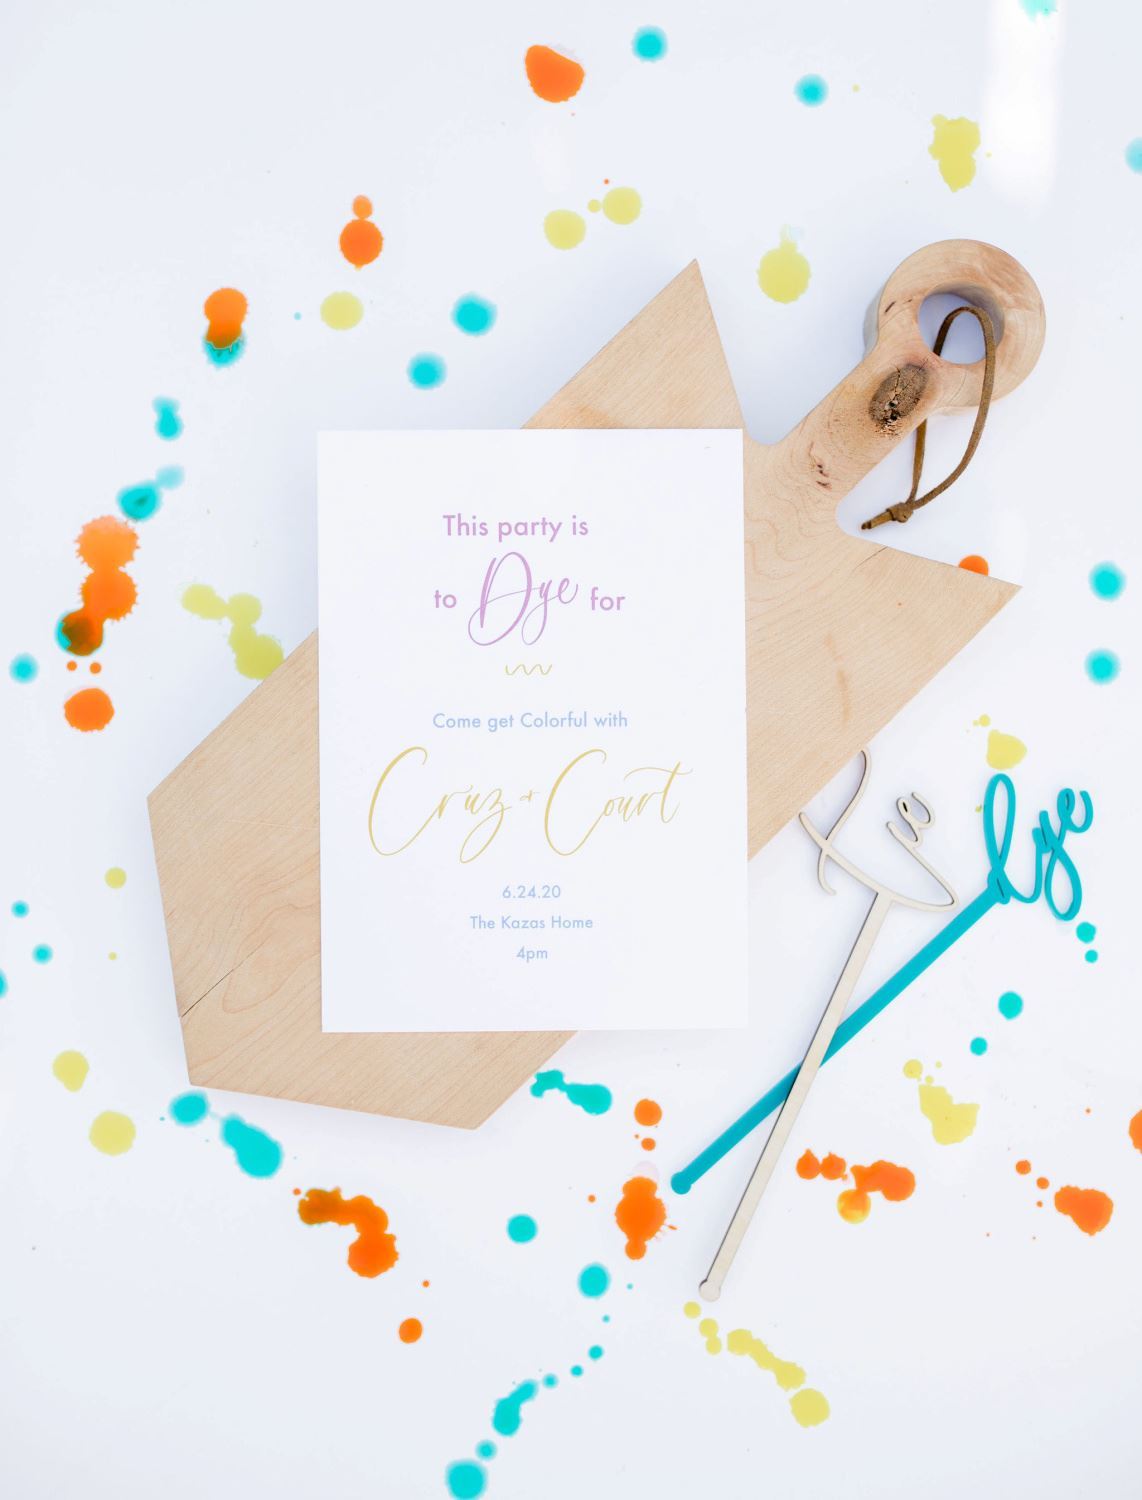
Are you ready to learn how to throw a tie-dye party that’ll make you the coolest parent/friend/neighbor ever?! First things first: invitations. There are a ton of options online to affordably create party invitations – get creative and add lots of color. It IS a tie-dye party after all!
Tie-dye party table setting
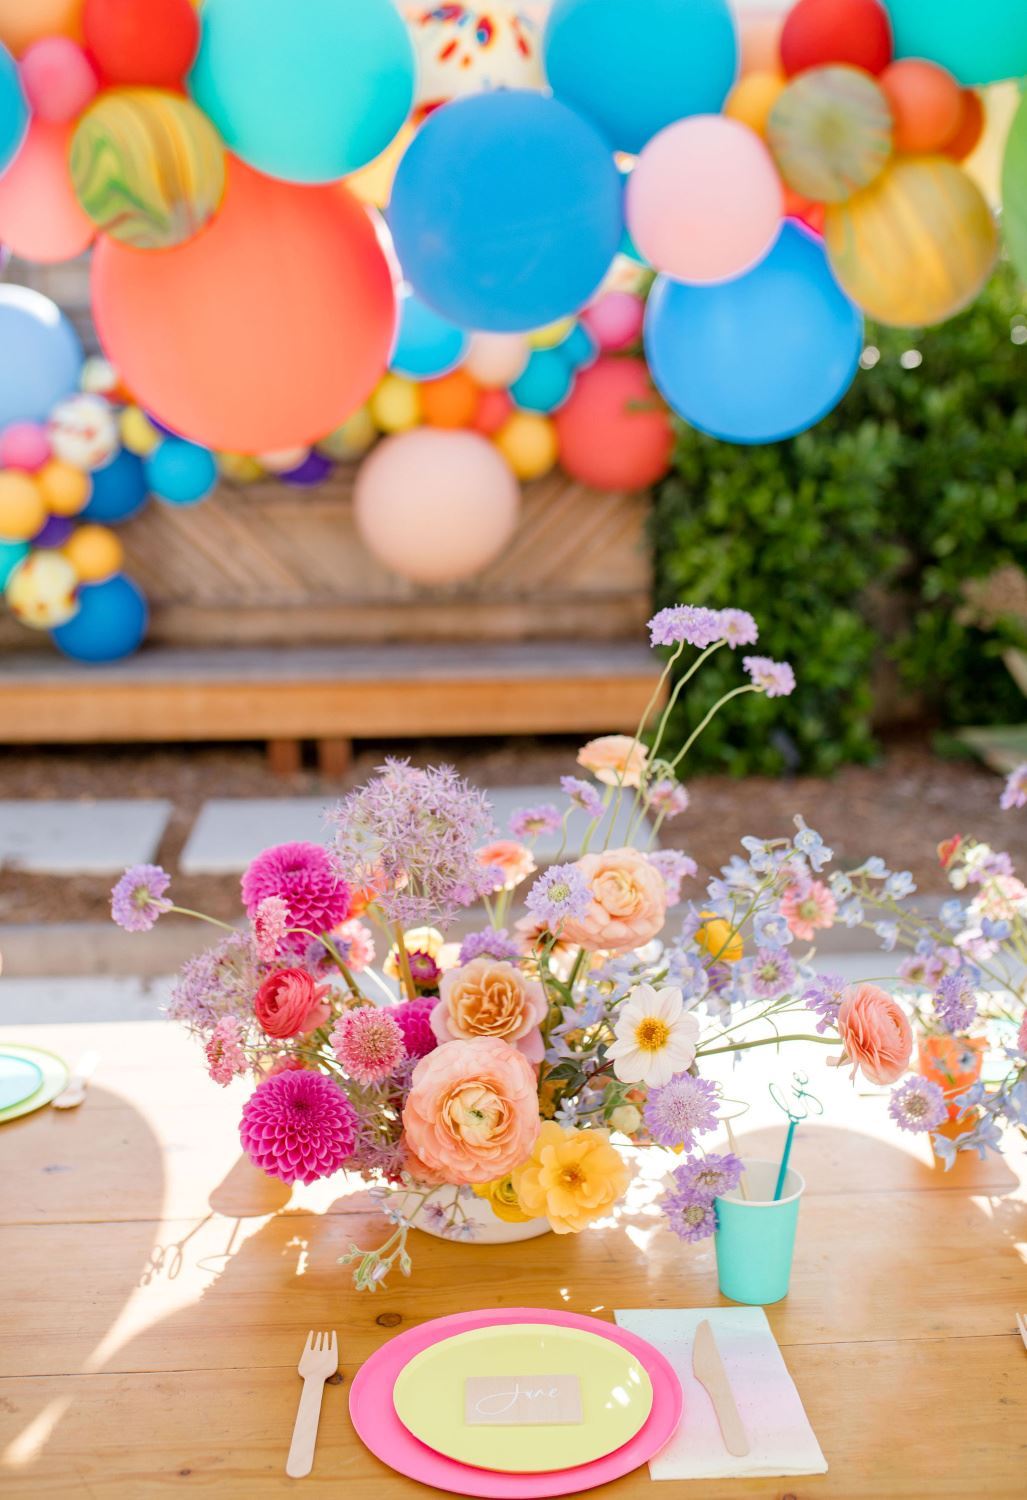
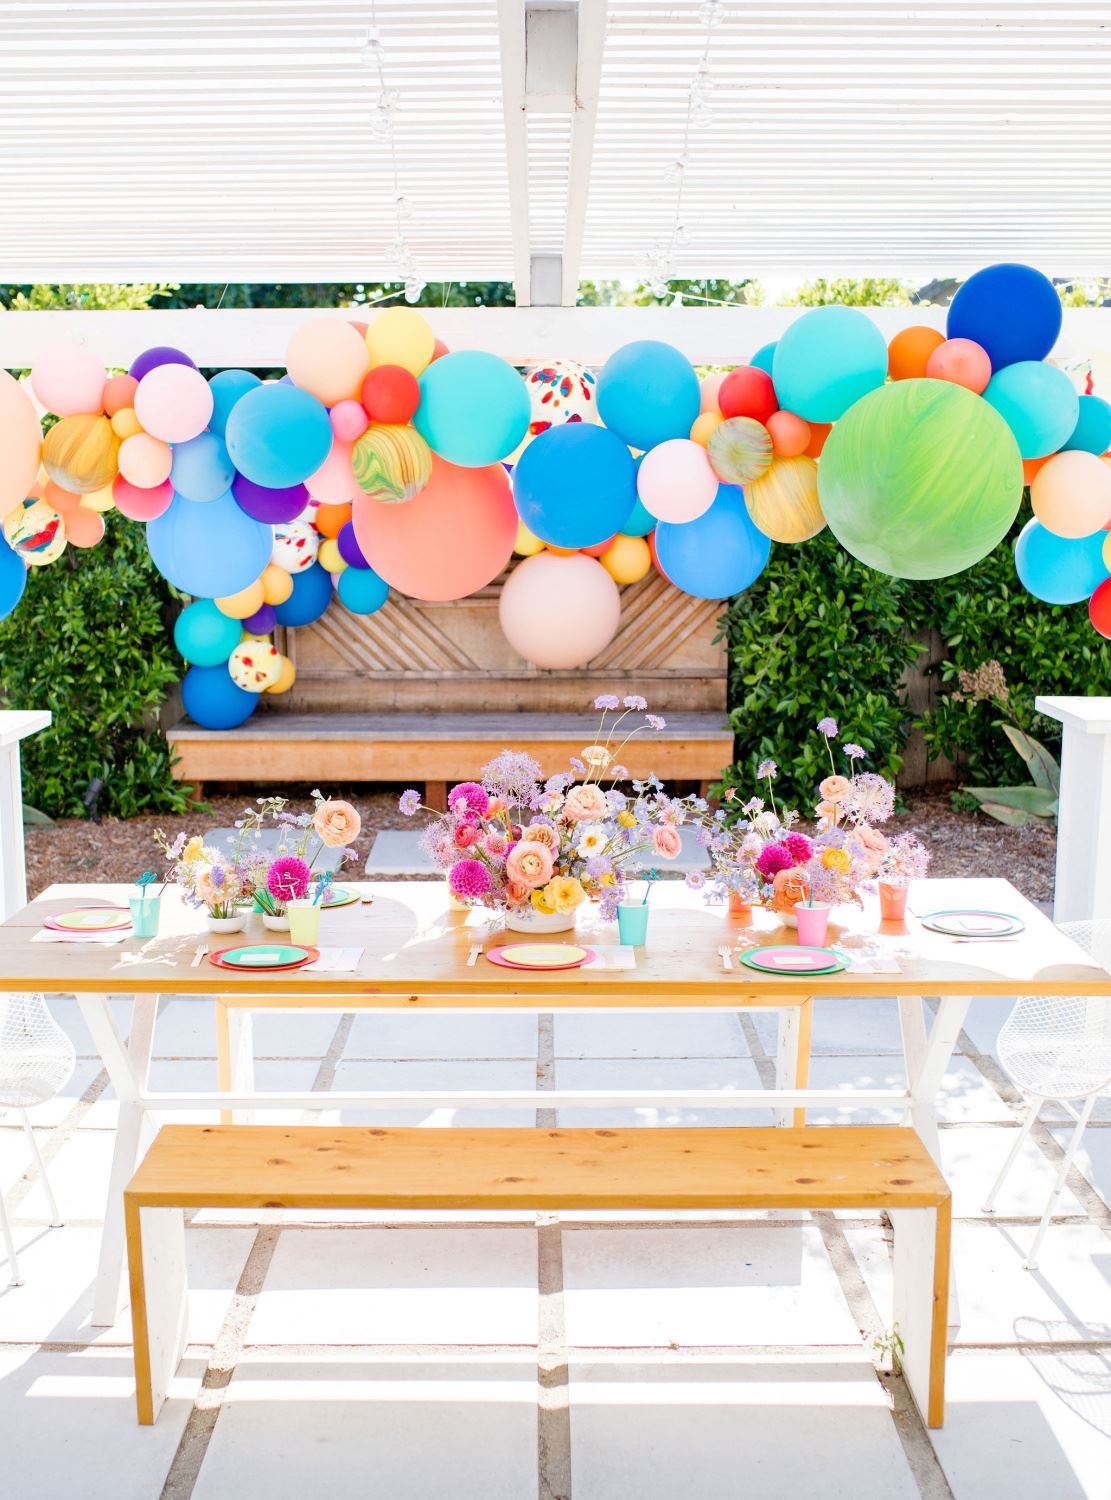
Now that you have the invites out, let’s set the stage. To throw a tie-dye party, you’ll want to decorate your backyard with lots of COLOR. Don’t be afraid to go full rainbow with it, mixing in lots of different colors with your party decorations. This doesn’t have to be expensive either. You can create a balloon arch as a backdrop (which also serves as a great photo spot for guests), and even use a wild mix of bright flowers as your table centerpieces.
Colorful place settings for a backyard tie-dye party
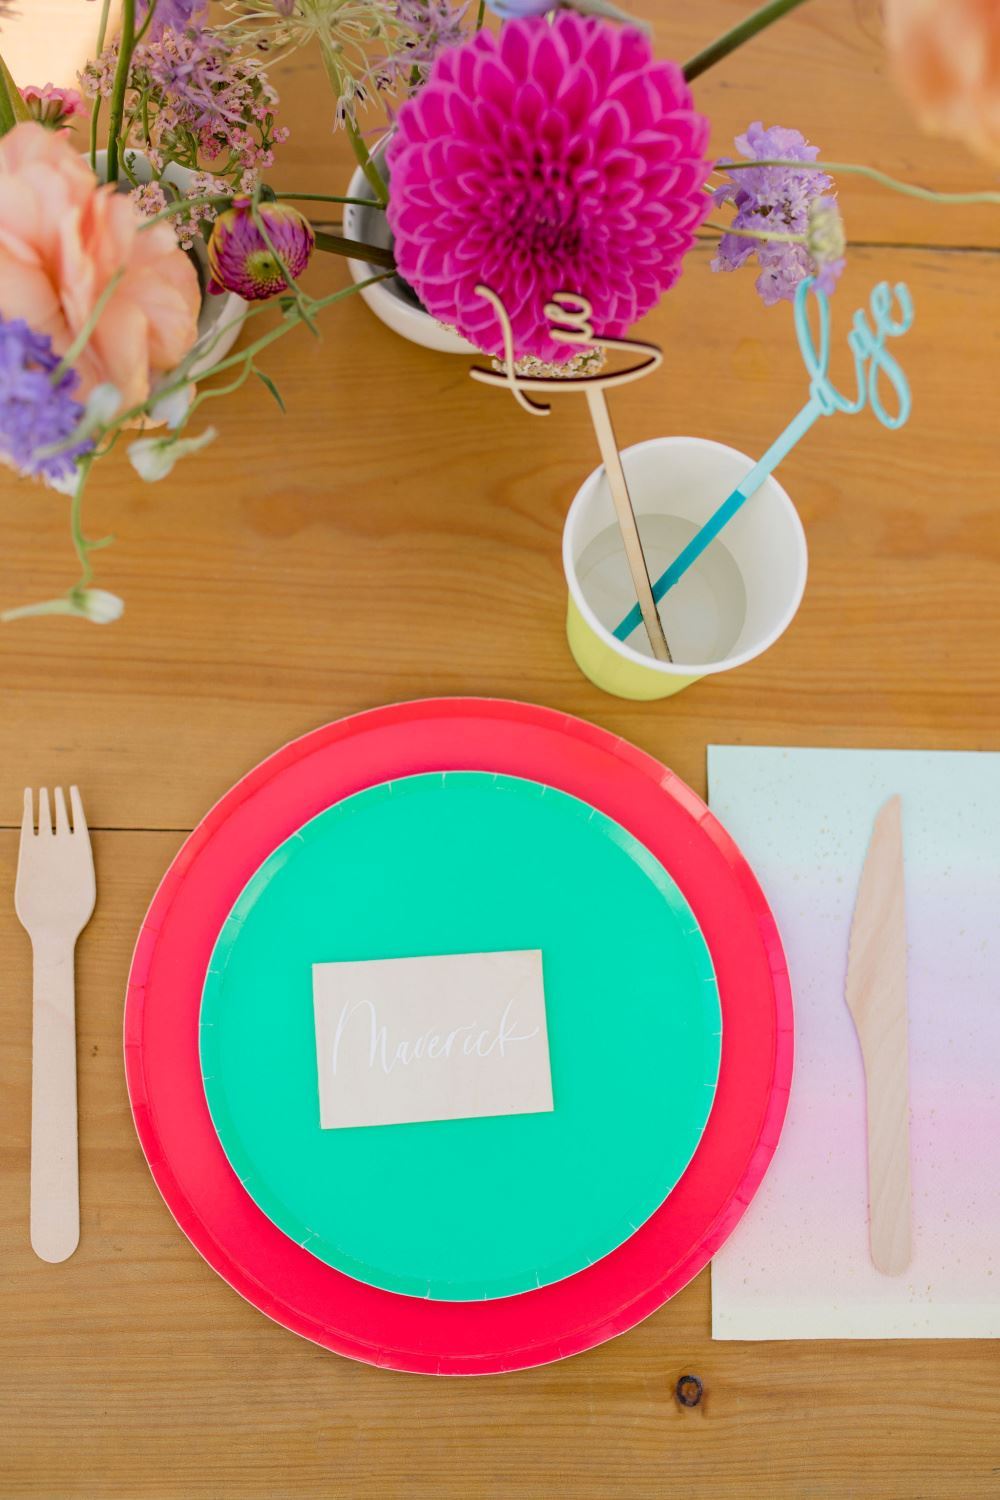
Paper plates and cups make cleanup at the end of the party extra easy; you can toss ‘em and move on! And luckily, finding them in a bunch of different colors is also easy and affordable. Have fun mixing & matching a variety of different-colored paper plates and cups into your place settings. And if you’re feeling extra fancy, you can even create cute little name cards for each guest like the Beijos crew.
Prep dye bottles before the party starts
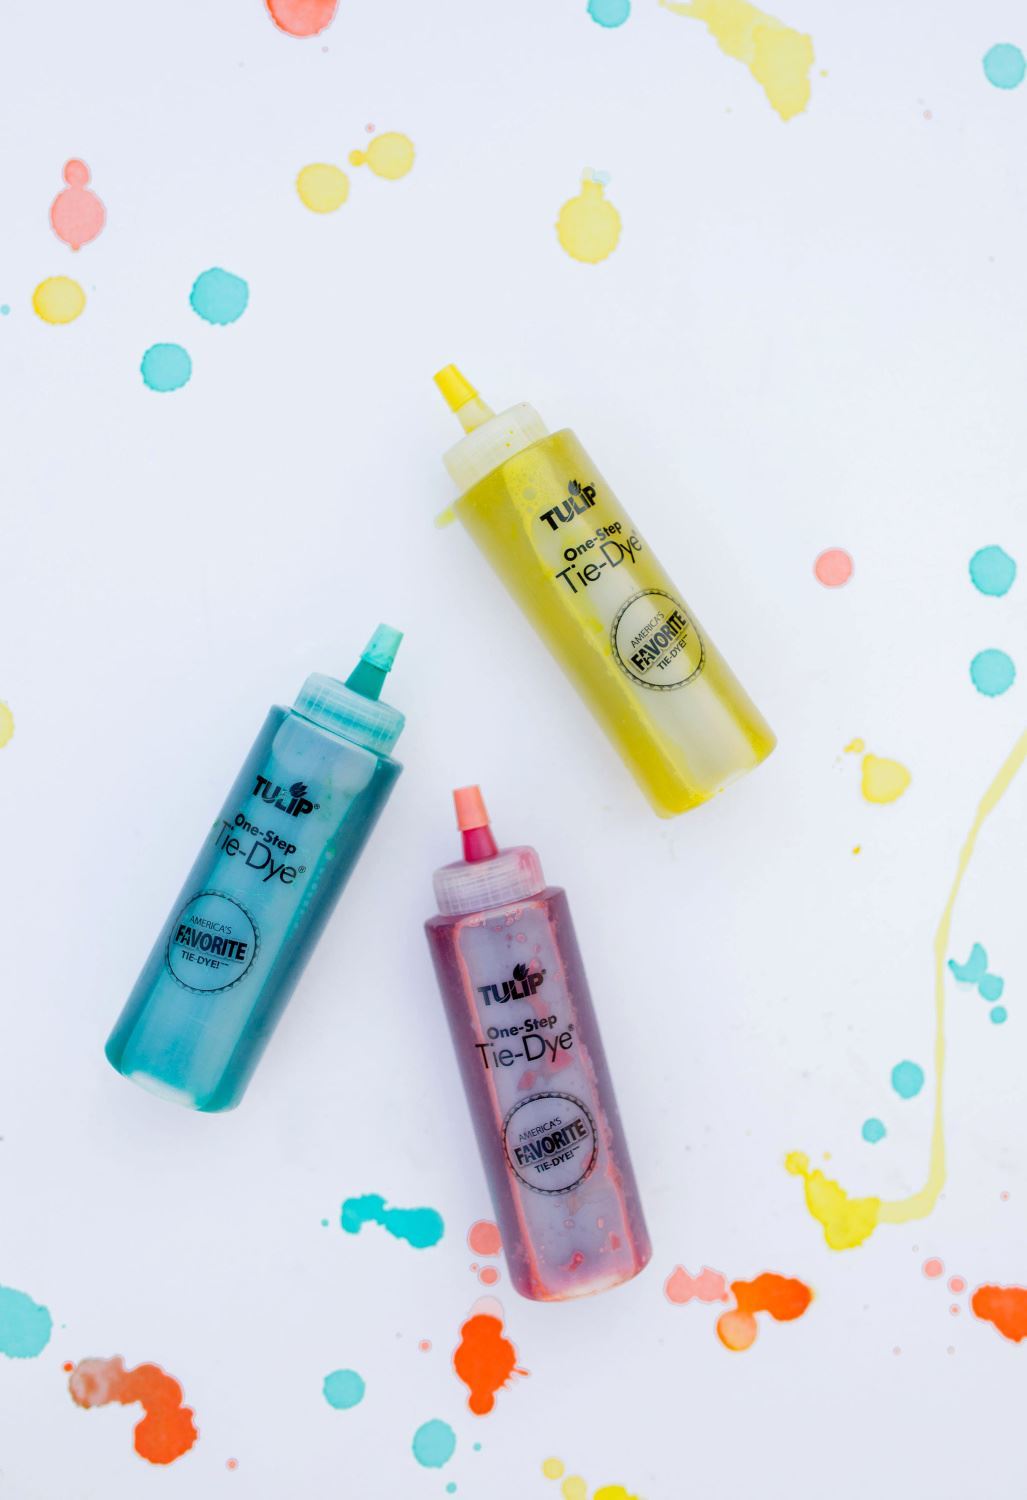
Now it’s time for the tie dye! Cover all work areas with disposable plastic tablecloths to protect your surfaces while working with the dyes. Make sure to have paper towels handy, as well as sealable plastic bags the kids can store their tie-dye projects in while the dye processes. (Plus, it’s a great way to keep messes contained so they’re not setting their wet dye projects on other surfaces!) To speed things up, you can prep your dye bottles before the party starts, just keep in mind that you’ll want to do it less than 24 hours before the party. Dyes can lose their concentration after 24 hours, so we recommend waiting until just before the party starts.
Dampen shirts and bind for desired tie-dye technique
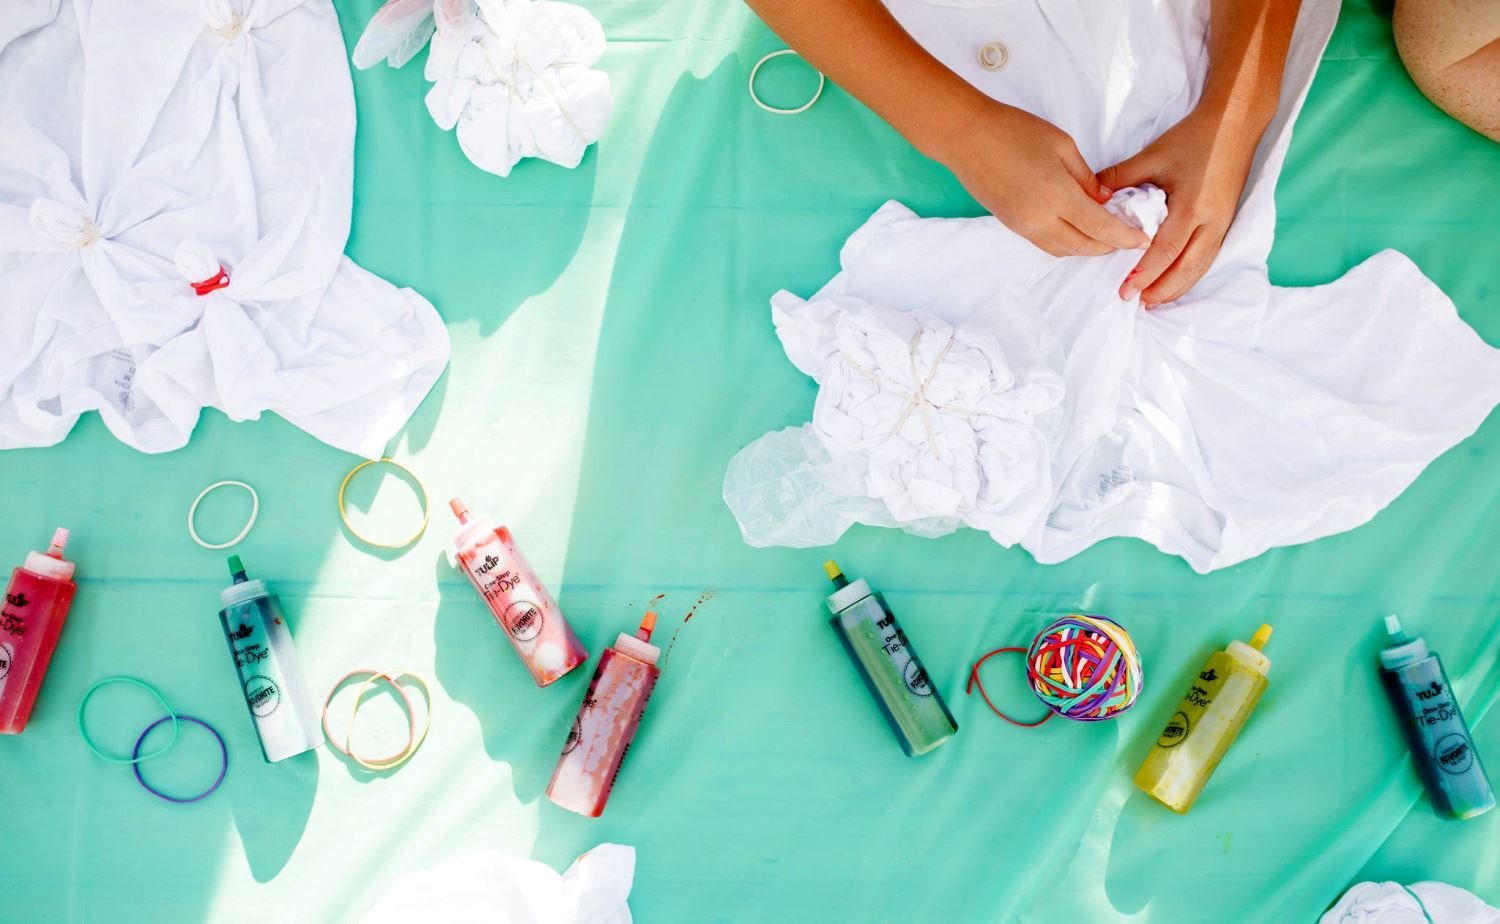
When it’s time to tie dye, have the kids (or hey, grownups too – tie dye is for everyone!) dampen their shirts in a bucket of water or under the faucet and wring out. Have them choose the tie-dye technique they want to try from the instruction guides included in your Tulip Tie-Dye Kits. Or you can find even more ideas on our tie-dye techniques page.
Put on plastic gloves before dyeing projects
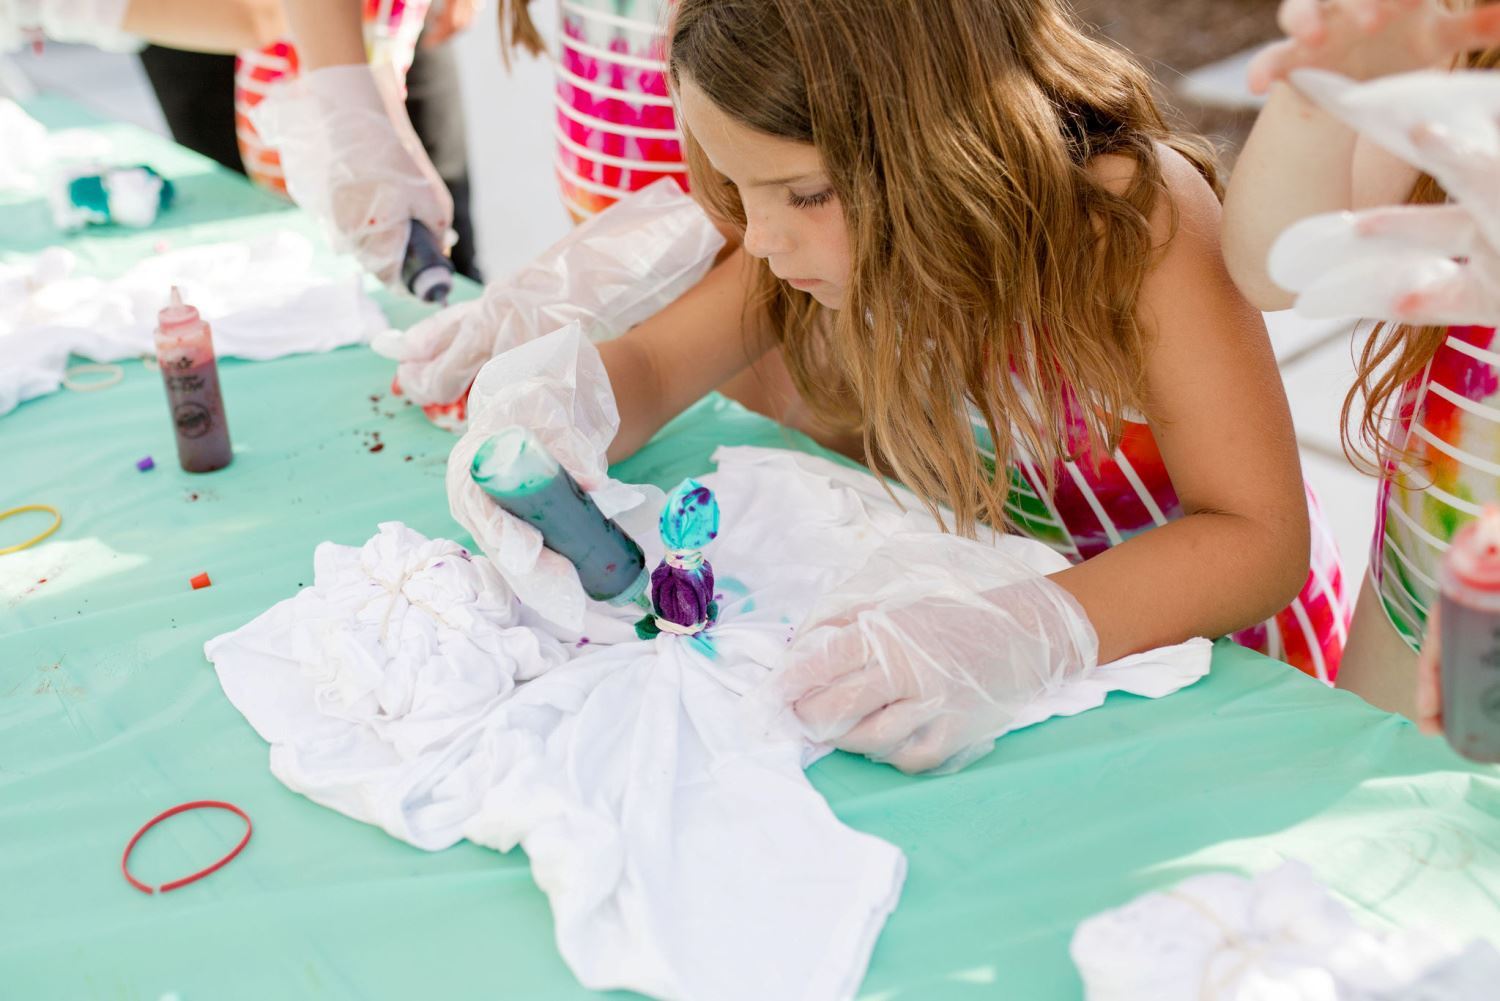
Once the T-shirts are scrunched, folded and held secure with rubber bands, it’s time to add the tie dye! Each tie-dye kit comes with protective plastic gloves, so have everyone put on their gloves before working with the dyes.
Add dye to projects – experiment and have fun
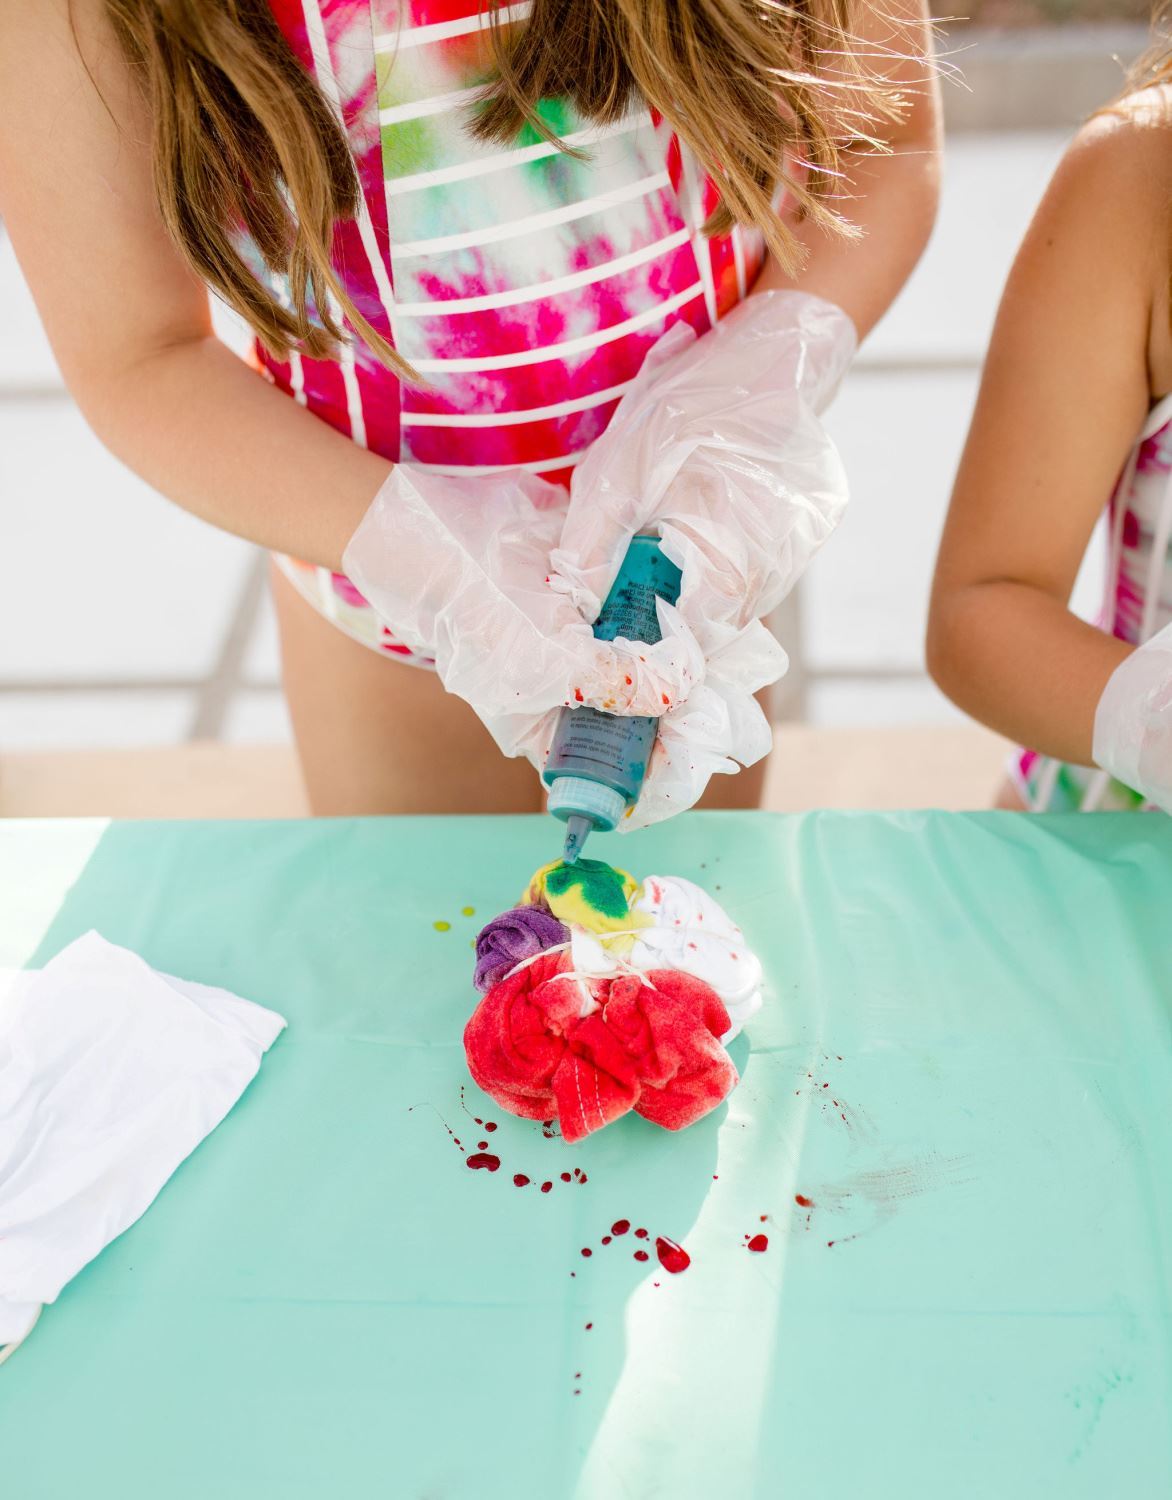
Depending on the tie-dye technique, everyone can choose from one to as many dye colors as they like. They can follow the instruction guide or completely do their own thing. There’s no wrong way to tie dye! The most important thing about a tie-dye party is the experience of having fun being creative. Once everyone has tie dyed their T-shirt, place each shirt in a separate sealable bag and write the person’s name on their bag so they can take it home with them at the end of the tie-dye party.
Backyard tie-dye party
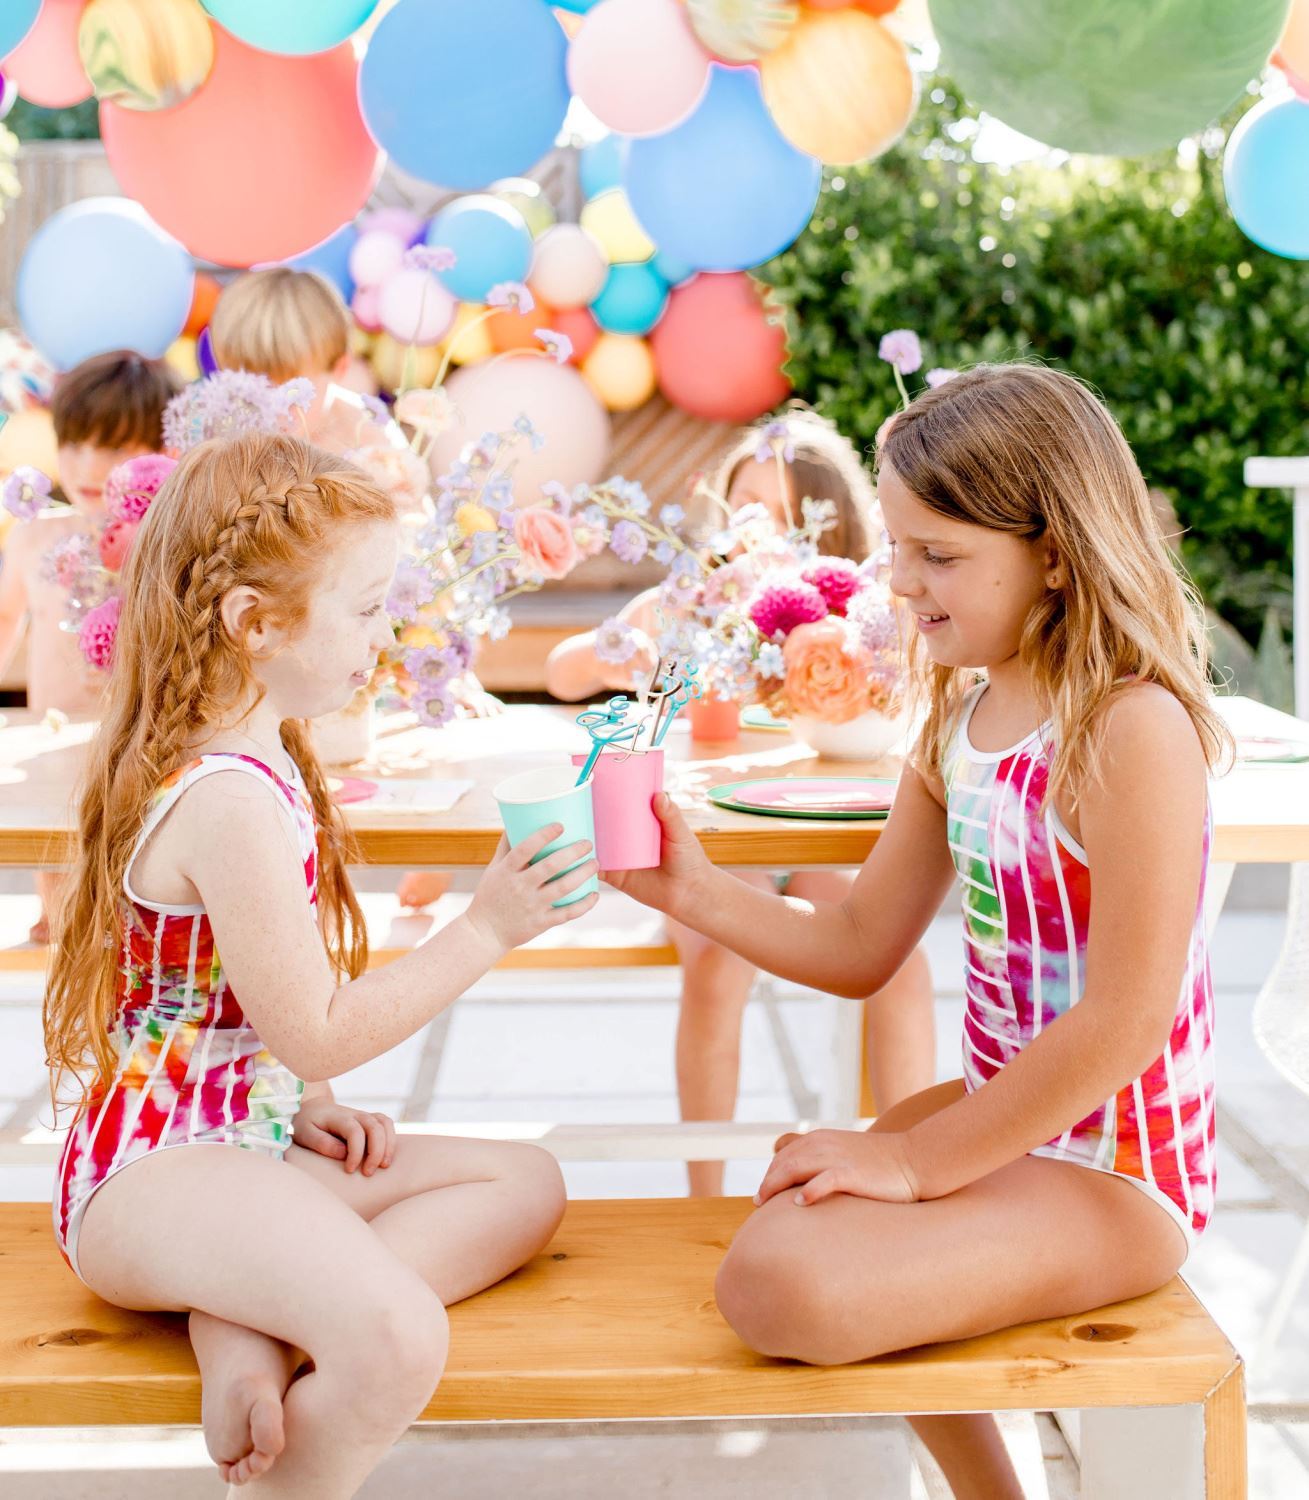
The fun doesn’t end after the tie dye though! It’s time to toast to a totally awesome backyard party, don’t you think?!
Serve colorful treats at your backyard tie-dye party
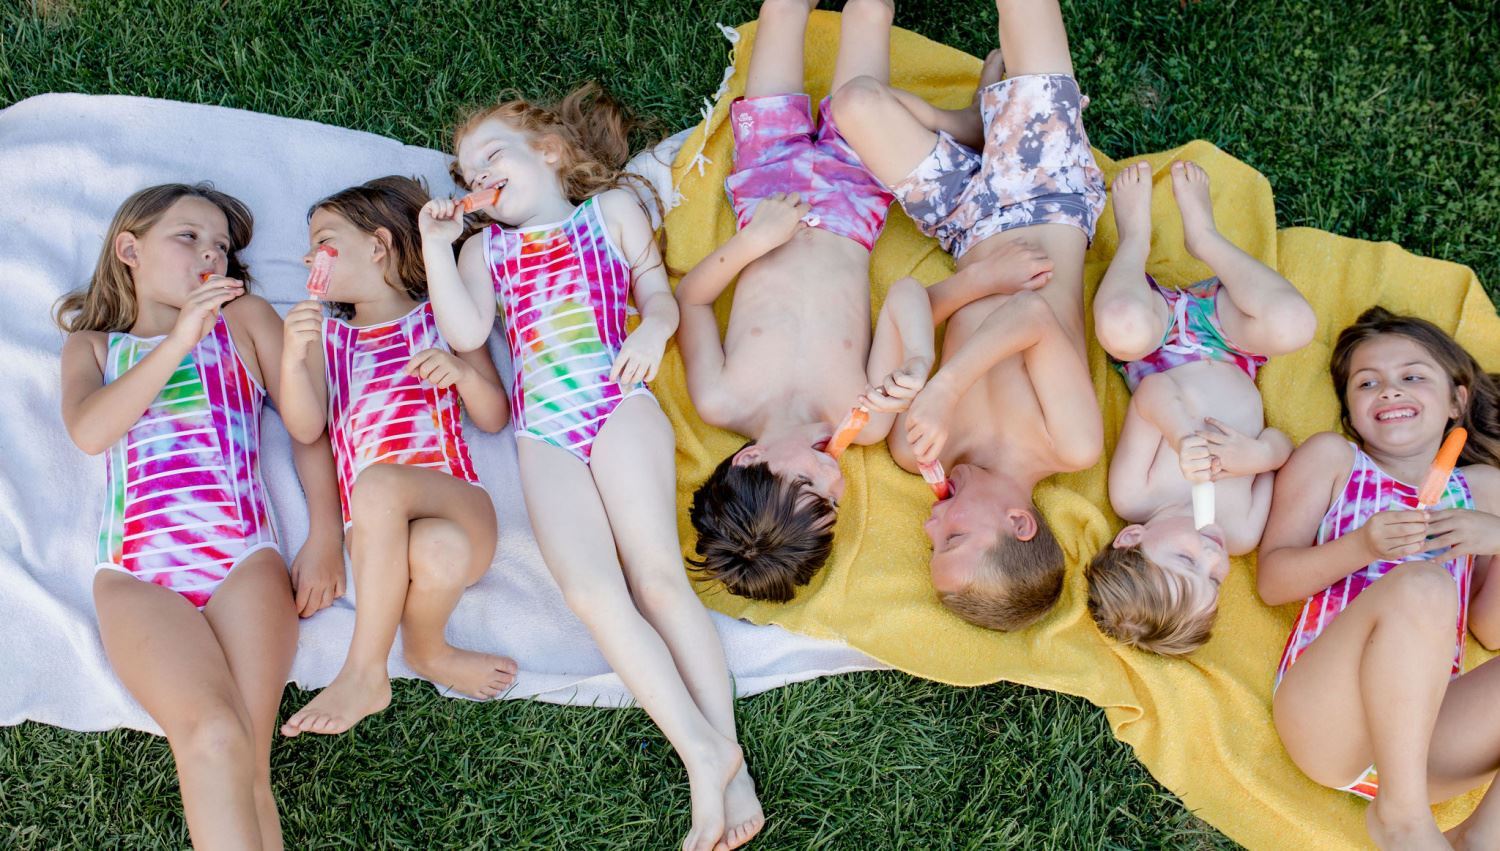
And let’s not forget about the snacks … you’ll want colorful treats to serve everyone to go along with your tie-dye theme. Popsicles offer so many colors and flavor options, and are a refreshing way to stay cool during time outdoors! Cupcakes, cookies and fruits are also great colorful treat options.
Use balloons as a colorful tie-dye party photo backdrop
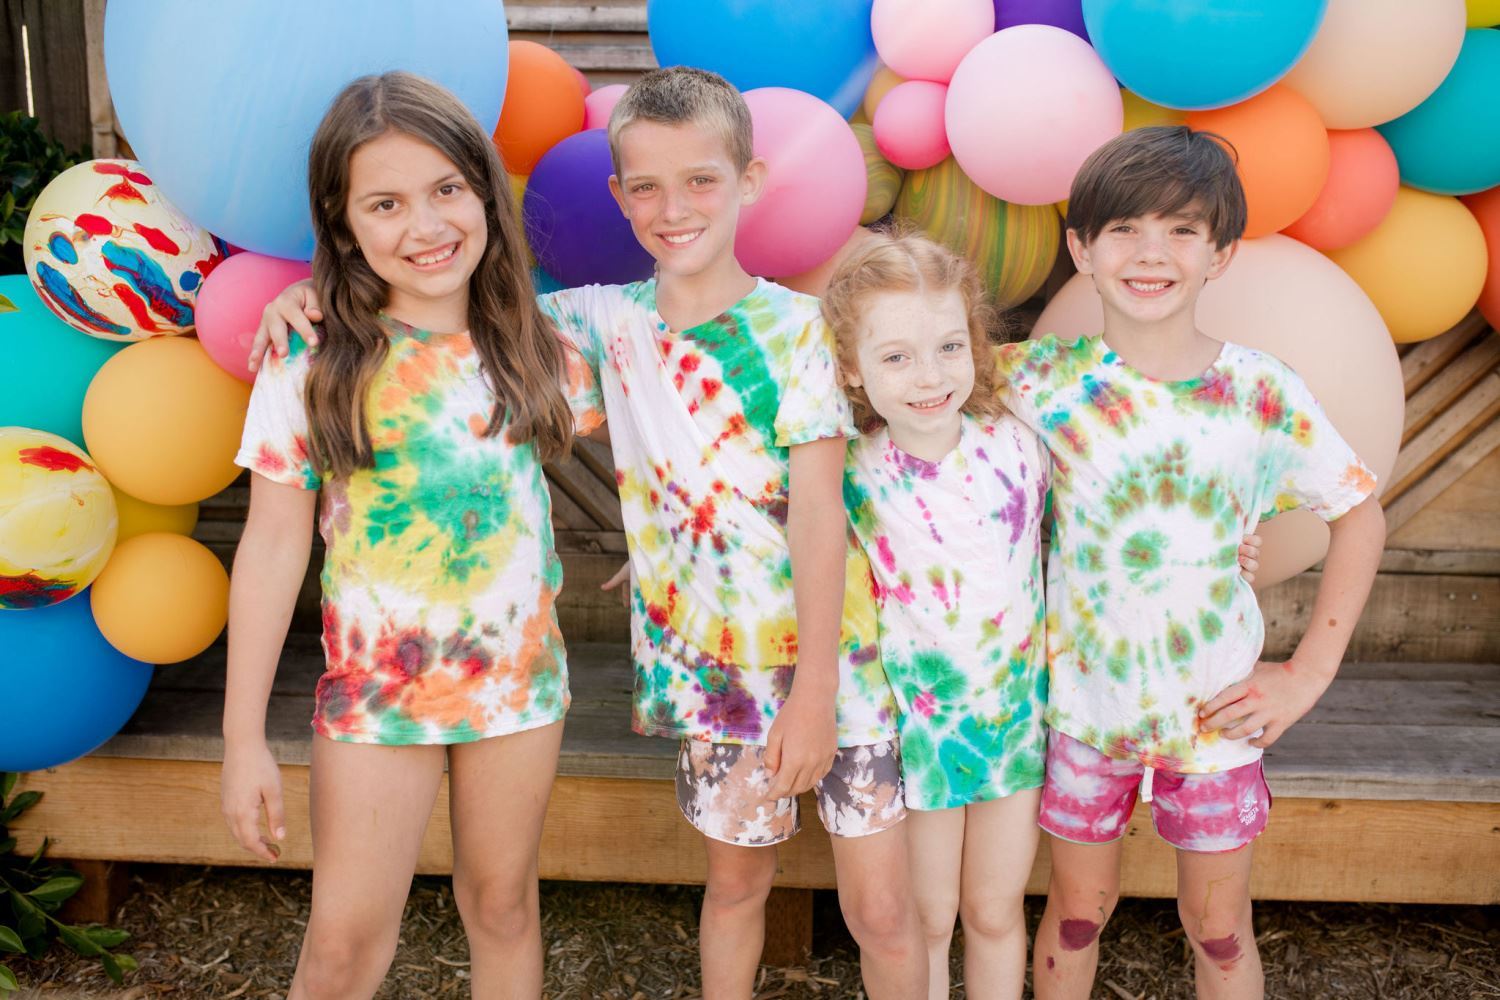
You can’t have a tie-dye party without photos! A mix of colorful balloons makes the perfect backdrop for tie-dye party photos.
How to throw a tie-dye party in your backyard
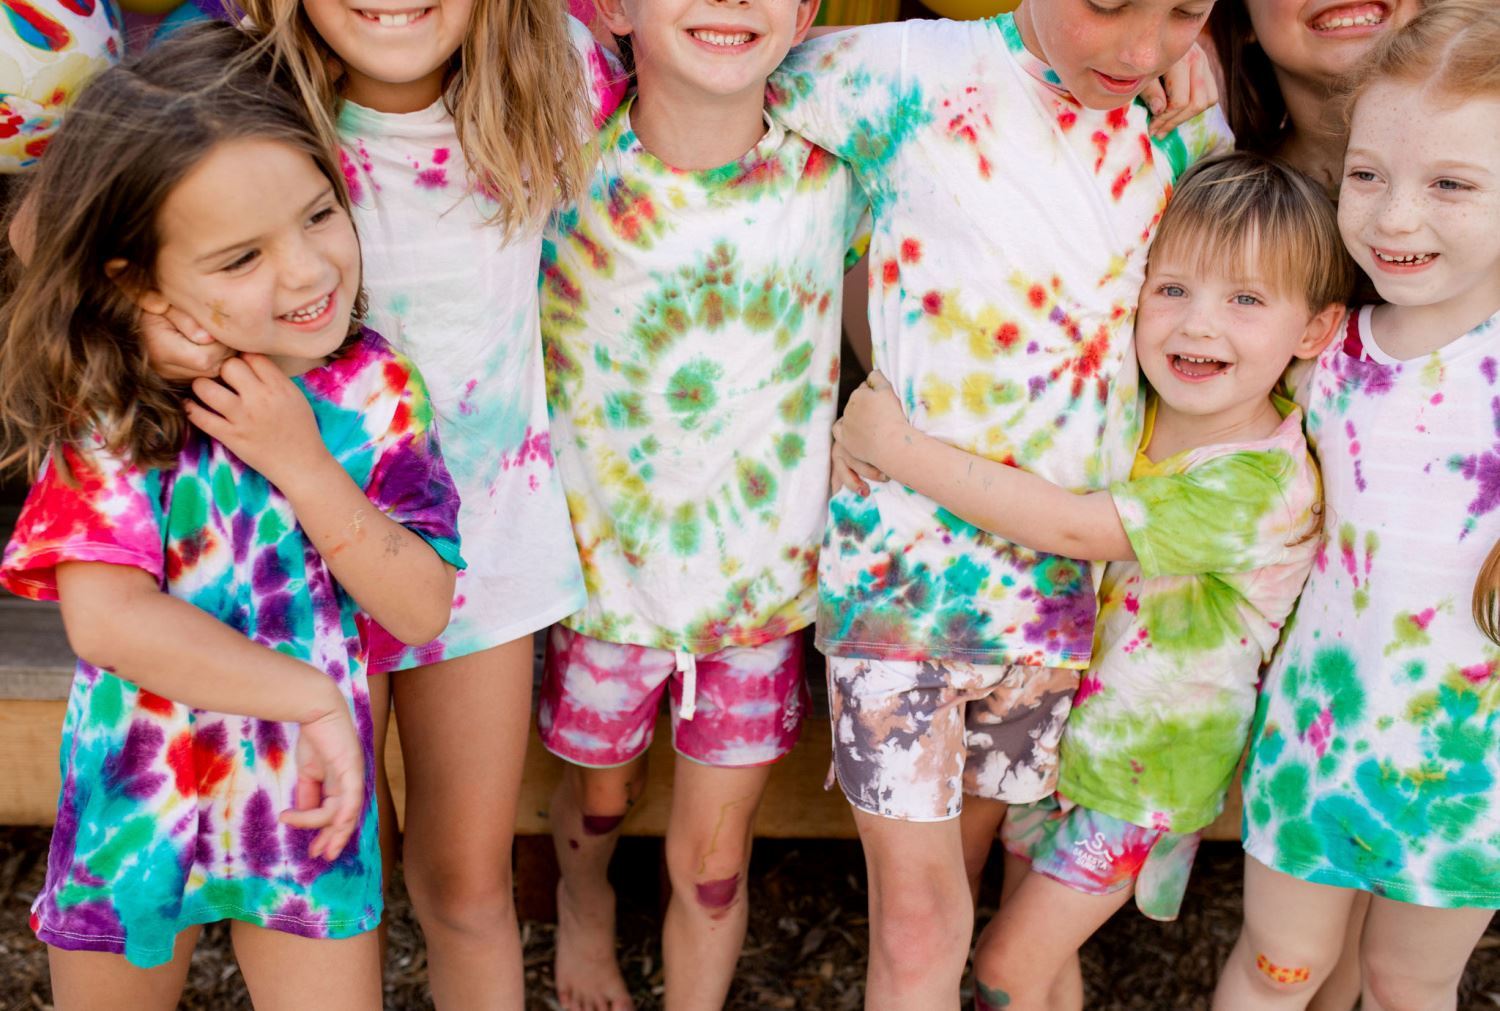
Now that you know how to throw a tie-dye party in your backyard that everyone will remember, make the most of the warm days we’re still having. Grab your favorite tie-dye kits and your favorite people, and have some outrageously colorful fun!
