You can delete and/or block cookies by modifying the settings on your browser. Learn more
Make a Tie-Dye Christmas Wreath Pillow
Published Date November 06, 2022
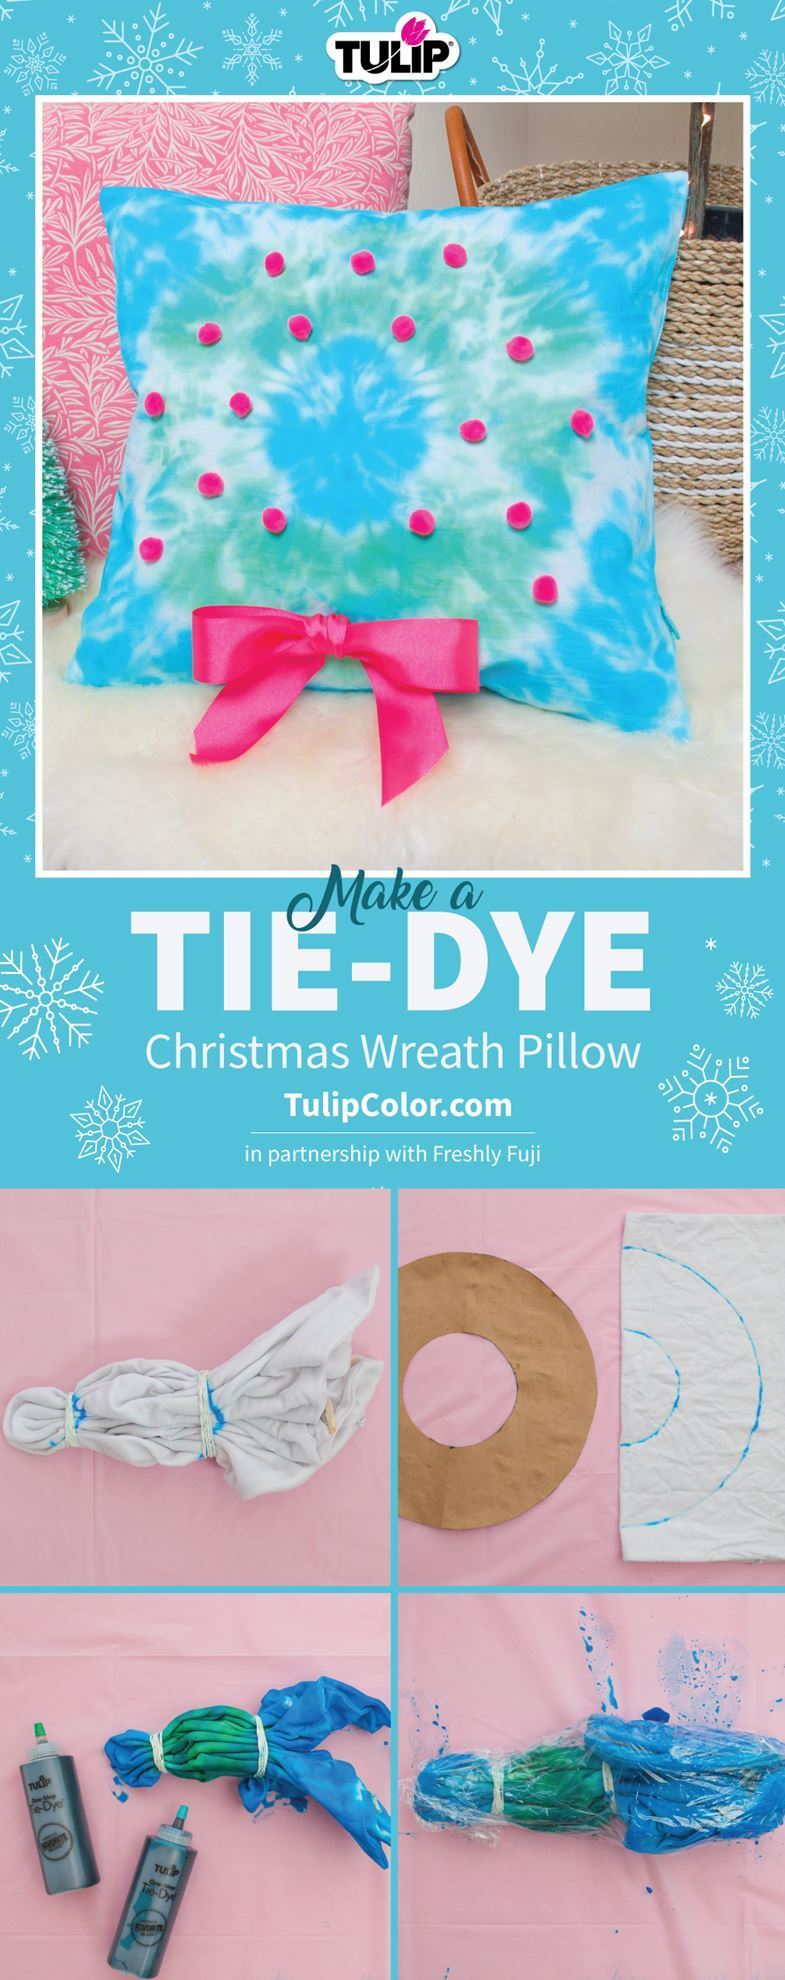
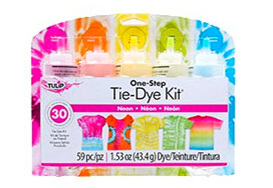
Cozy up for the holidays with pillows that pop with Christmas cheer – and tie dye! Freshly Fuji shows you how to put a twist on traditional décor with a tie-dye Christmas wreath pillow that’s easy to make and easy to love. Grab your Tulip One-Step Tie Dye and get ready to get festive in total tie-dye style.
Create circle shape and trace on pillow cover
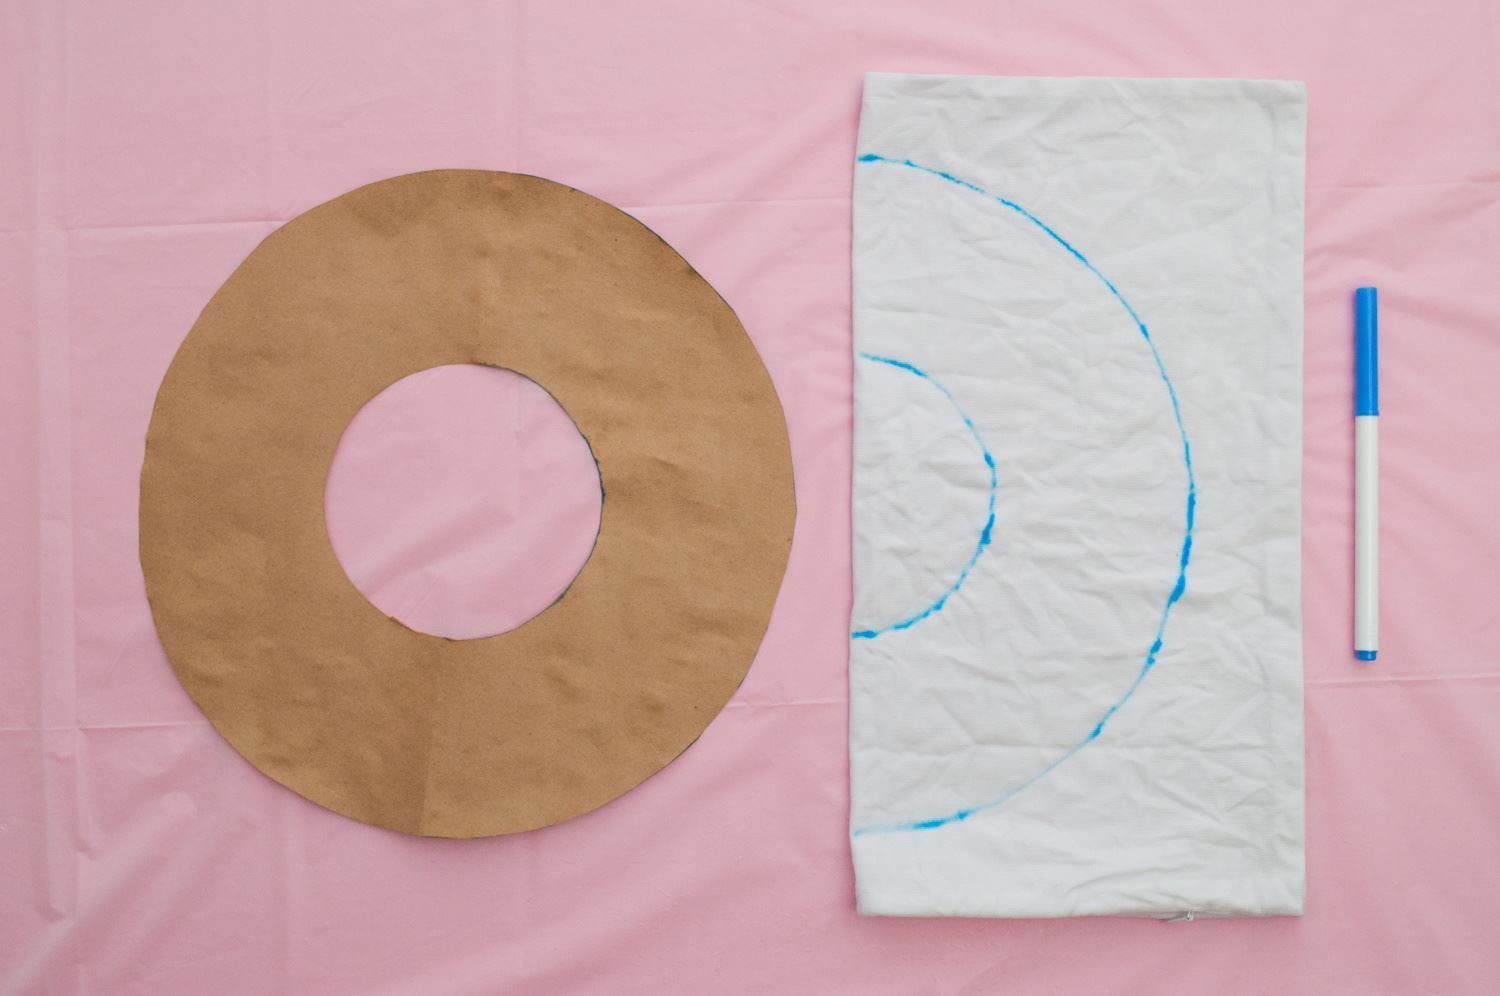
Use a compass and a marker to create a larger circle with an inner circle on heavy paper or cardstock. You’ll want the size of your circle to fit most of your pillow cover. Cut out your circle. Fully dampen your pillow cover, then fold in half vertically. Fold your circle form in half and align the center with the fold of the pillow cover. Trace around the outer and inner circles with a washable marker.
Pleat and secure pillow cover
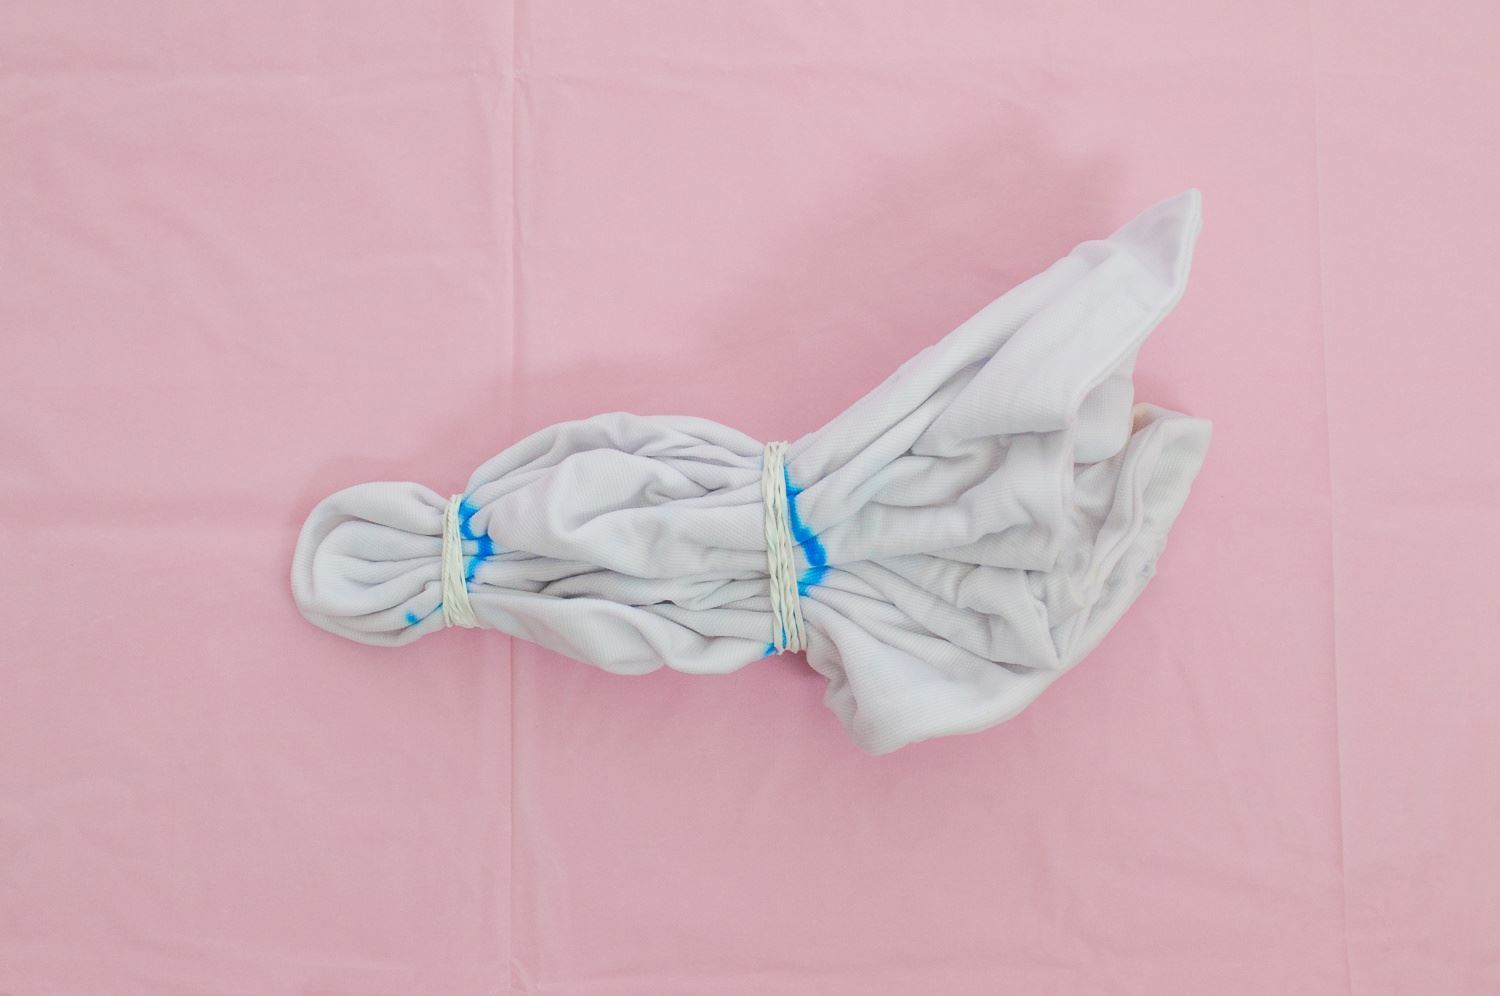
Starting with the outer circle, tightly pleat the fabric along the marker line, doing your best to keep it so that the line appears straight along the tops of the pleats when all together. Wrap a rubber band from your kit tightly around this line, then repeat pleating and securing the inner circle.
Apply dyes
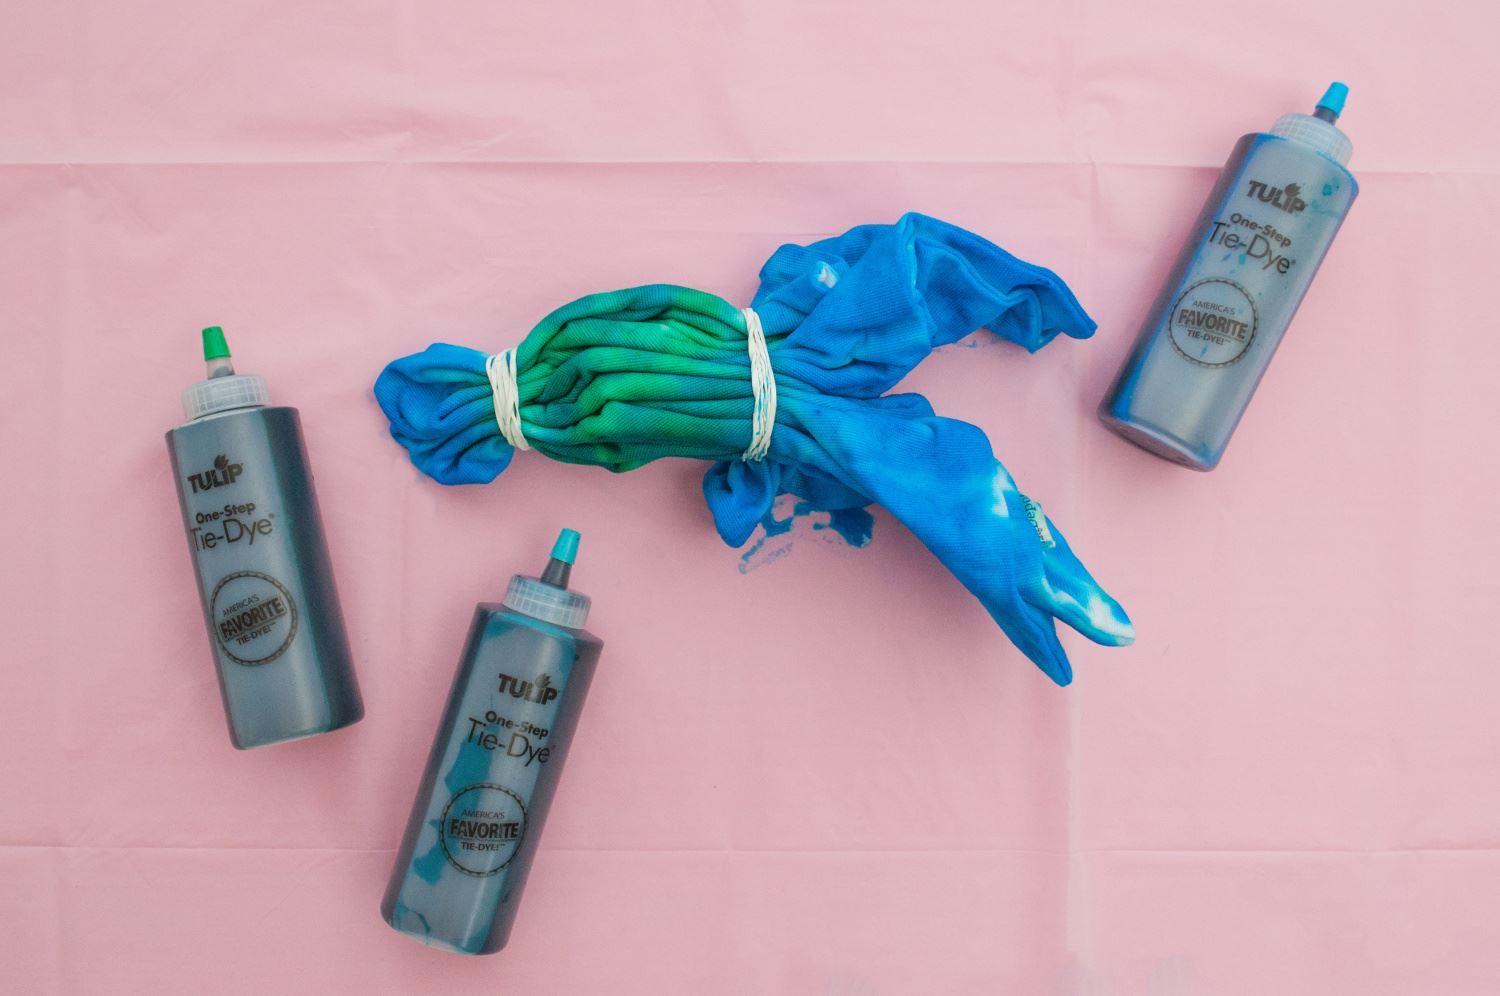
Mix up your dyes according to instructions, then apply onto your bound pillow cover. Apply green dye to the middle banded section for the wreath, and desired colors to the inner and outer sections.
Seal in plastic and let set
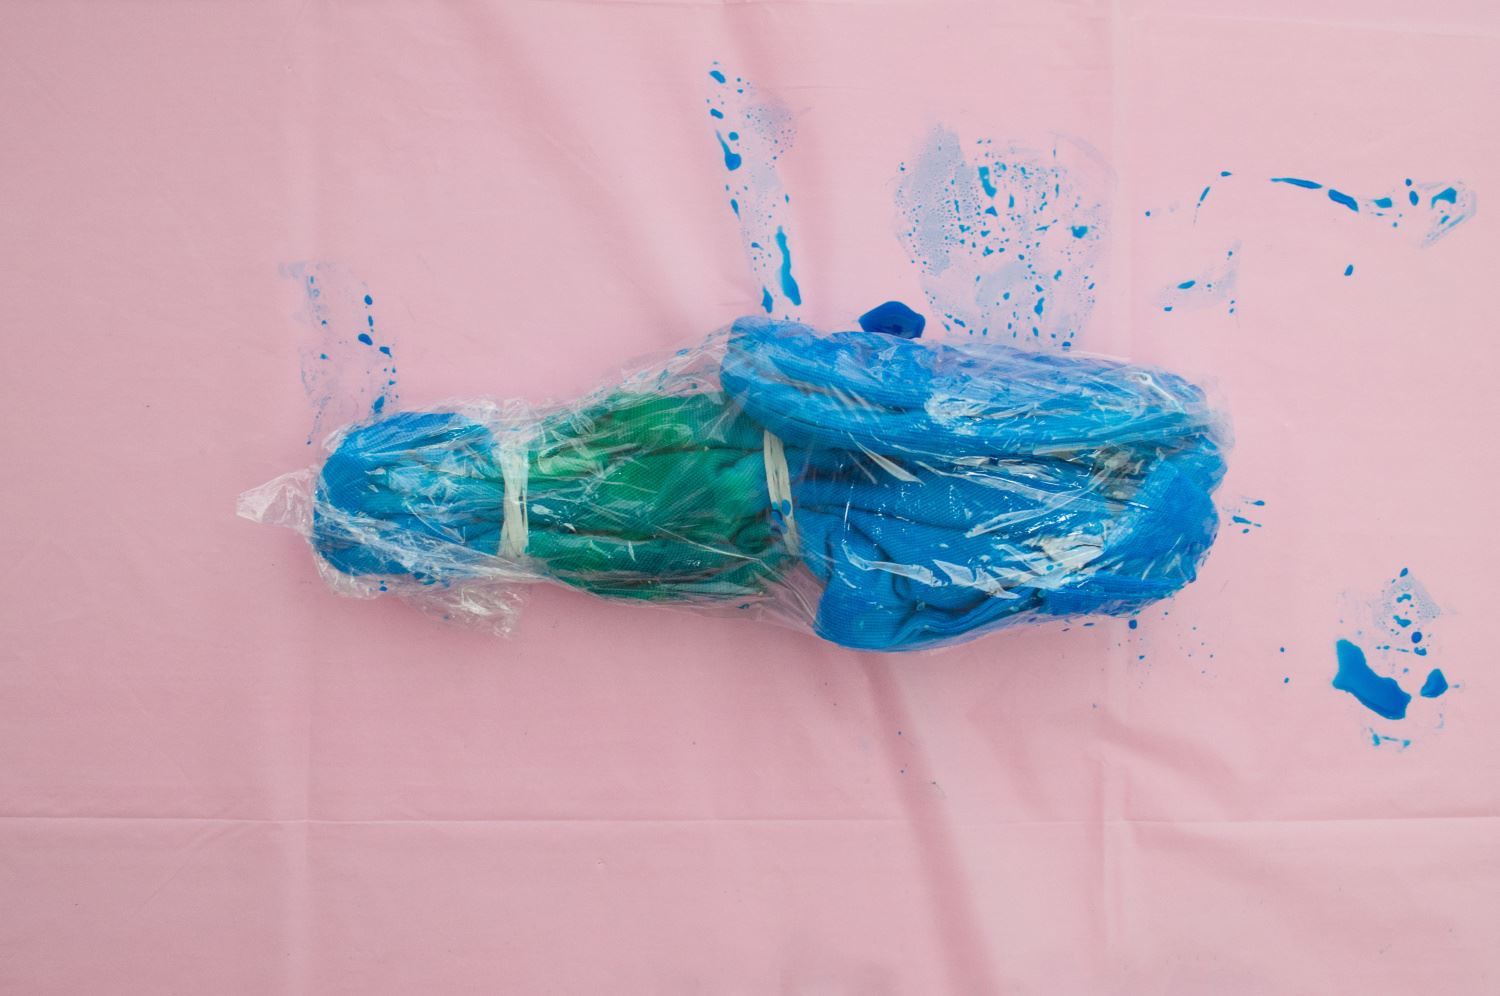
Place your dyed pillow cover in a sealable plastic bag or cover with plastic wrap and let set for 6 to 8 hours or longer for the dyes to completely process. After the dye has processed, rinse, remove the rubber bands and wash the pillow cover according to instructions.
Glue on bow and pompoms
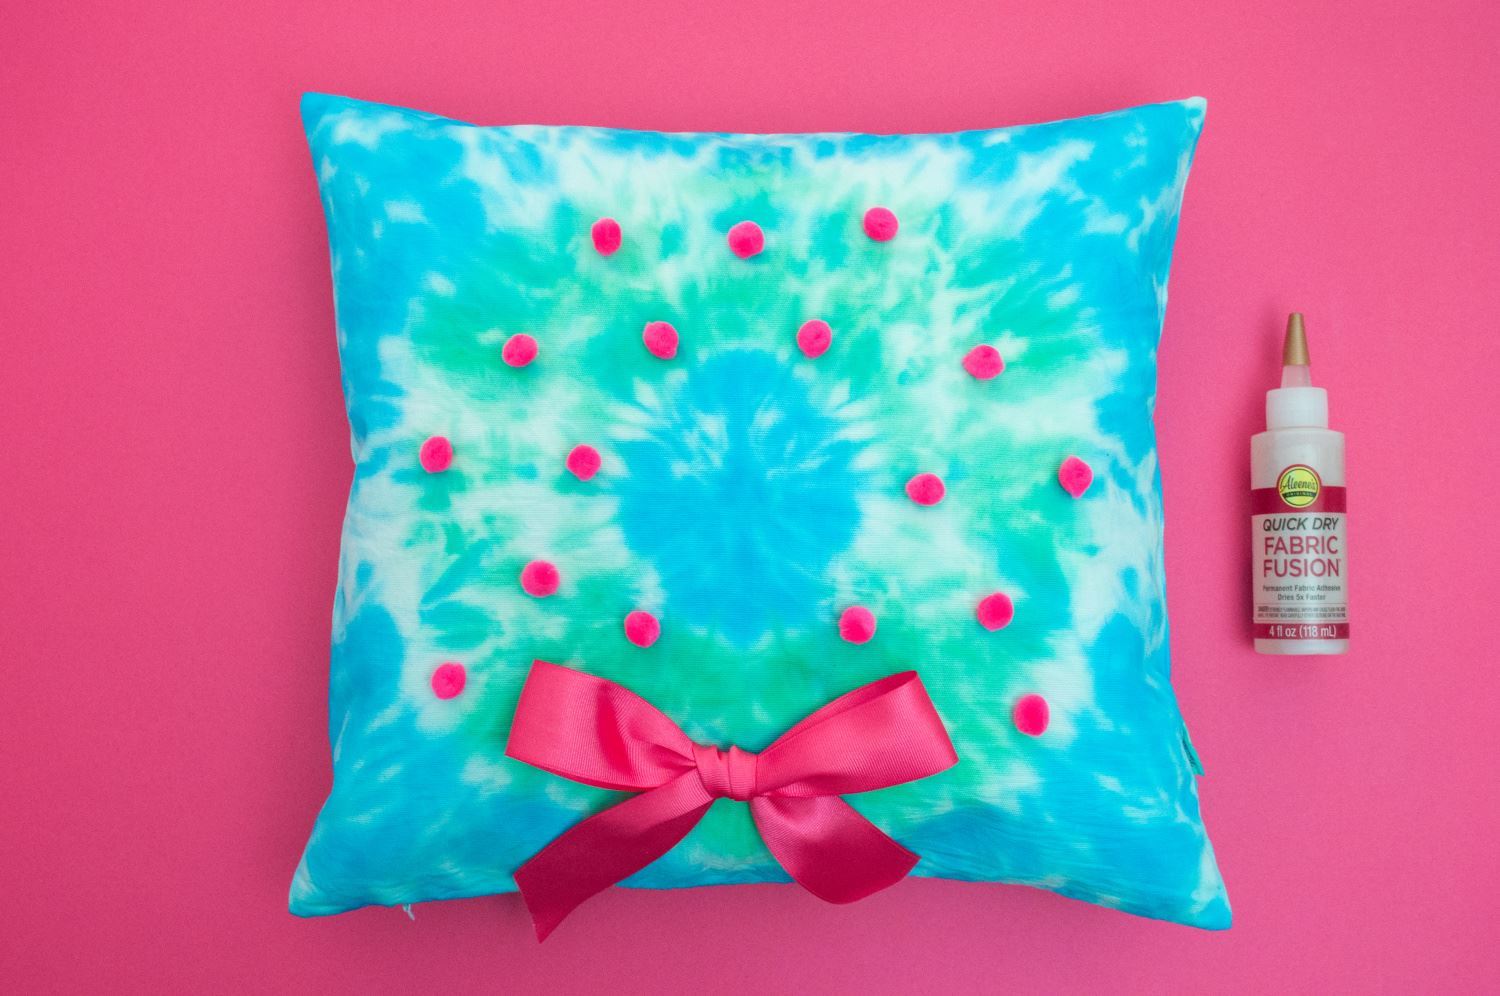
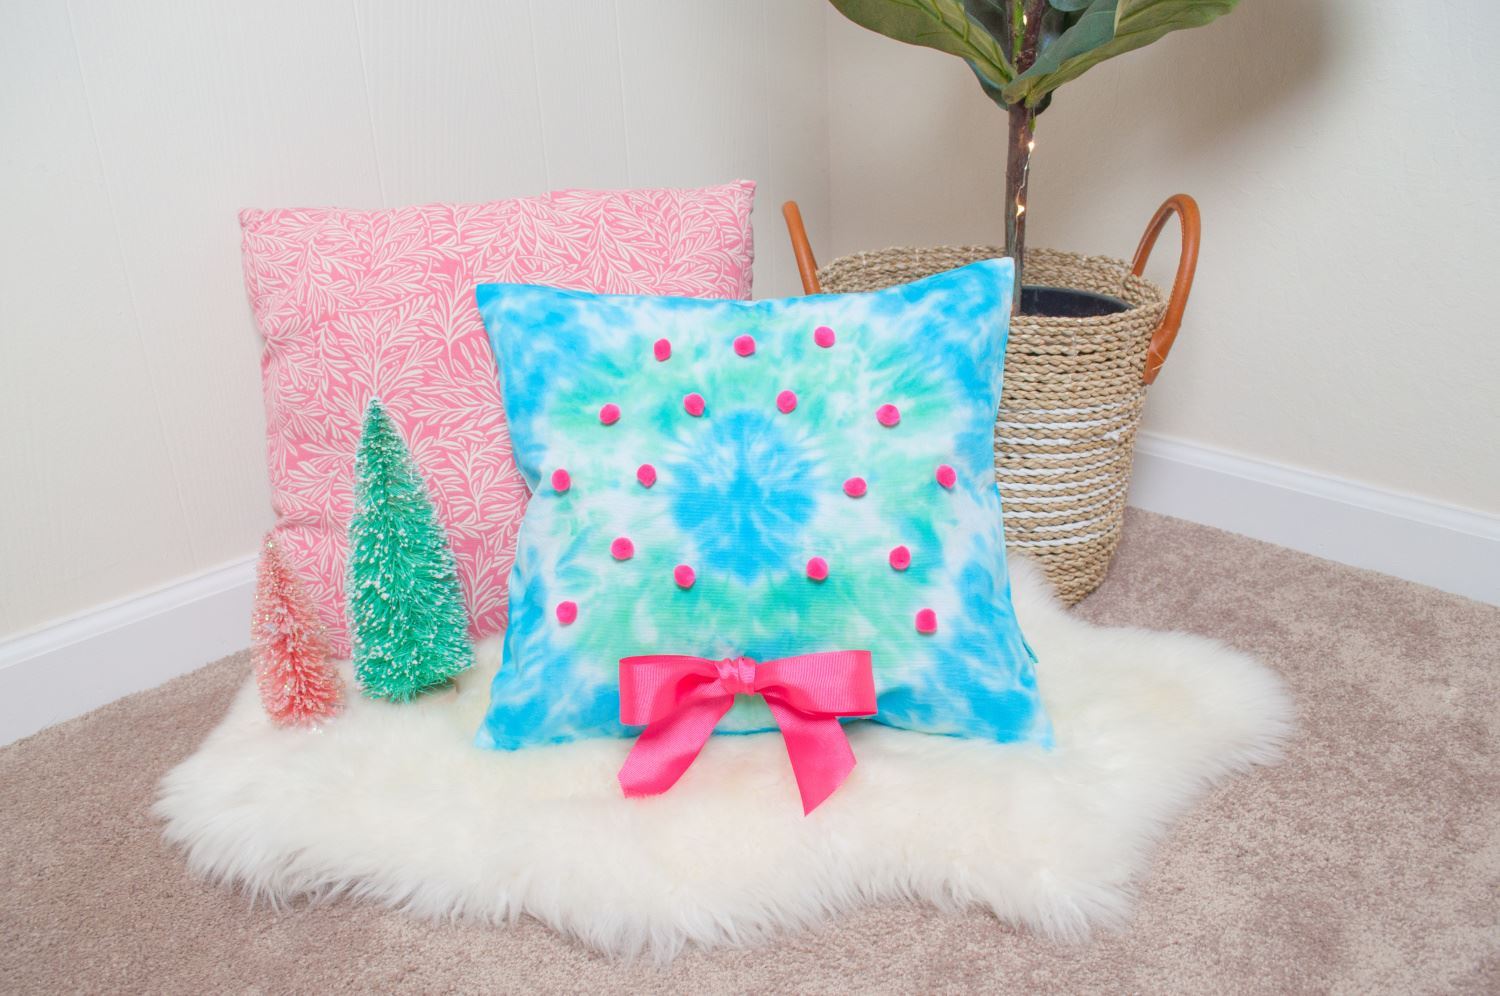
To complete your tie-dye wreath, glue a bow and pompoms (holly berries) onto the wreath shape, and let dry thoroughly before stuffing with a pillow form.
Tie-dye Christmas wreath pillow
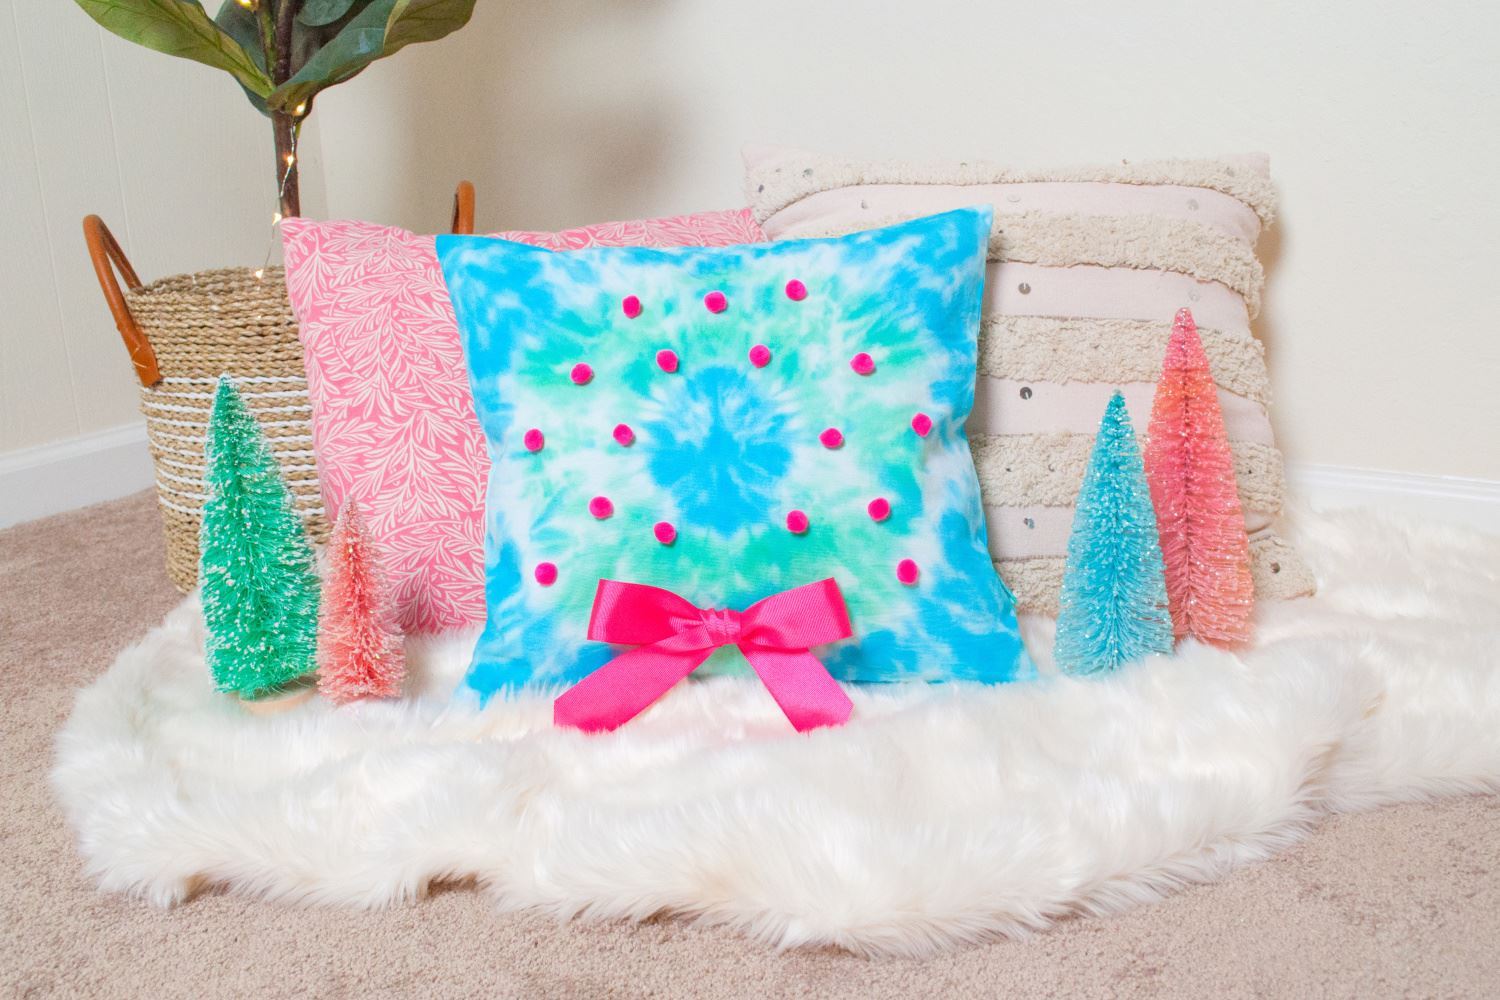
See? Tie dye and Christmas totally go together! Now it’s time to kick your feet up with a cup of hot cider, cozy up to your new tie-dye Christmas pillow, and wait for Santa to come admire your creative skills. How will you incorporate tie dye into your holiday décor? Tag us on social @tulipcolorcrafts and let us know!
Pin This Project
