You can delete and/or block cookies by modifying the settings on your browser. Learn more
Easy Ombre Tie Dye Techniques
Published Date July 01, 2021
Brush your way to bold & bright tie-dye looks with ombre tie-dye techniques LuLuMake will help get you inspired with these easy ideas – no twisting, folding or binding required!
What you need:
- Tulip® One-Step Tie-Dye Kit of Choice
- 100% natural fiber T-shirts
- Bowl for water
- Paintbrush
-Disposable plastic table cover
-Plastic wrap
Add water to dye bottles to mix
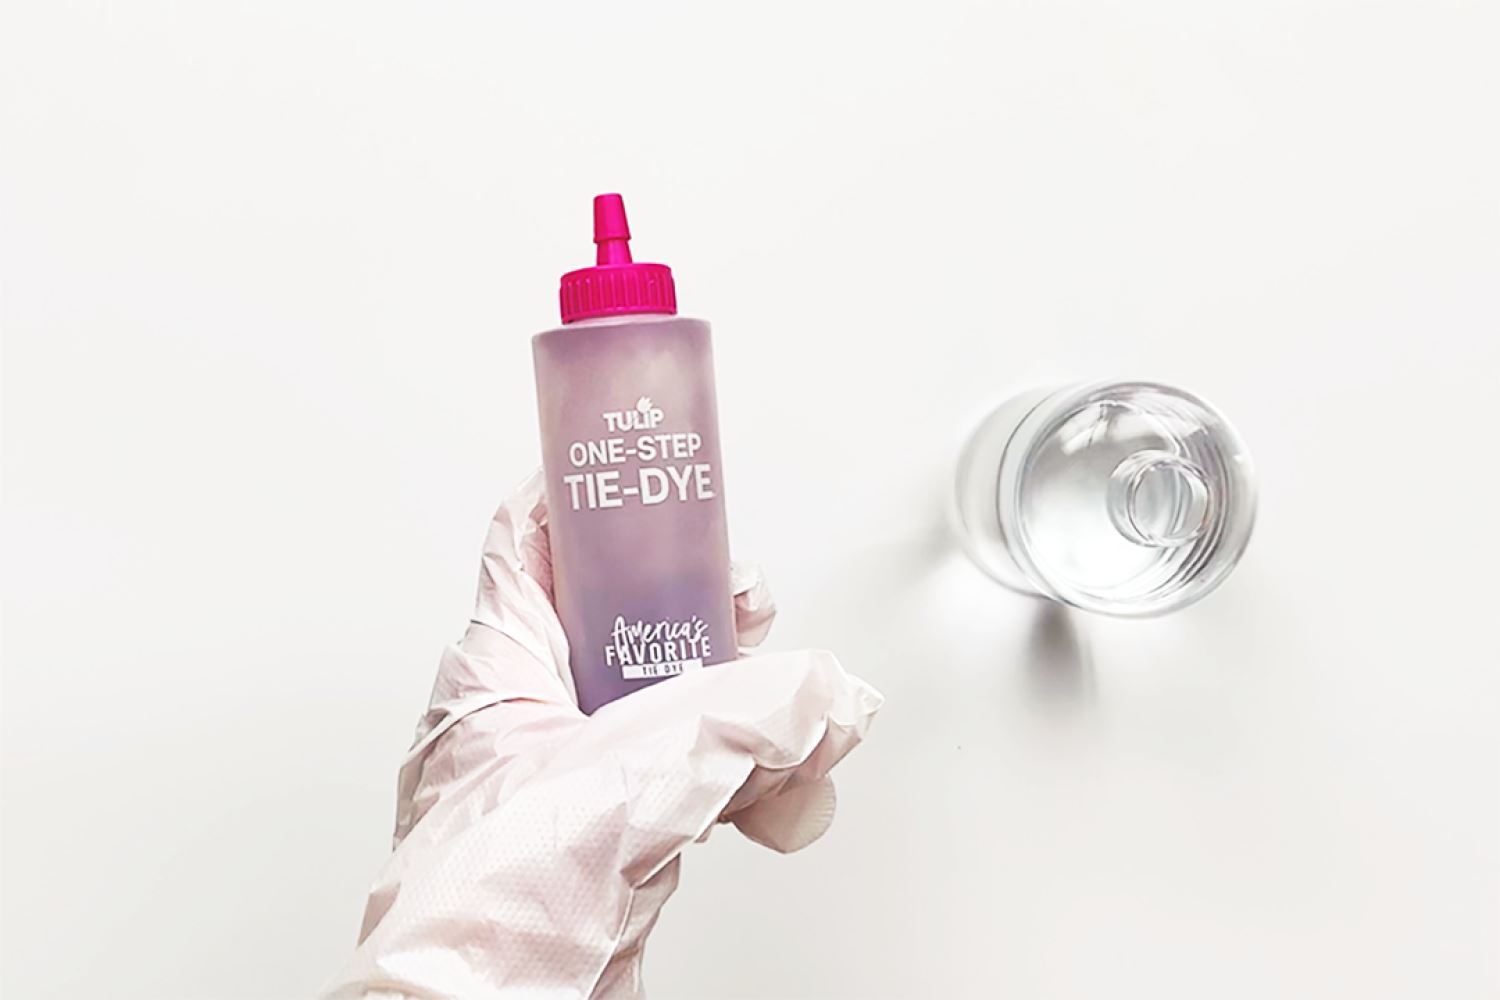
To mix your One-Step Dyes, add regular tap water to each bottle up to the line, replace the cap and shake until thoroughly mixed. You can choose any colors you like for these ombre tie-dye techniques, and use as many as you’d like to for your shirts.
Dampen shirt and lay flat
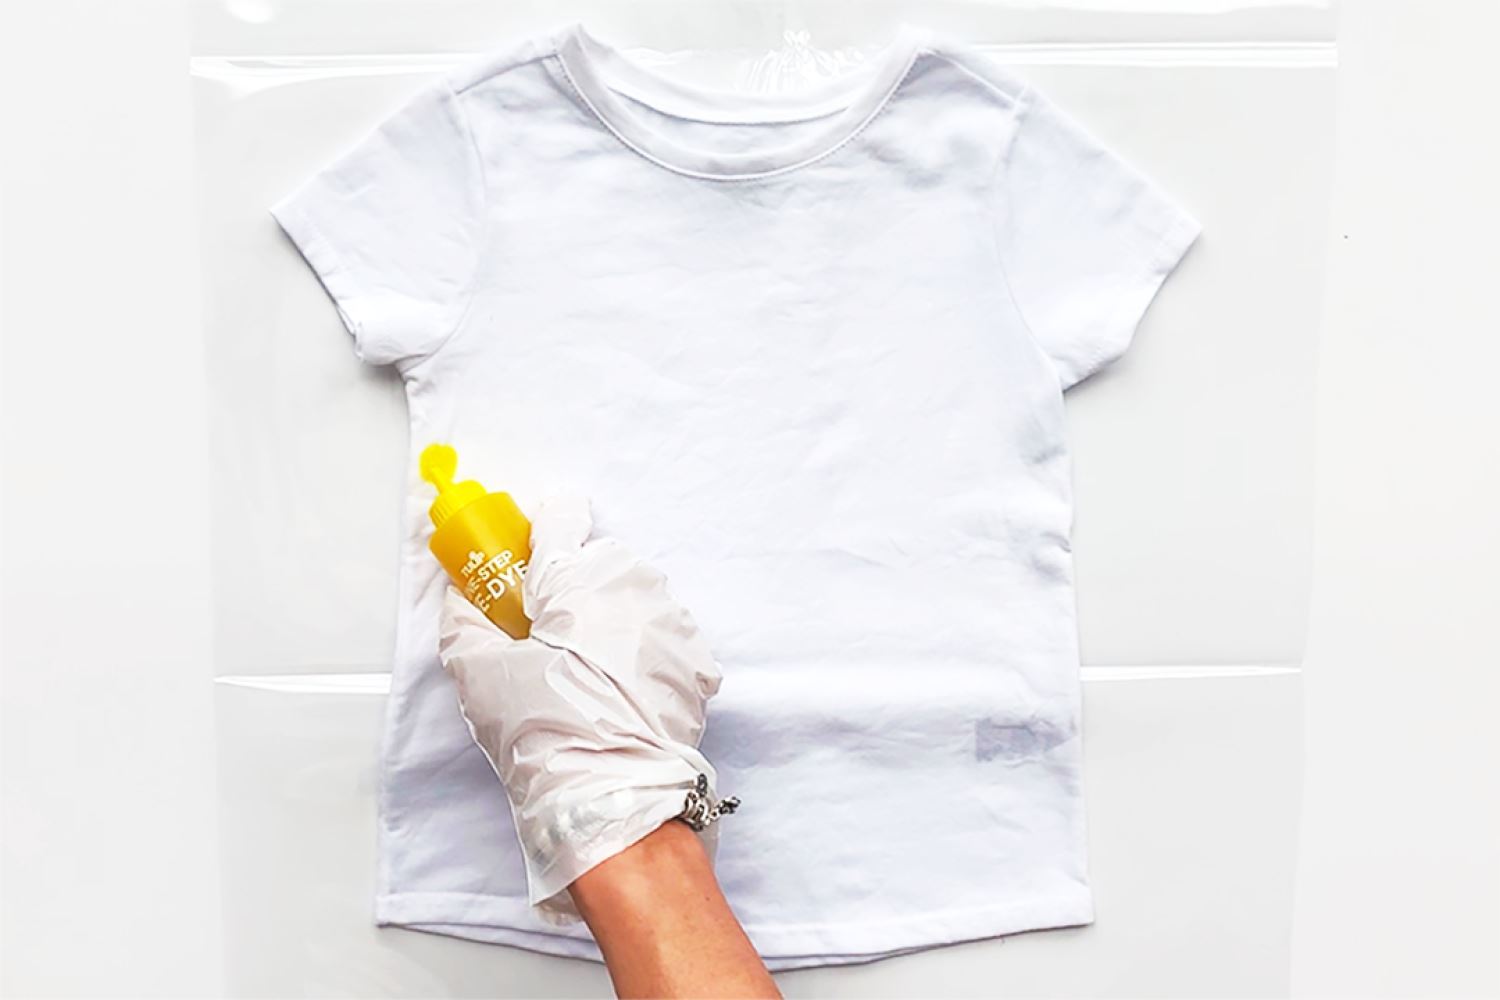
Prewash your T-shirts without fabric softener and leave damp. (Or you can always dampen right before you start your tie-dye techniques.) Cover your work surface with a plastic table cover and lay your damp shirt out flat on your work surface. Place a bowl of clean water at your work station. (You’ll use this for dampening your brush to blend the dyes.)
Brush and blend dye
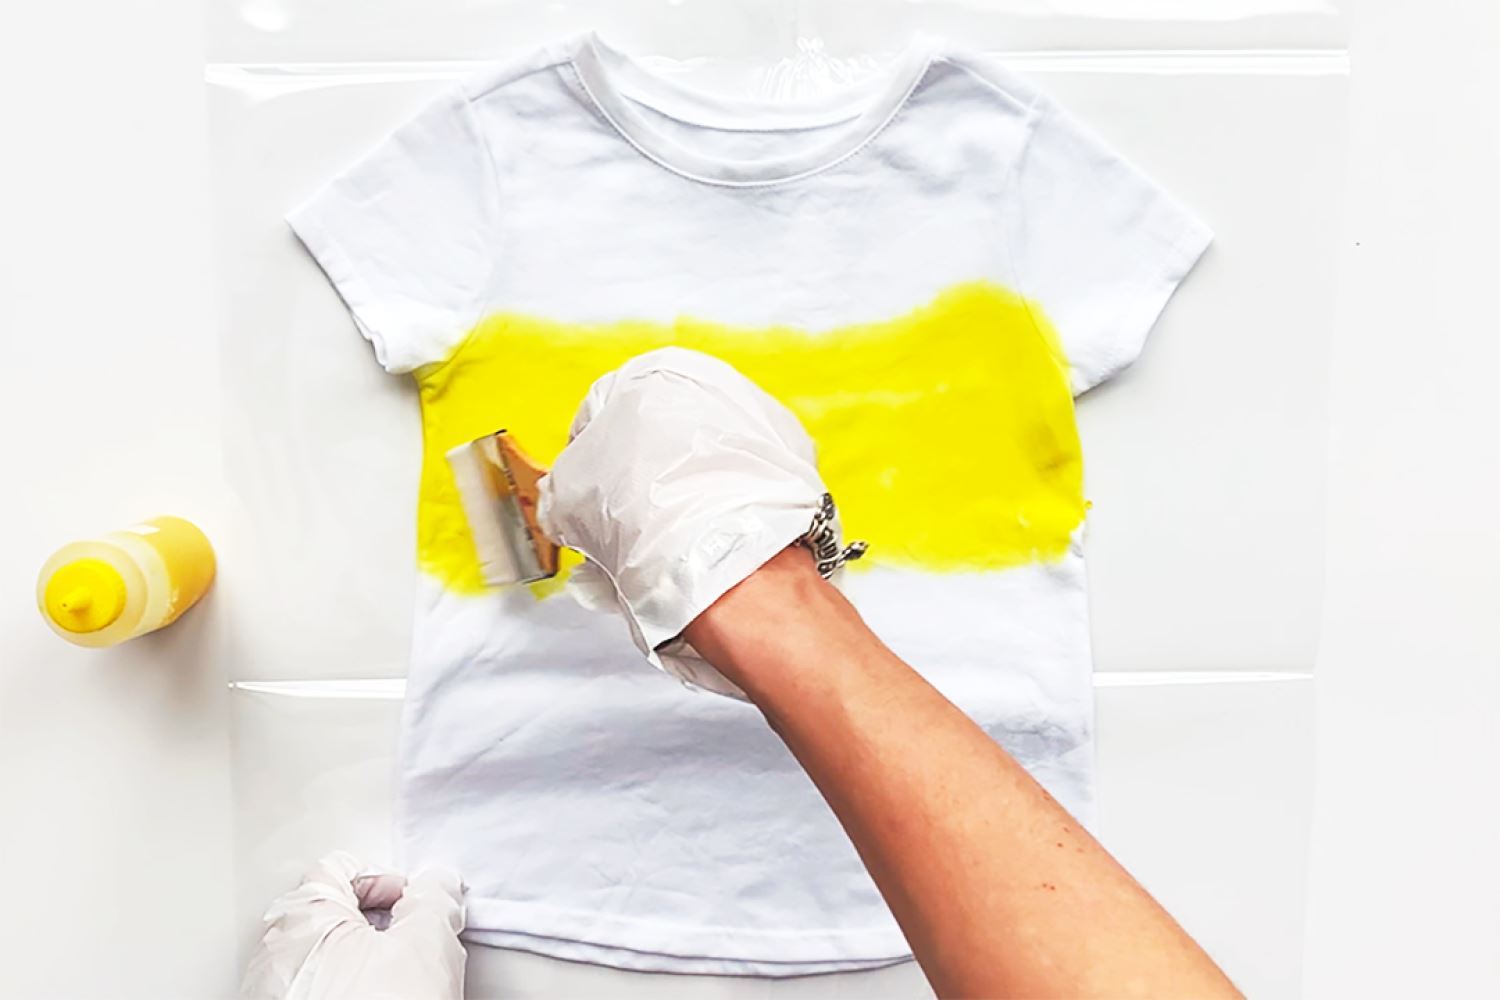
Start by applying your first color onto the damp shirt, where ever you like. Dampen the paintbrush in the bowl of water, and begin brushing the dye and blending it above and below the dye section. Continue dampening your brush and brushing the dye, applying more dye to the shirt if needed.
Add and blend next color
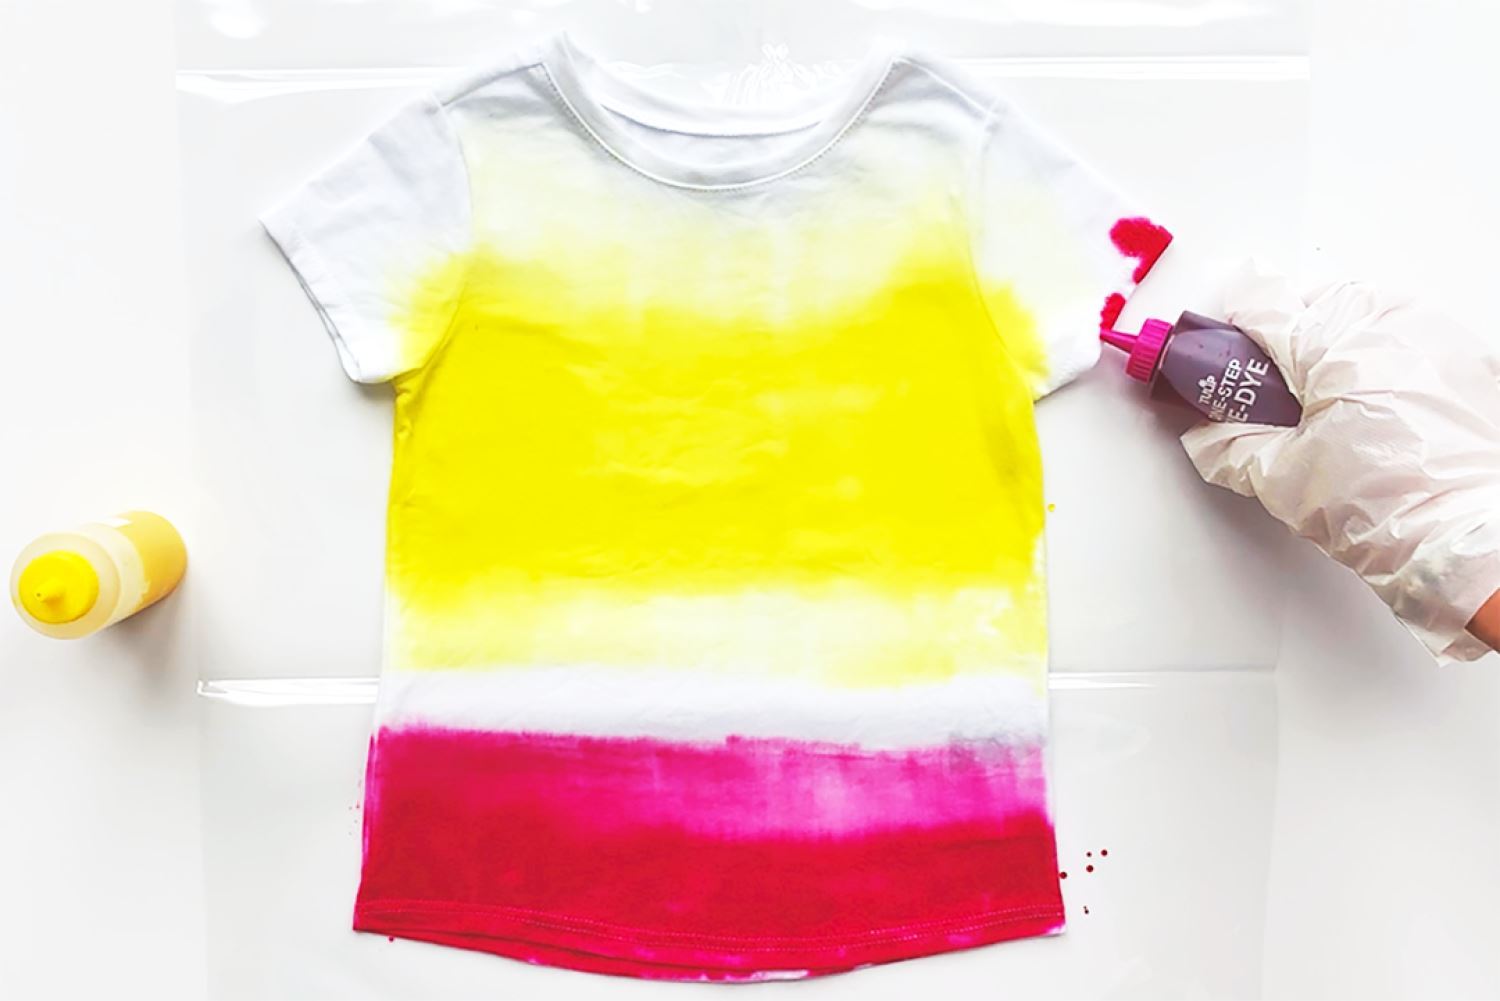
Apply the next dye color onto your shirt where desired and repeat the brushing and blending process. For this ombre tie-dye technique, LuLuMake left white space between her dye sections, but you can also blend the colors into one another for different effects.
Brush and blend dye on the sleeves
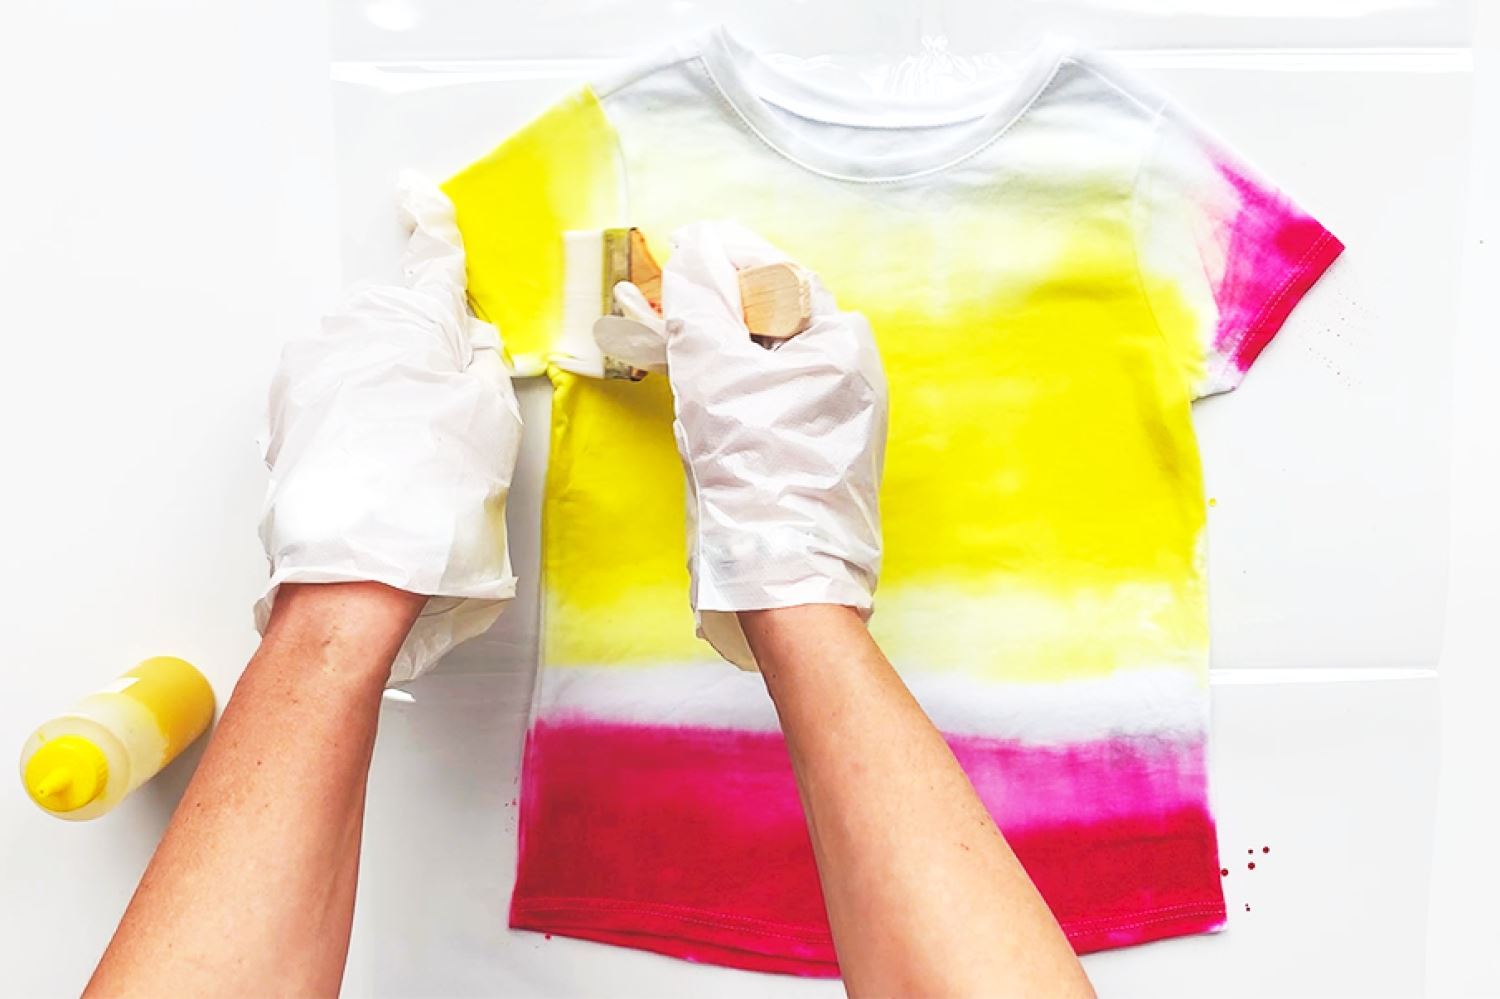
Don’t forget the sleeves! Brush and blend dyes onto the sleeves in any pattern you like. Once you’re happy with your ombre tie dye, cover the shirt (leaving it flat) with plastic to keep it damp, and allow the dye to process 6 to 8 hours or longer for best results.
Diagonal ombre tie-dye technique
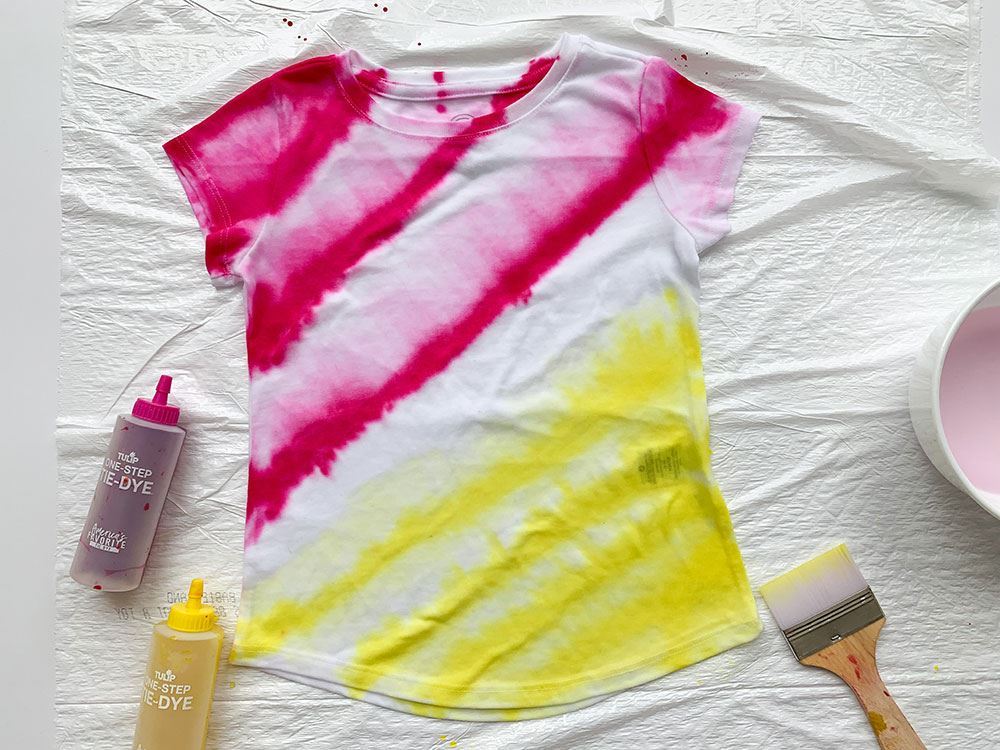
Another ombre tie-dye technique LuLuMake tried is diagonal stripes; simply apply straight from the dye bottles and brush and blend the dyes in between the stripes. You can keep your color sections separate, or try alternating your dye colors for another option.
Diagonal Ombre Stripes T-shirt

Once your tie dye has completely set, rinse and wash your shirts according to instructions. Then it’s time to take your ombre tie dye out for some fun!
Ombre Tie-Dye Techniques
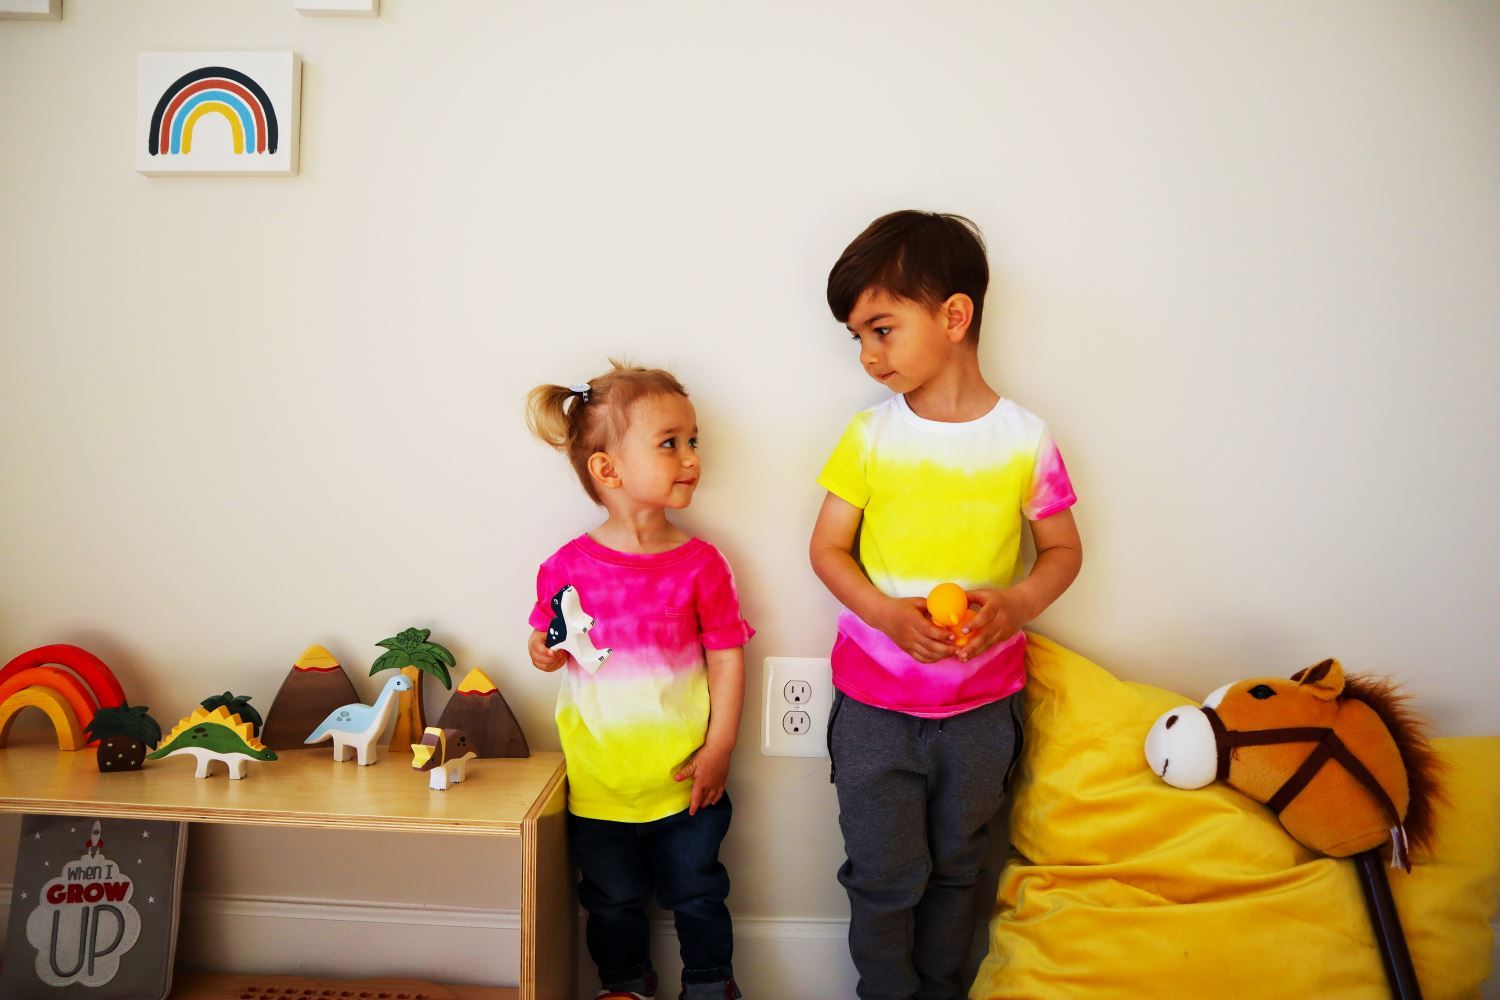
These ombre tie-dye techniques were pretty easy, right? How else would you ombre tie dye? make sure to tag us on social @tulipcolorcrafts and share with us!
Pin This Project


