You can delete and/or block cookies by modifying the settings on your browser. Learn more
DIY Reverse Dye Skeleton Shirt for Halloween
Published Date September 29, 2022
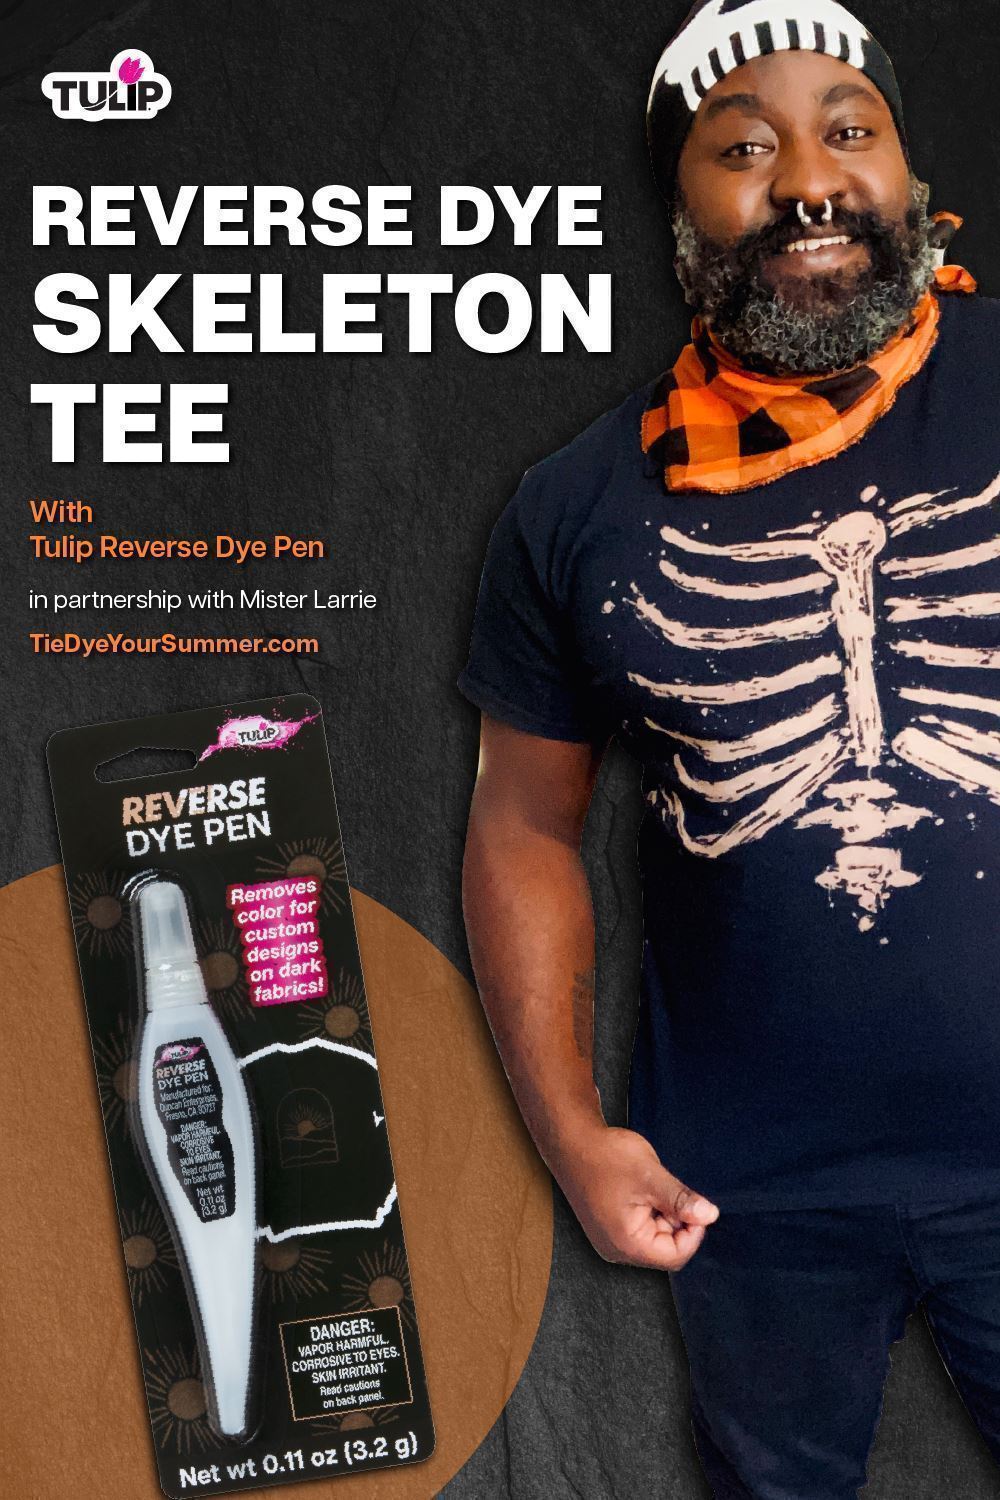
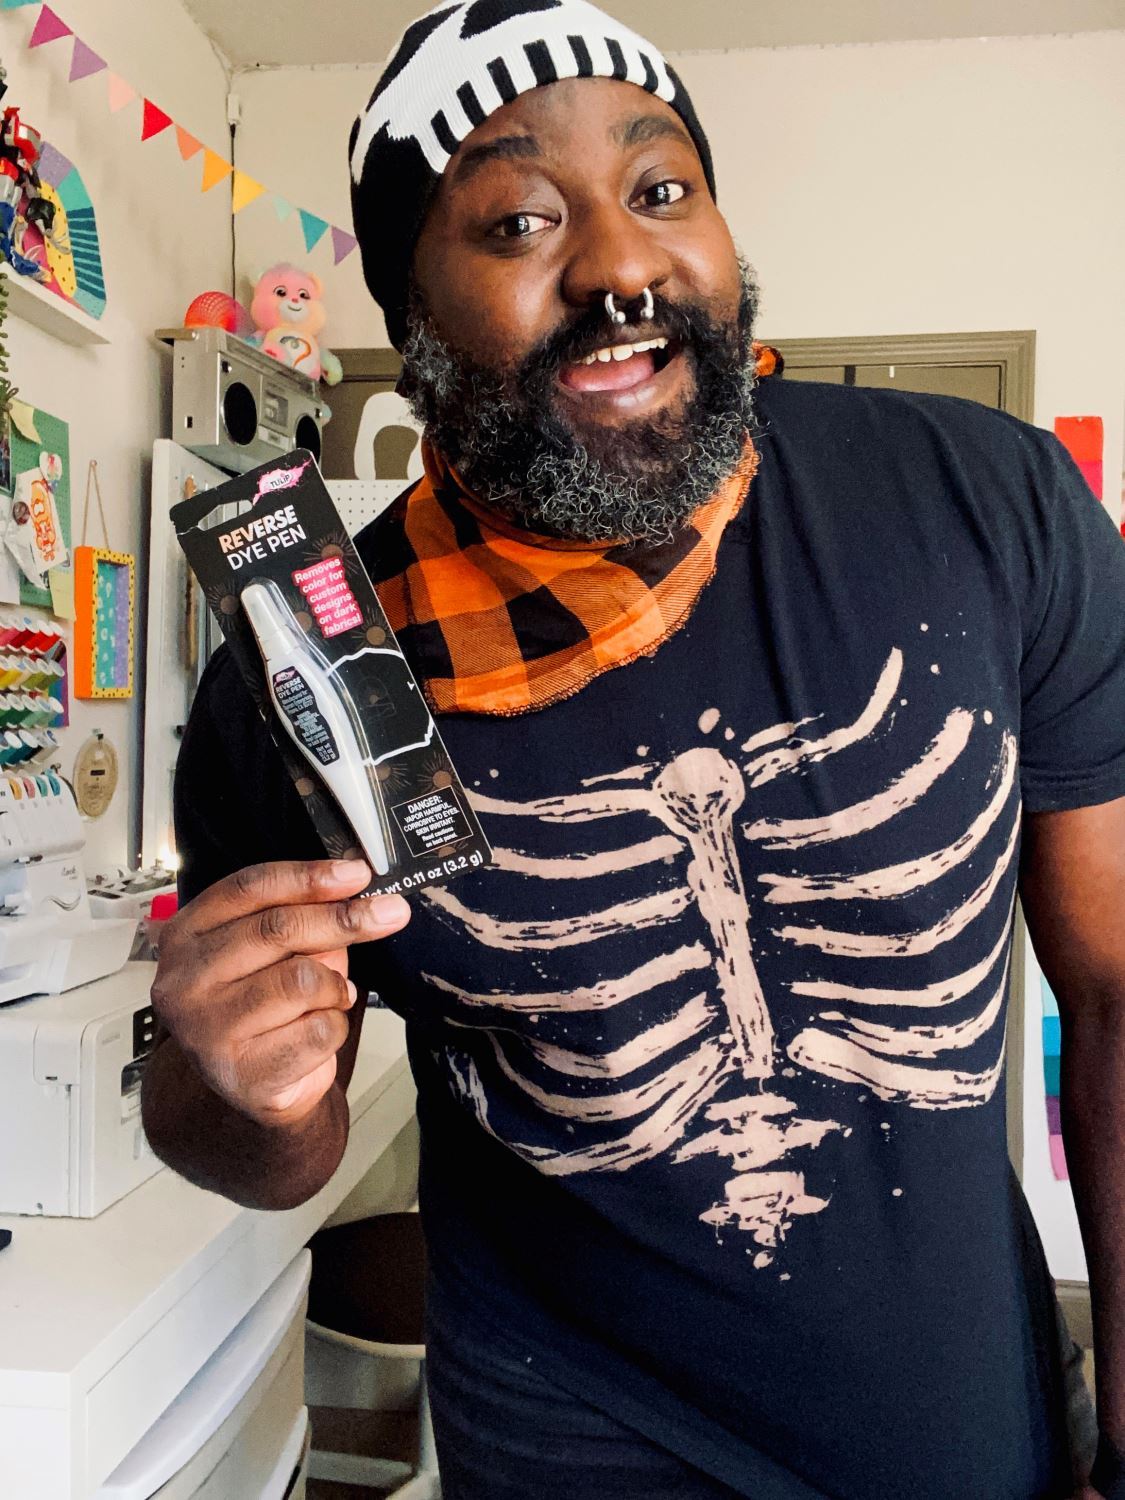
You already know we love tie dye for Halloween! This year, we’re trying something different for spooky season— reverse dye! This tutorial from Mister Larrie will show you how to use the Tulip Reverse Dye Pen to create a spooky skeleton shirt that you’ll want to wear all October long. It’s so easy to create creepy custom designs on dark fabrics with the Reverse Dye Pen!
What you need:
Black 100% cotton shirt
Cardboard
Plastic bag
Protective gloves
Lint roller
Clean the shirt that you’re using for this project
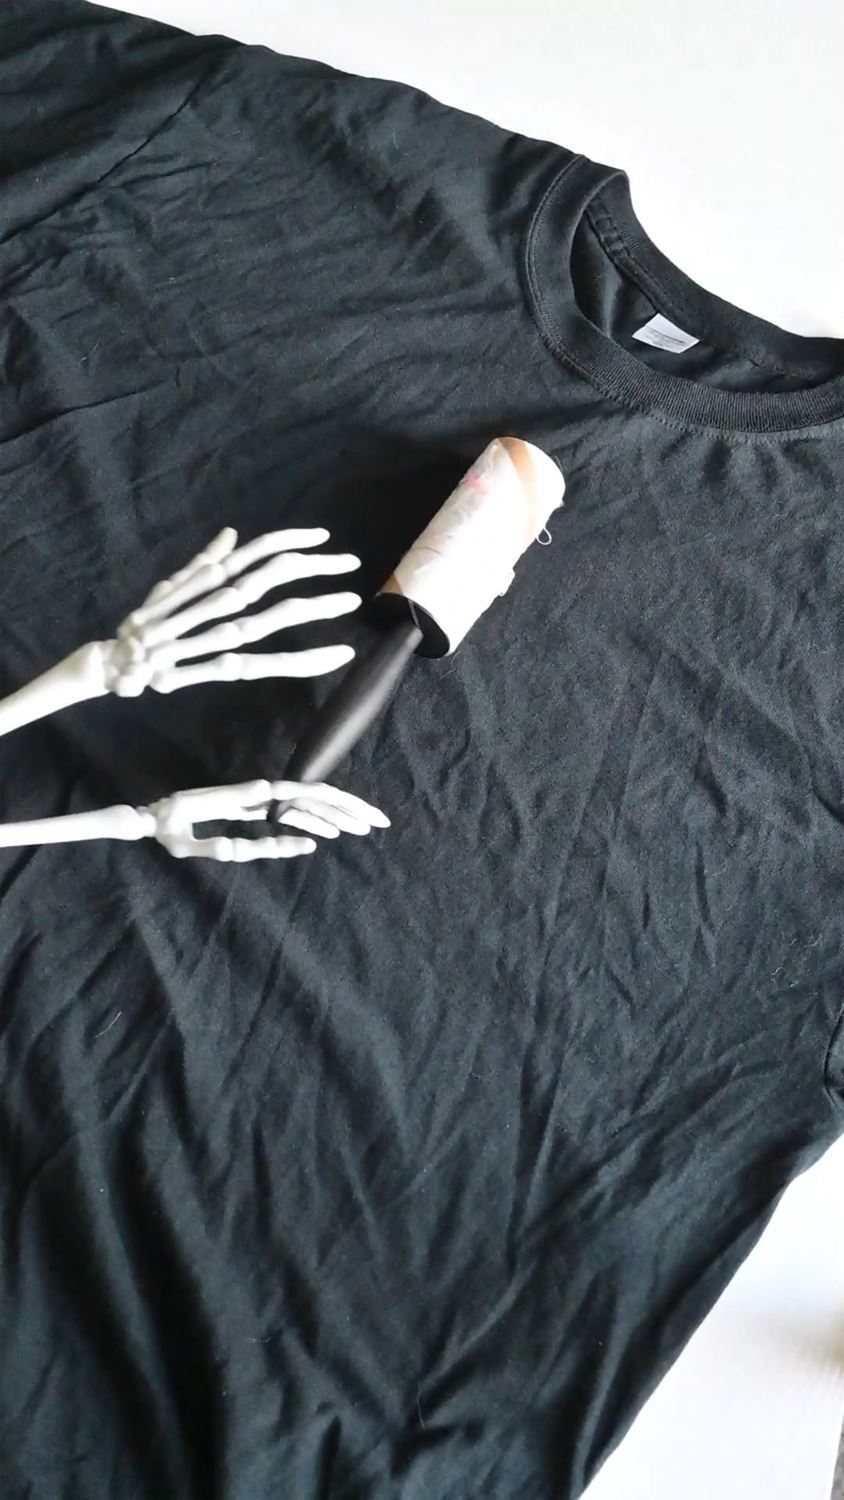
Prewash and dry the shirt you’ll be using for this project. We’re using a black shirt for a classic spooky skeleton, but you can use any dark-colored cotton tee for this project! Lay the shirt flat on a protected work surface and use a lint roller to pick up any extra lint.
Measure and cut cardboard to fit shirt
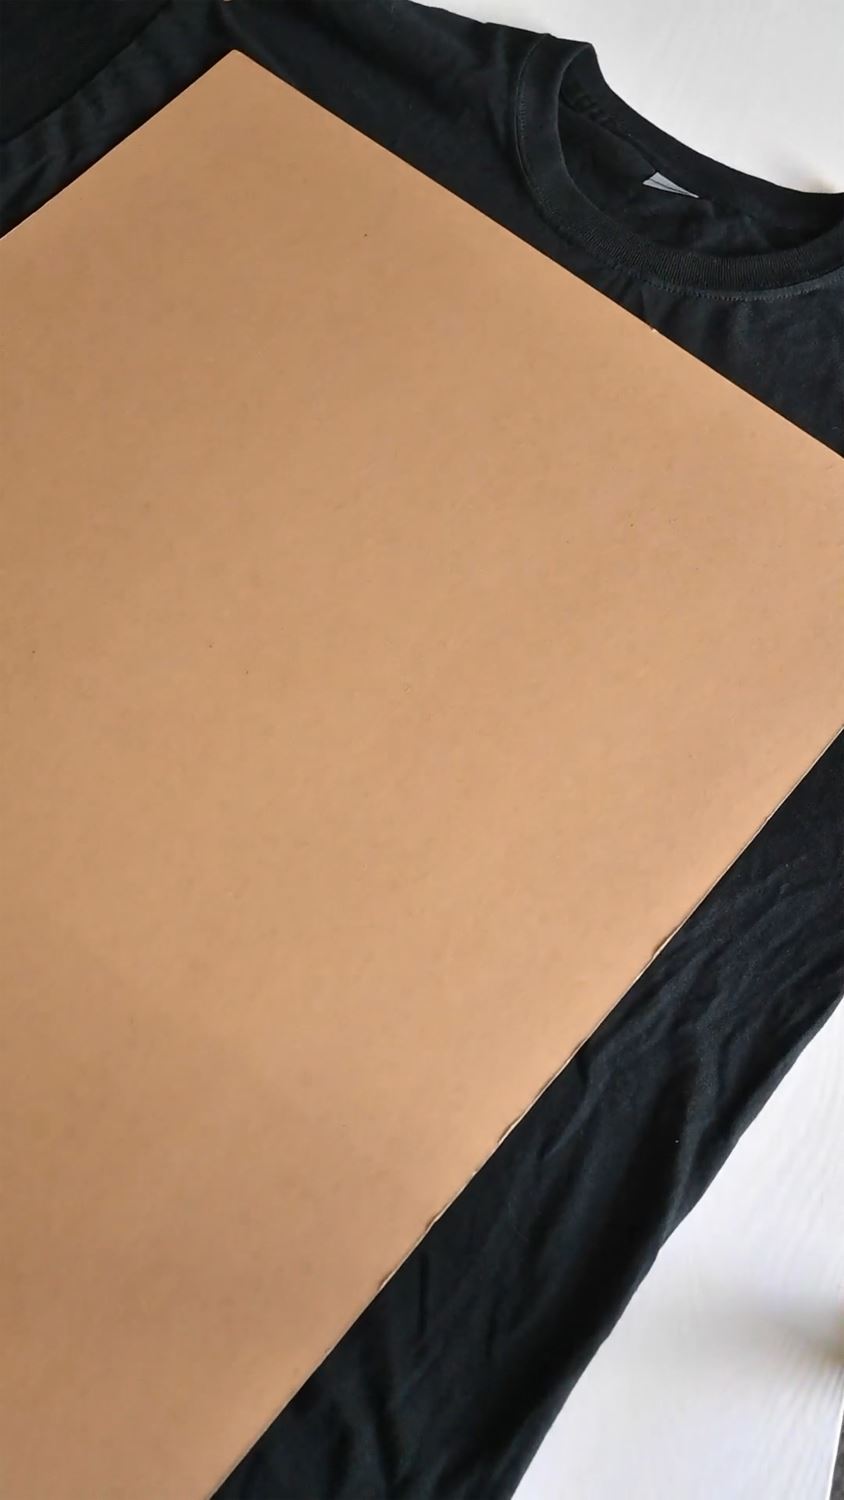
Measure and cut a piece of cardboard to fit the torso of your shirt. Cover the cardboard with a plastic bag, then insert between layers of fabric. This step is important— you don’t want the Reverse Dye Pen to bleed onto the other side!
Use reverse dye pen to draw the skeleton torso
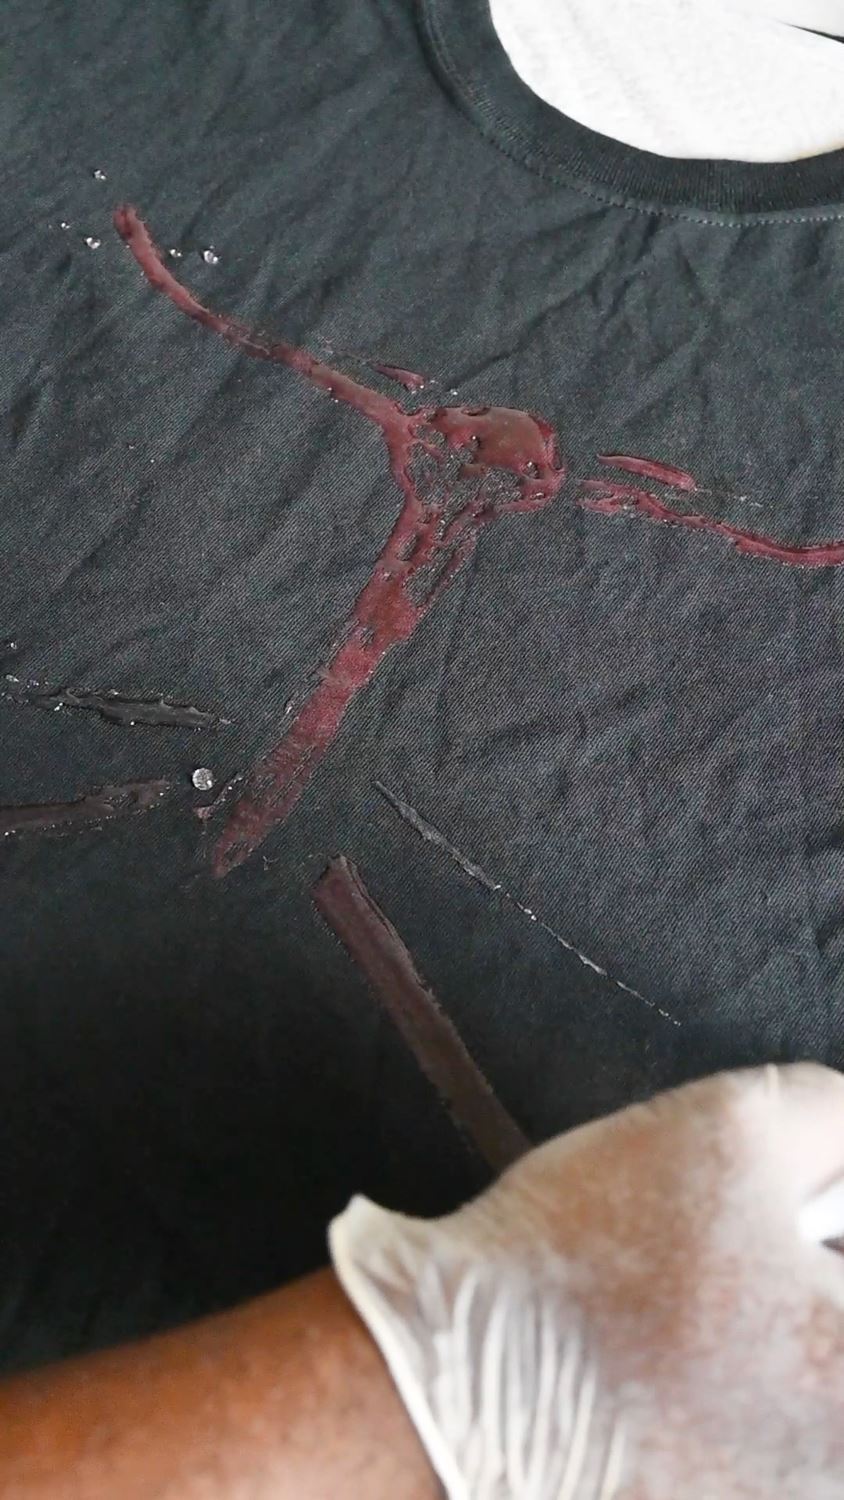
Be sure to wear protective gloves before using your Reverse Dye Pen! Fill the body of the pen with warm water and shake well. Gently squeeze the Reverse Dye Pen and freehand your skeleton shirt design! Start with the sternum and collarbones, then the ribcage and vertebrae to complete your skeletal torso.
Allow project to set until desired color removal is achieved
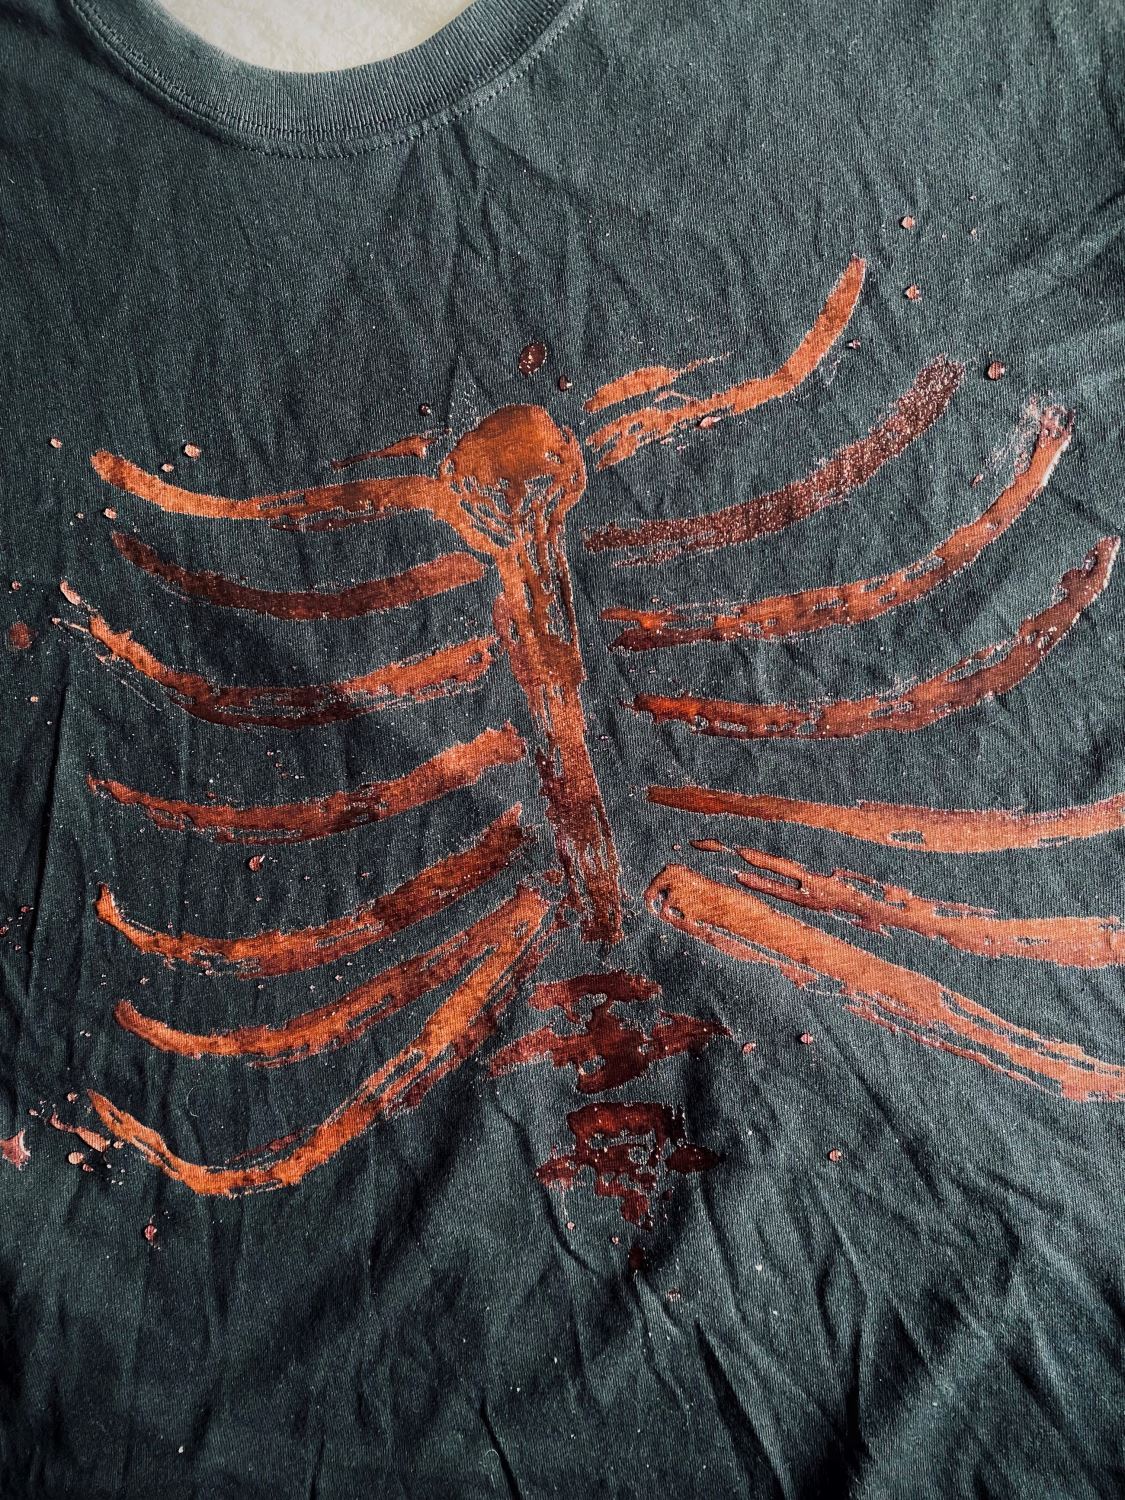
Work quickly to draw on additional details to your DIY skeleton shirt. Allow your project to set until desired color removal is achieved, approximately 20 minutes.
Reverse dye skeleton shirt
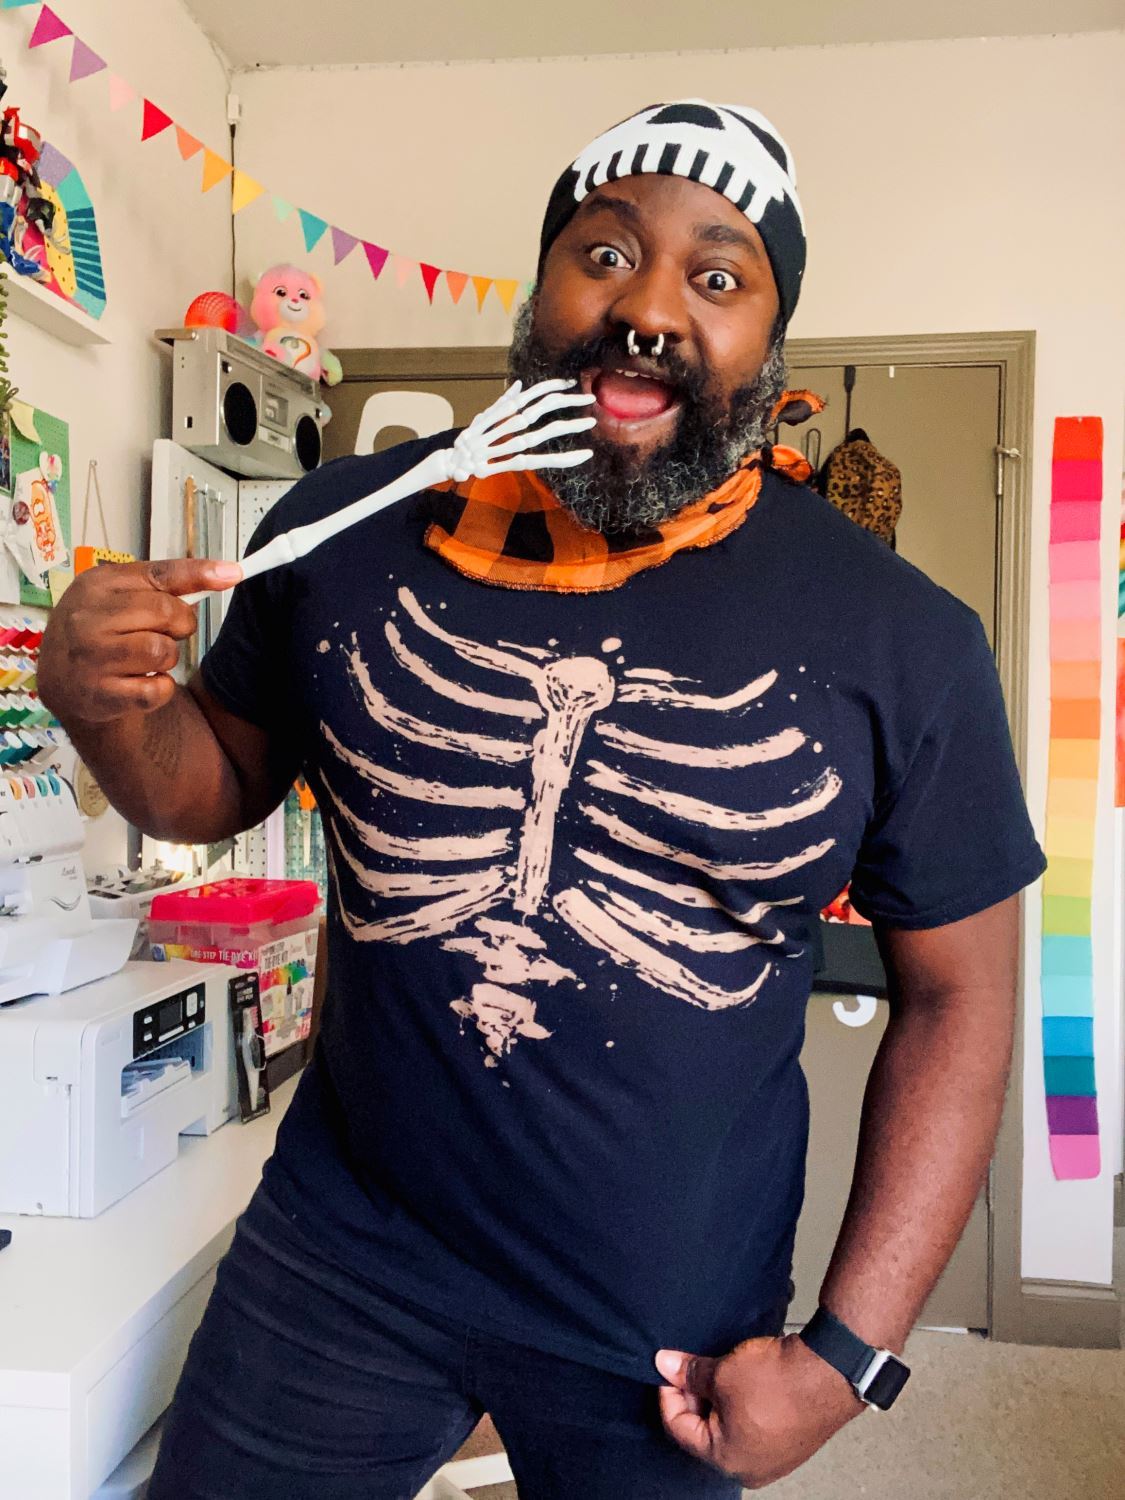
Rinse, wash in cool water with a little laundry detergent, dry, and reveal! It’s that easy to create your own skeleton shirt with Tulip!
Will you be making your own spooky skeleton shirt with Tulip? Show us your colorful Halloween creations and tag us on social media @TulipColorCrafts!
Pin This Project
