You can delete and/or block cookies by modifying the settings on your browser. Learn more
Custom Wedding Dress with Ombré Tie Dye
Published Date August 16, 2022
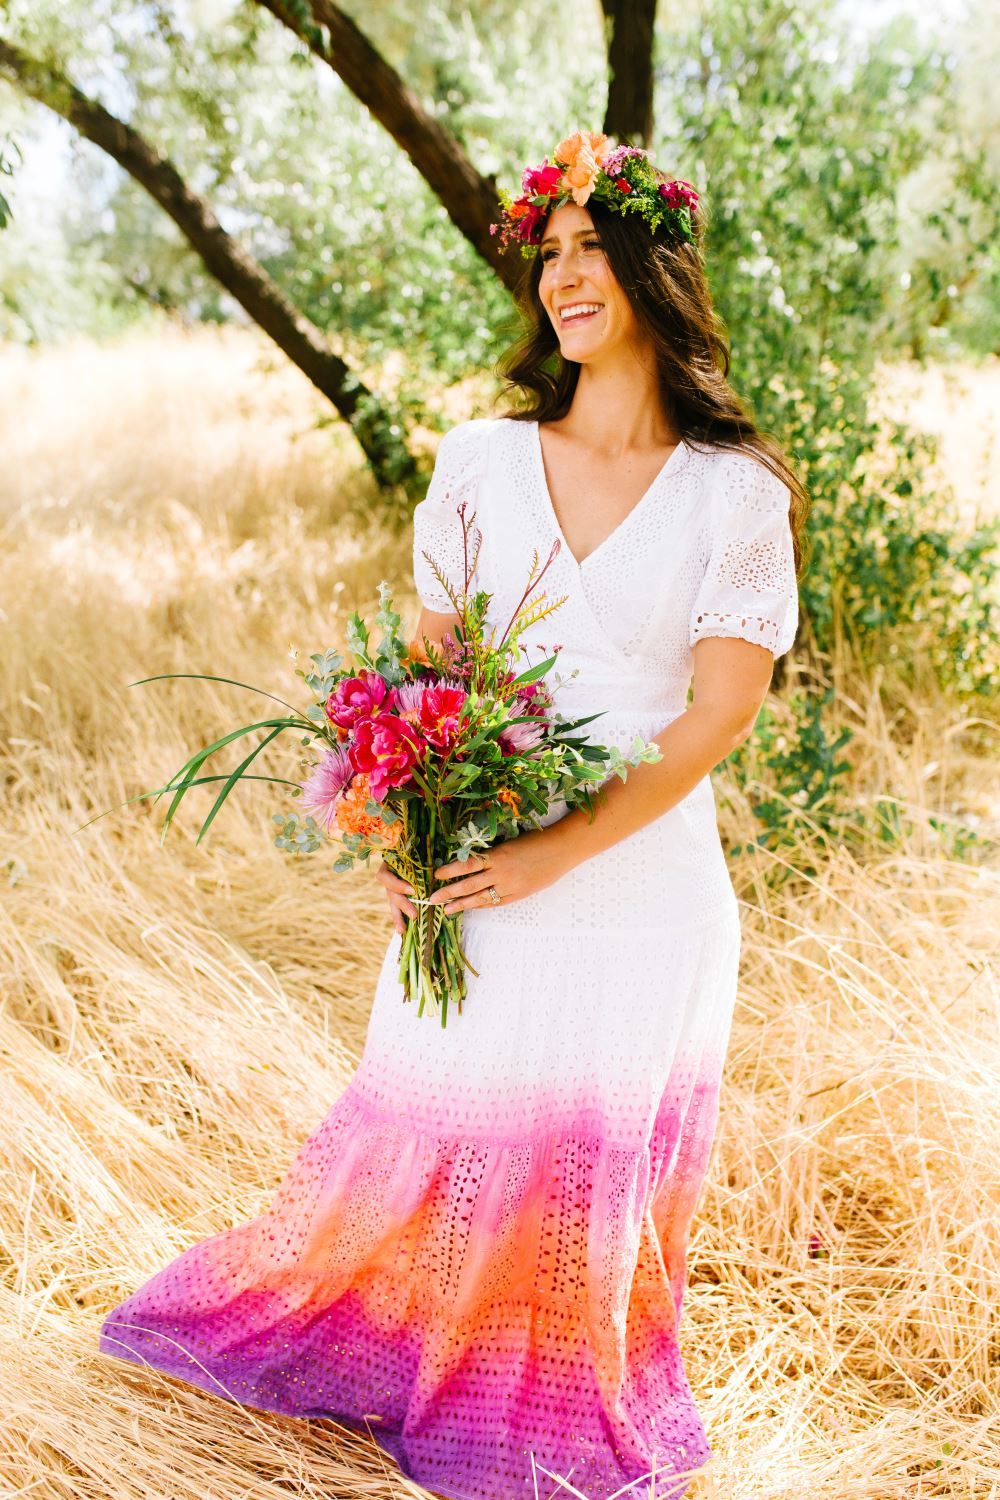
A white wedding is fine and all, but why not add some color to an already magical day by creating a custom tie-dye wedding dress? Brides everywhere are opting out of the traditional white dress in favor of fun color schemes! This tutorial from Pretty Life Girls will show you how to add a delicate gradient to your dress with Tulip One-Step Tie-Dye Refills!
What you need:
Tulip One-Step Tie-Dye Refills (assorted colors)
White dress (natural fiber fabric)
Paintbrush
Plastic cups
Protective surface cover
Prewash fabric and lay flat
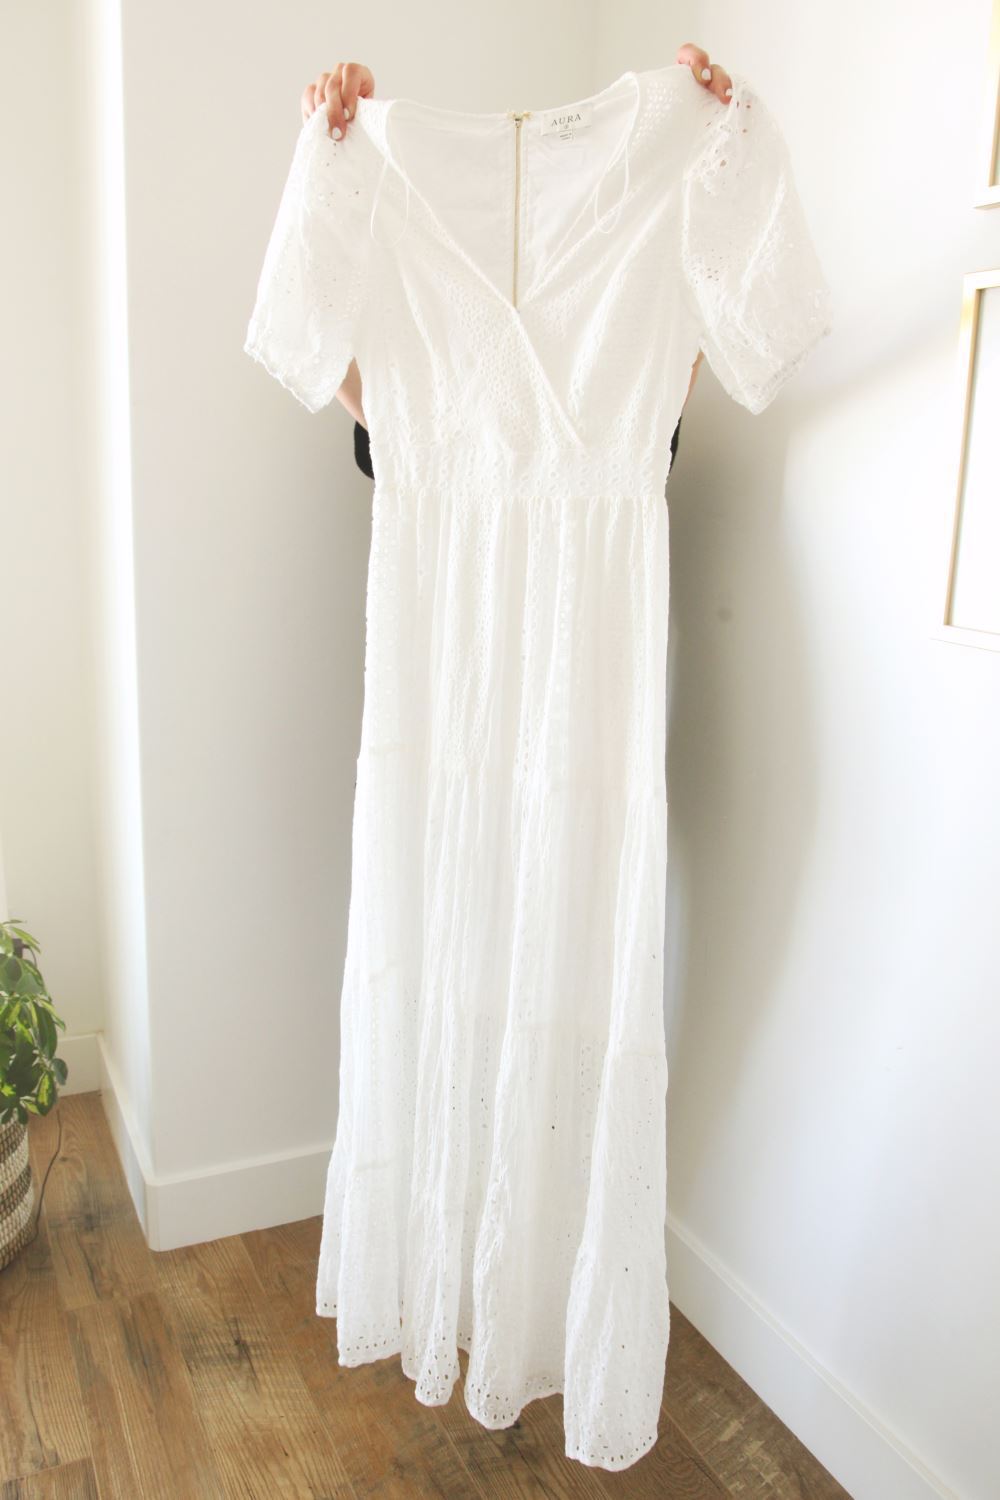
Before you get started on this ombre tie-dye wedding dress, prewash the dress that you’ll be dyeing and leave it damp. Lay the dress flat on a protected work surface.
Prepare tie-dye solutions
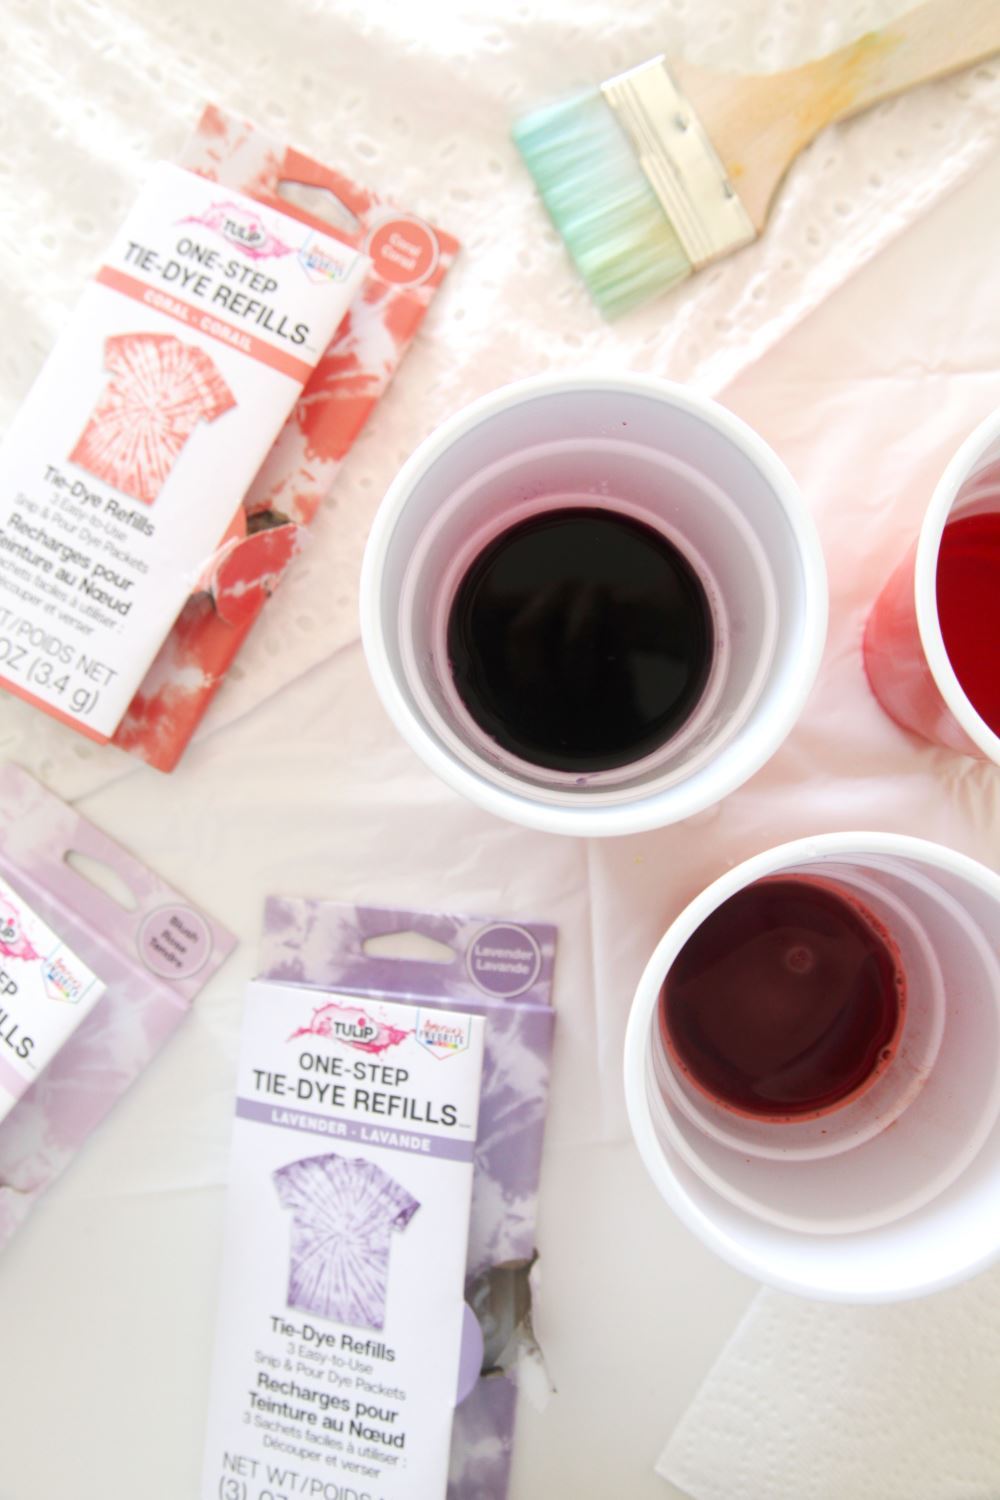
Empty the contents of each tie-dye refill packet into a separate plastic cup and prepare the dye solutions according to package instructions.
Apply dye with paintbrush
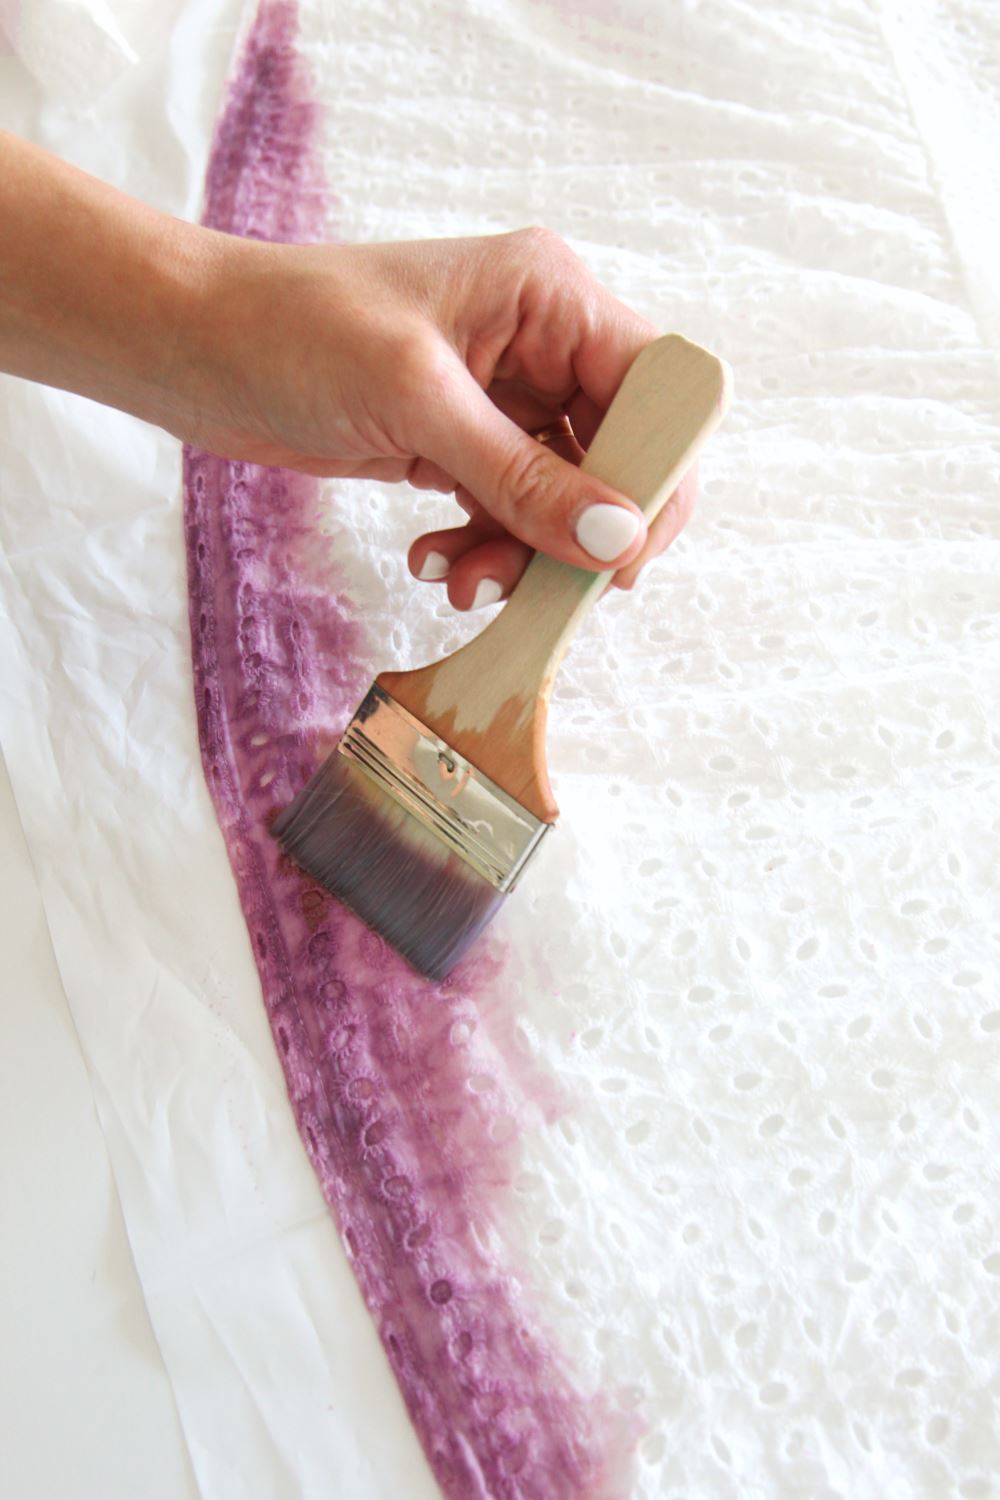
Apply one color of tie dye along the bottom of the dress. Dip a large paintbrush in water and brush the dye upward, creating a gradient of the original color.
Apply additional ombre tie-dye colors
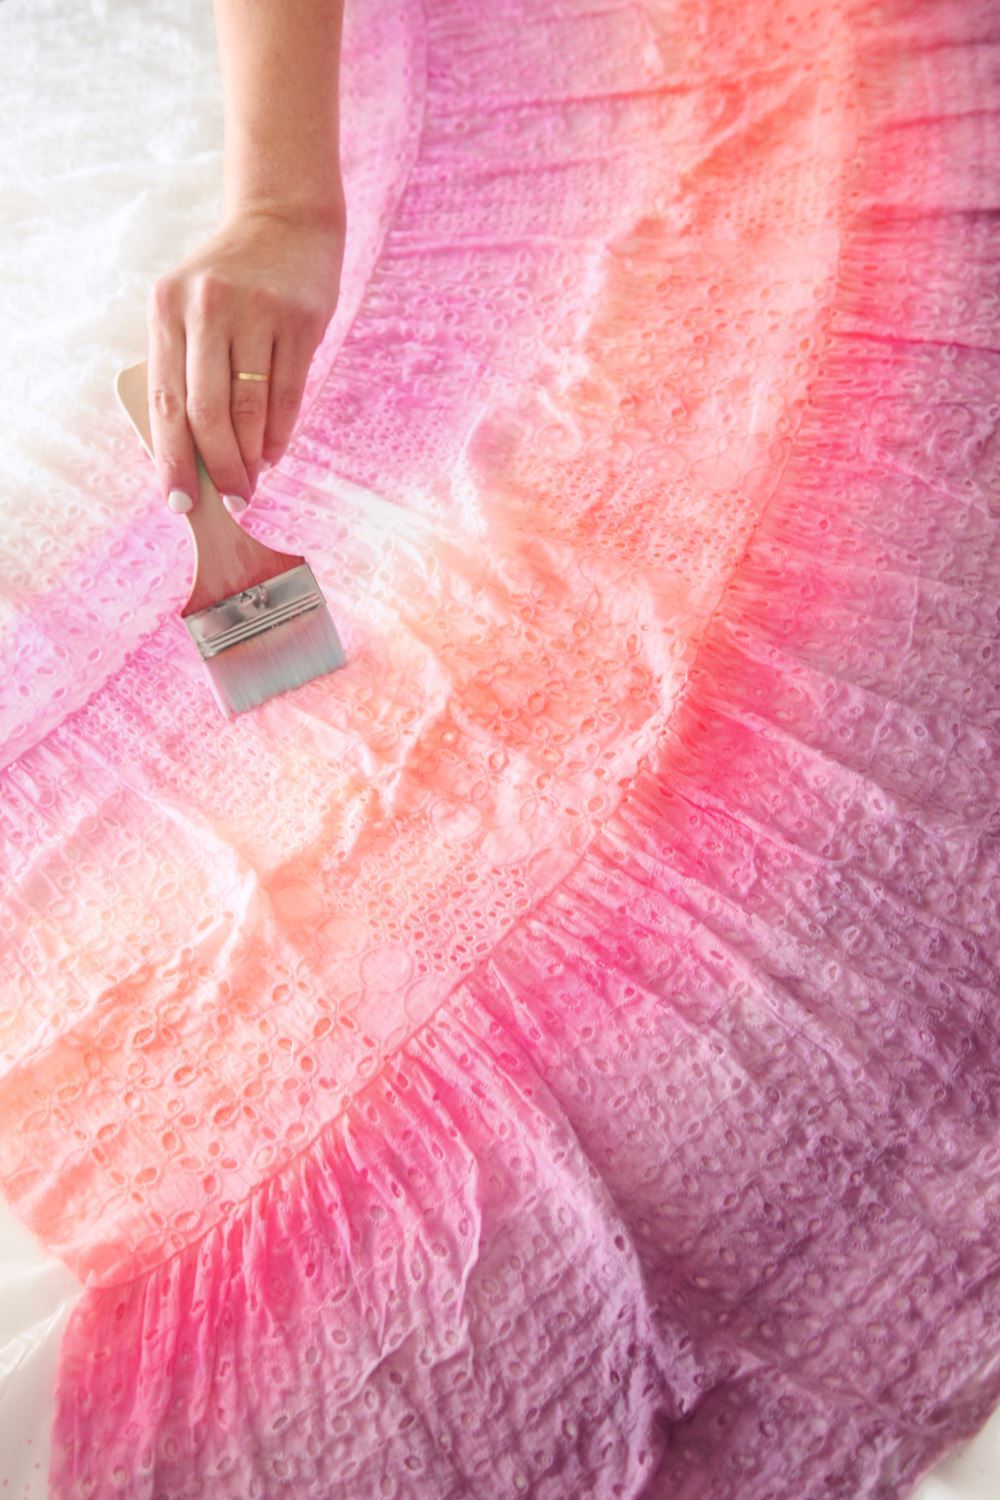
Repeat to add as many colors as you’d like onto your custom tie-dye wedding dress! Use a paintbrush dipped in water to blend one color into the next.
Ombre tie-dye wedding dress
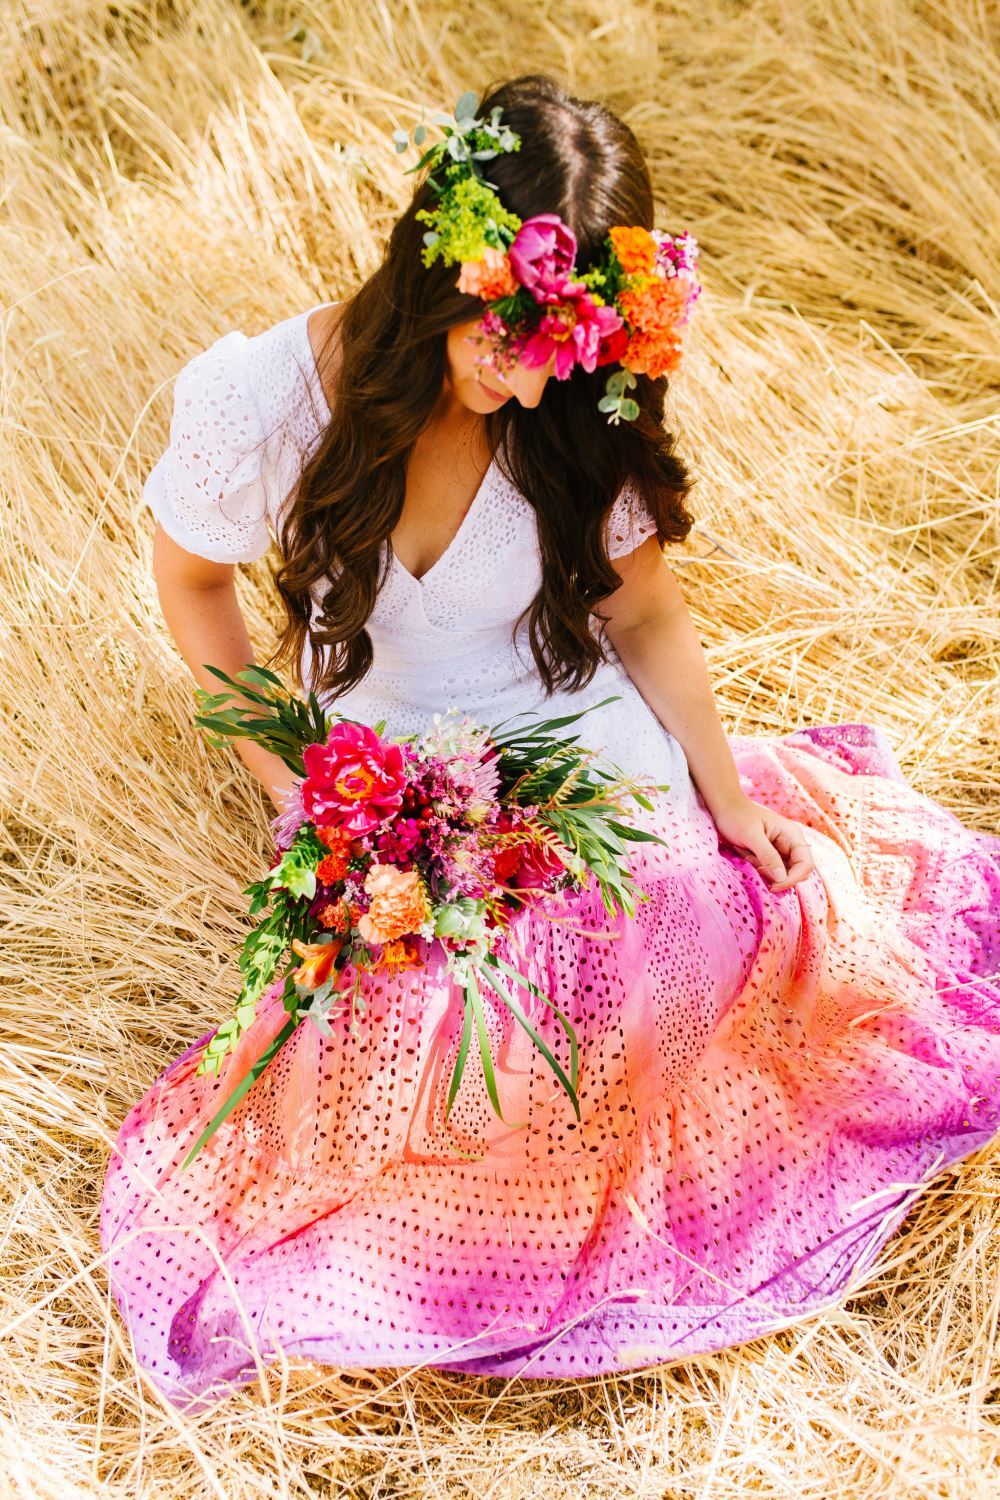
Once you’re happy with the colors on your ombre tie-dye wedding dress, place your project in a sealed plastic bag and let it set for 6 to 8 hours, then launder according to package instructions. Your custom wedding dress is now ready for your special day!
Will you be creating your own ombre tie-dye wedding dress? We want to see your style for wedding season! Show us how you’re tie-dyeing this summer and tag us on social media @TulipColorCrafts!
Pin This Project
